
the true spirit of the game
Druids Heath
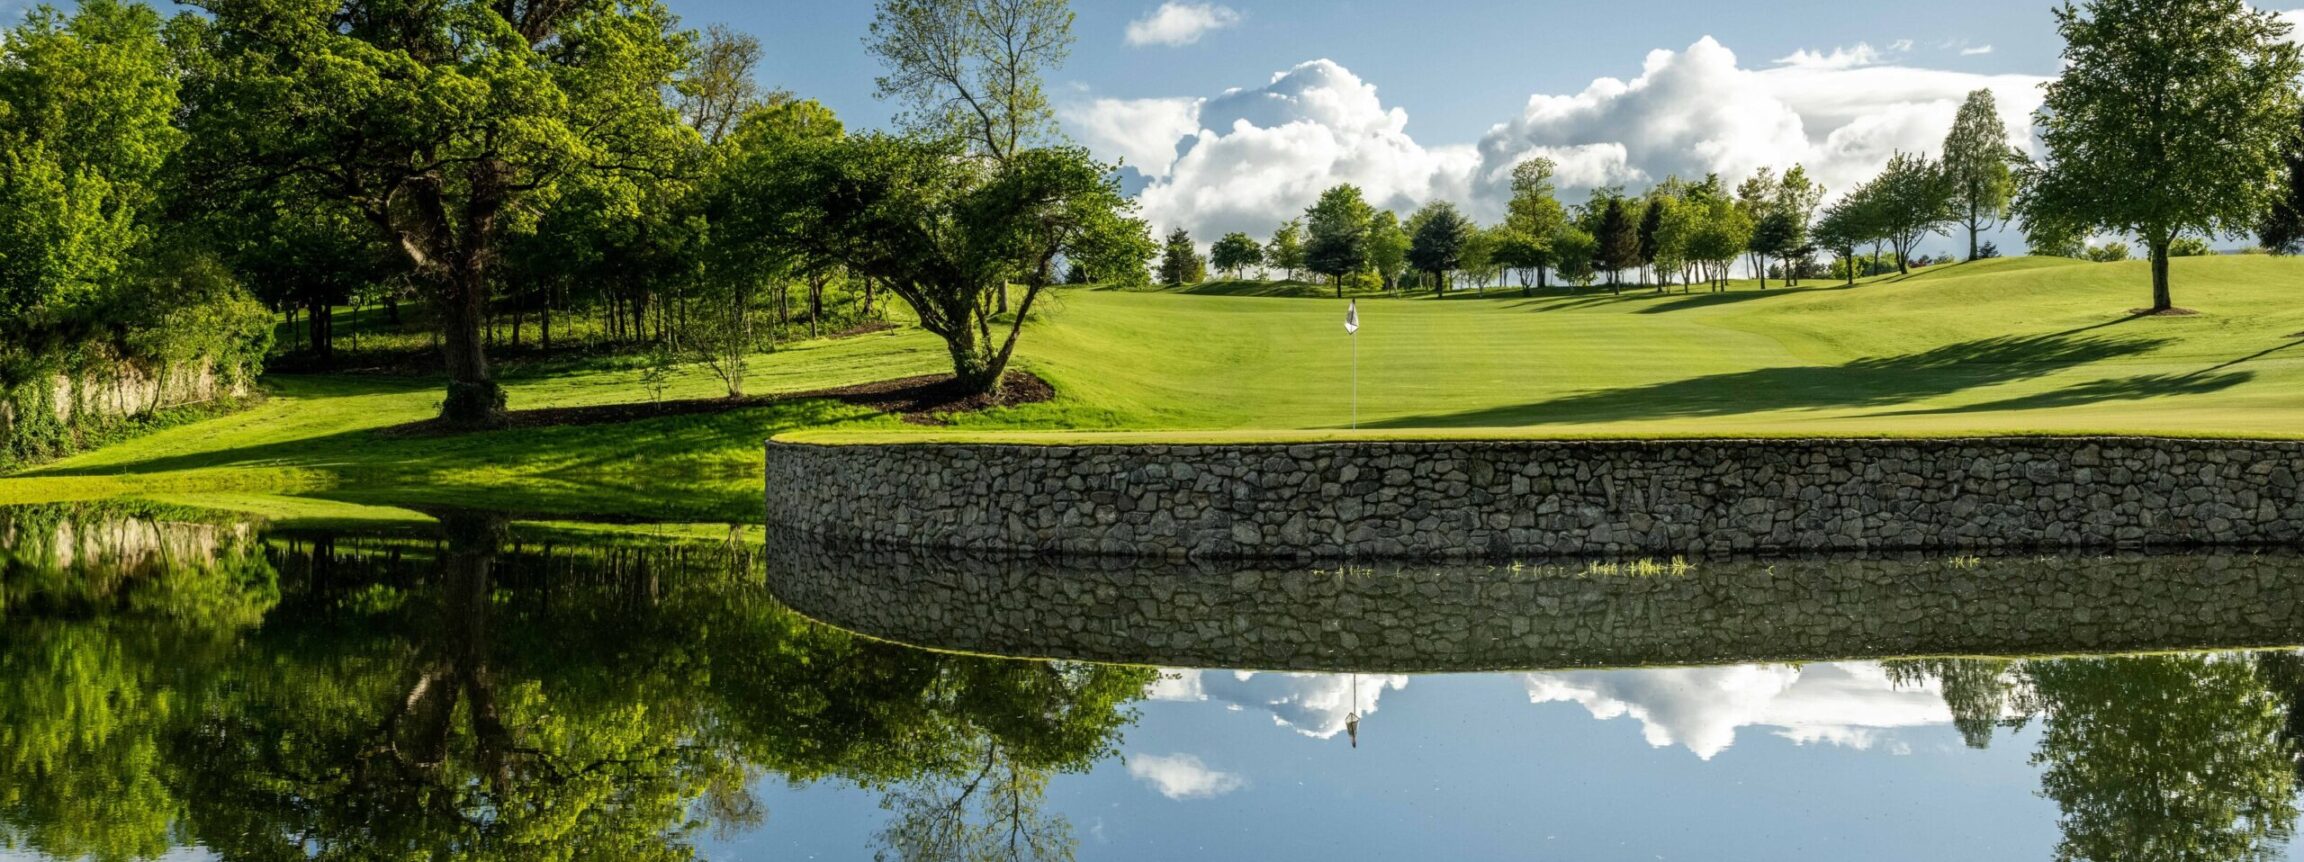
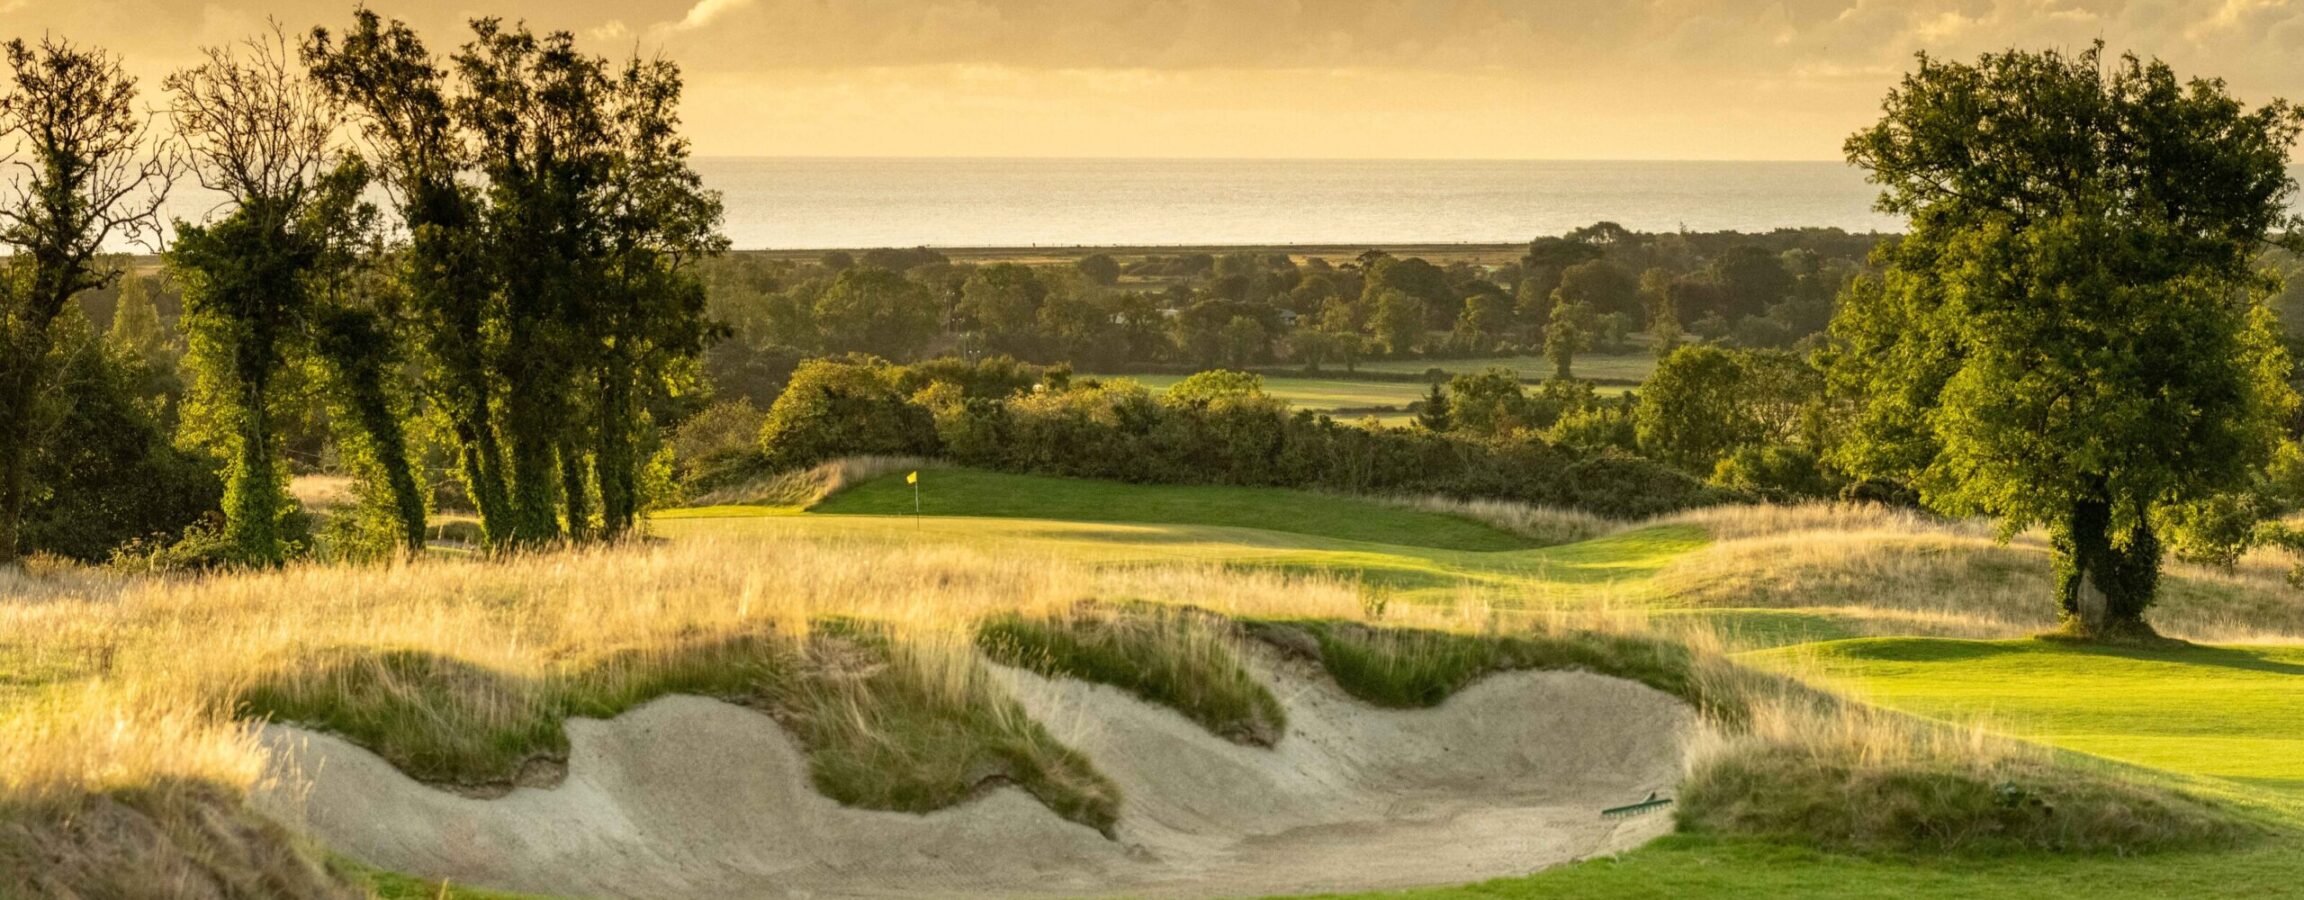
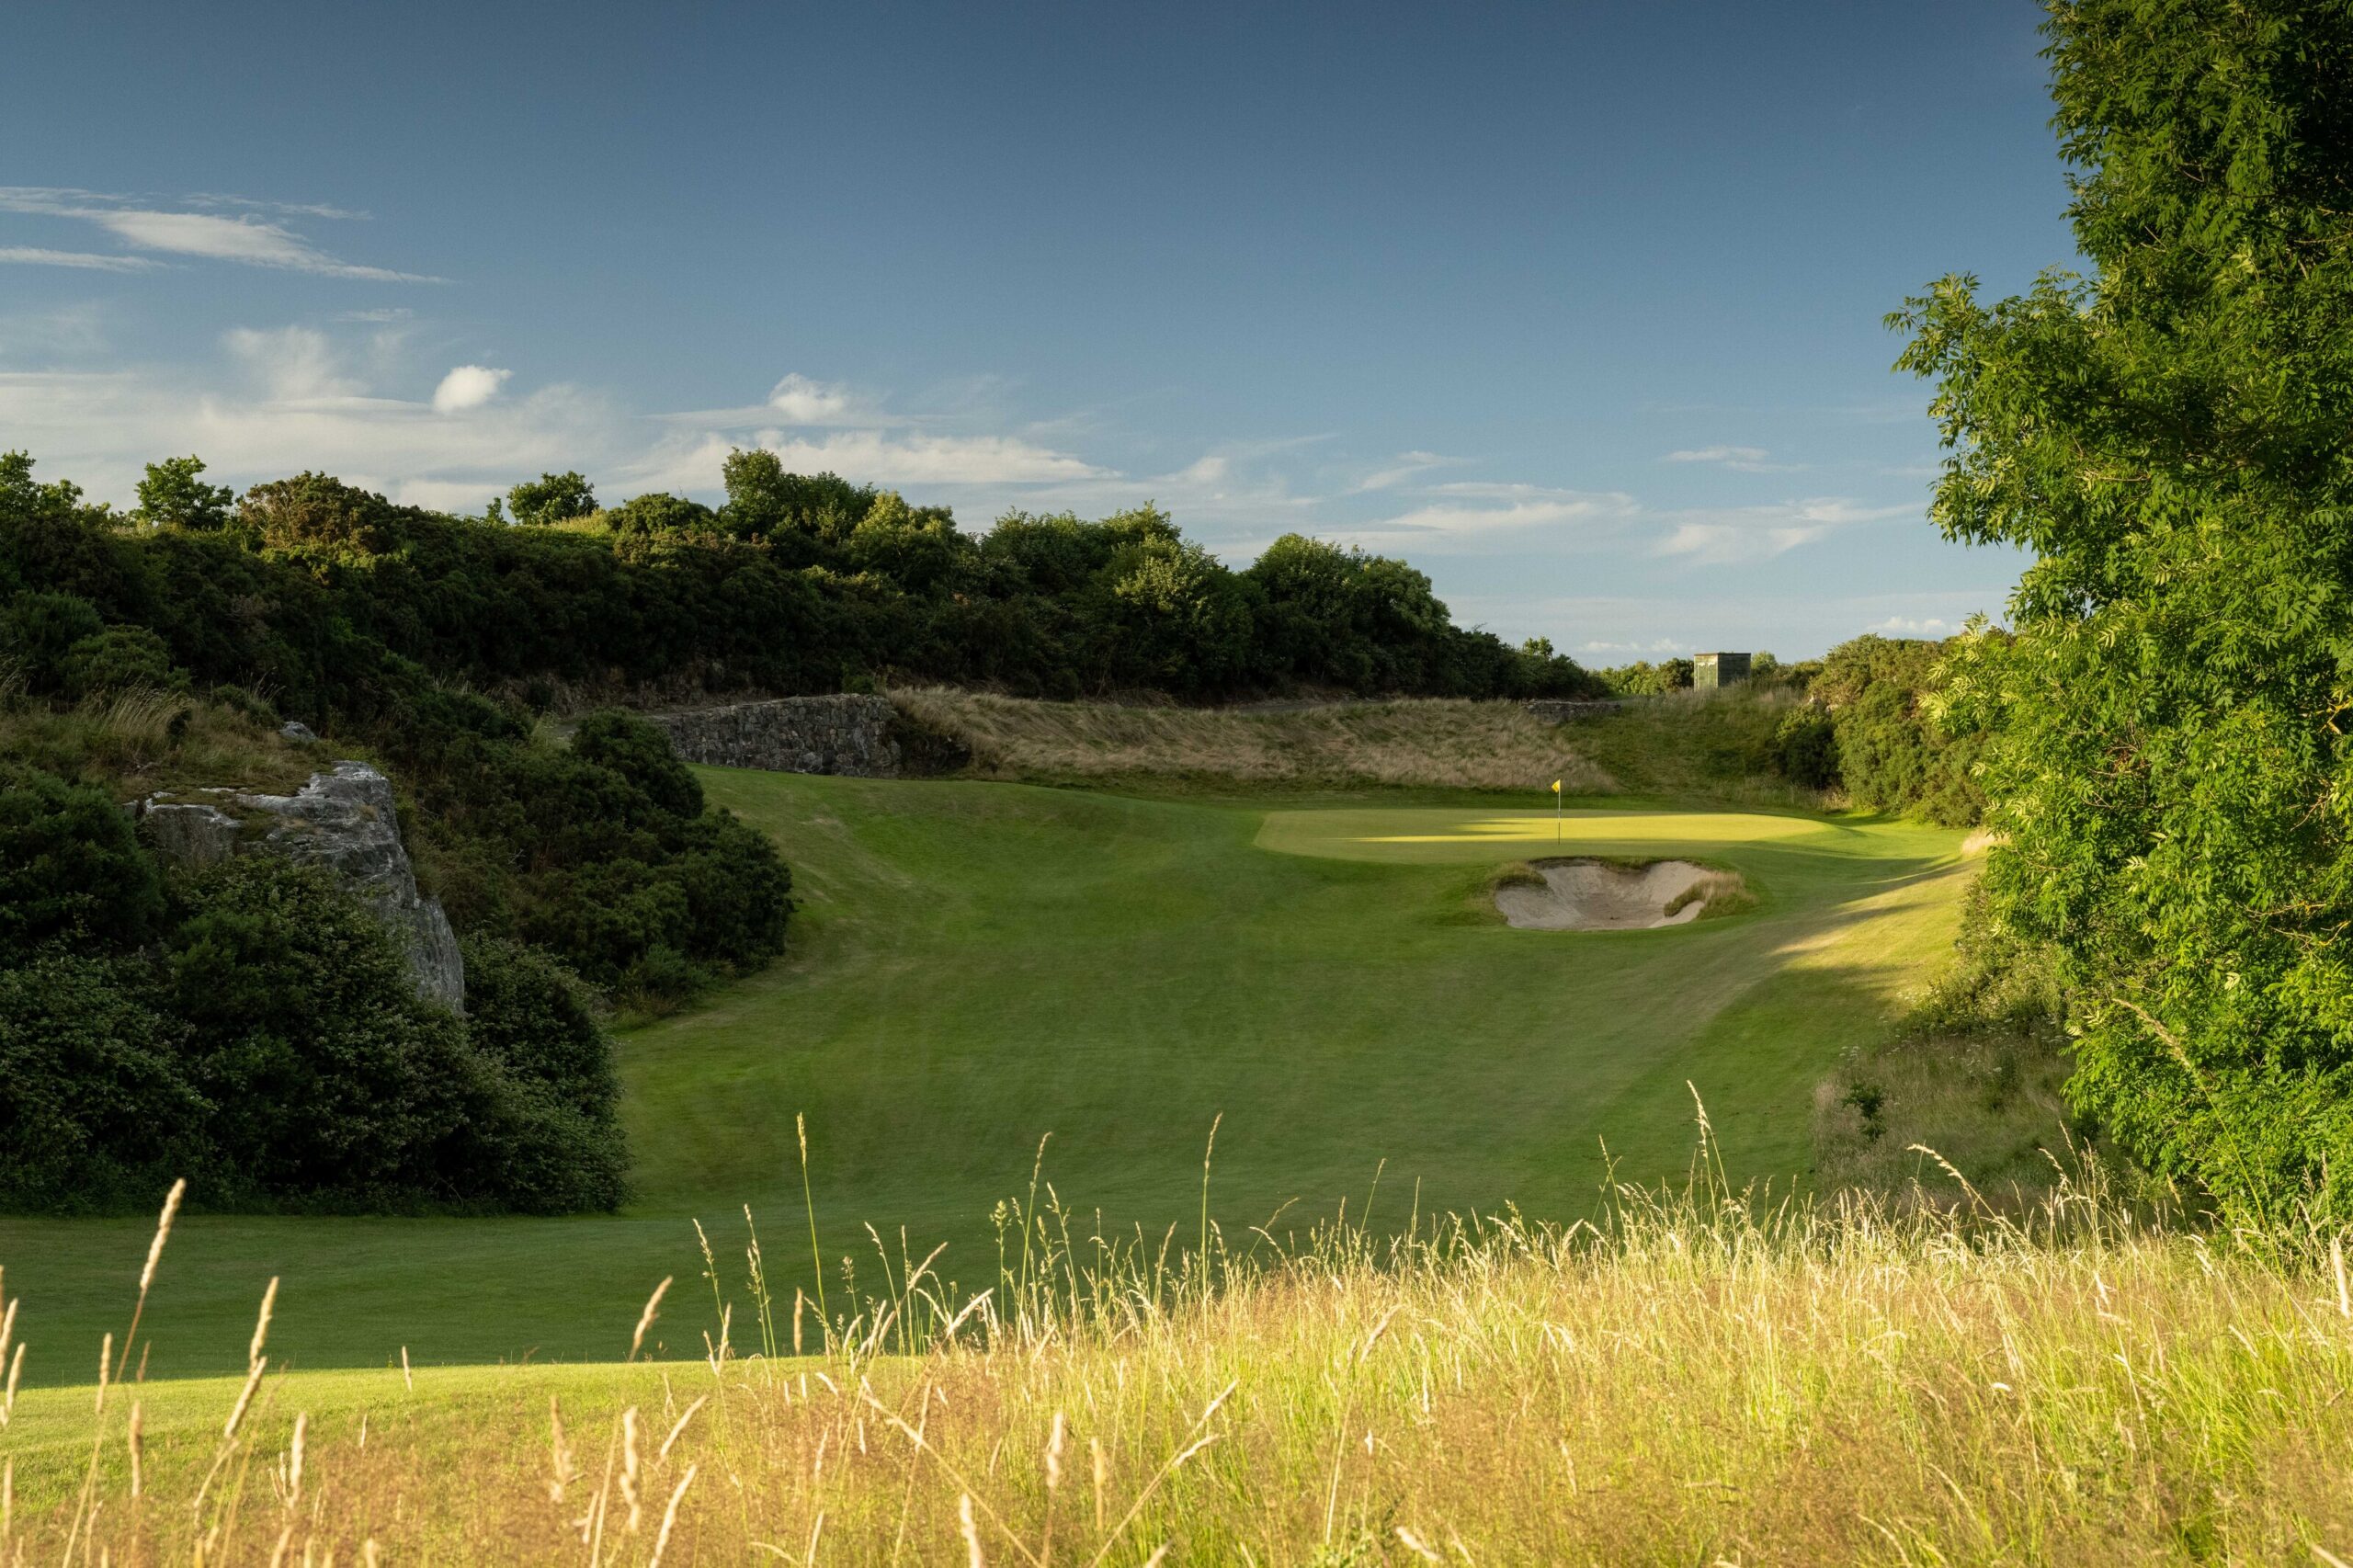
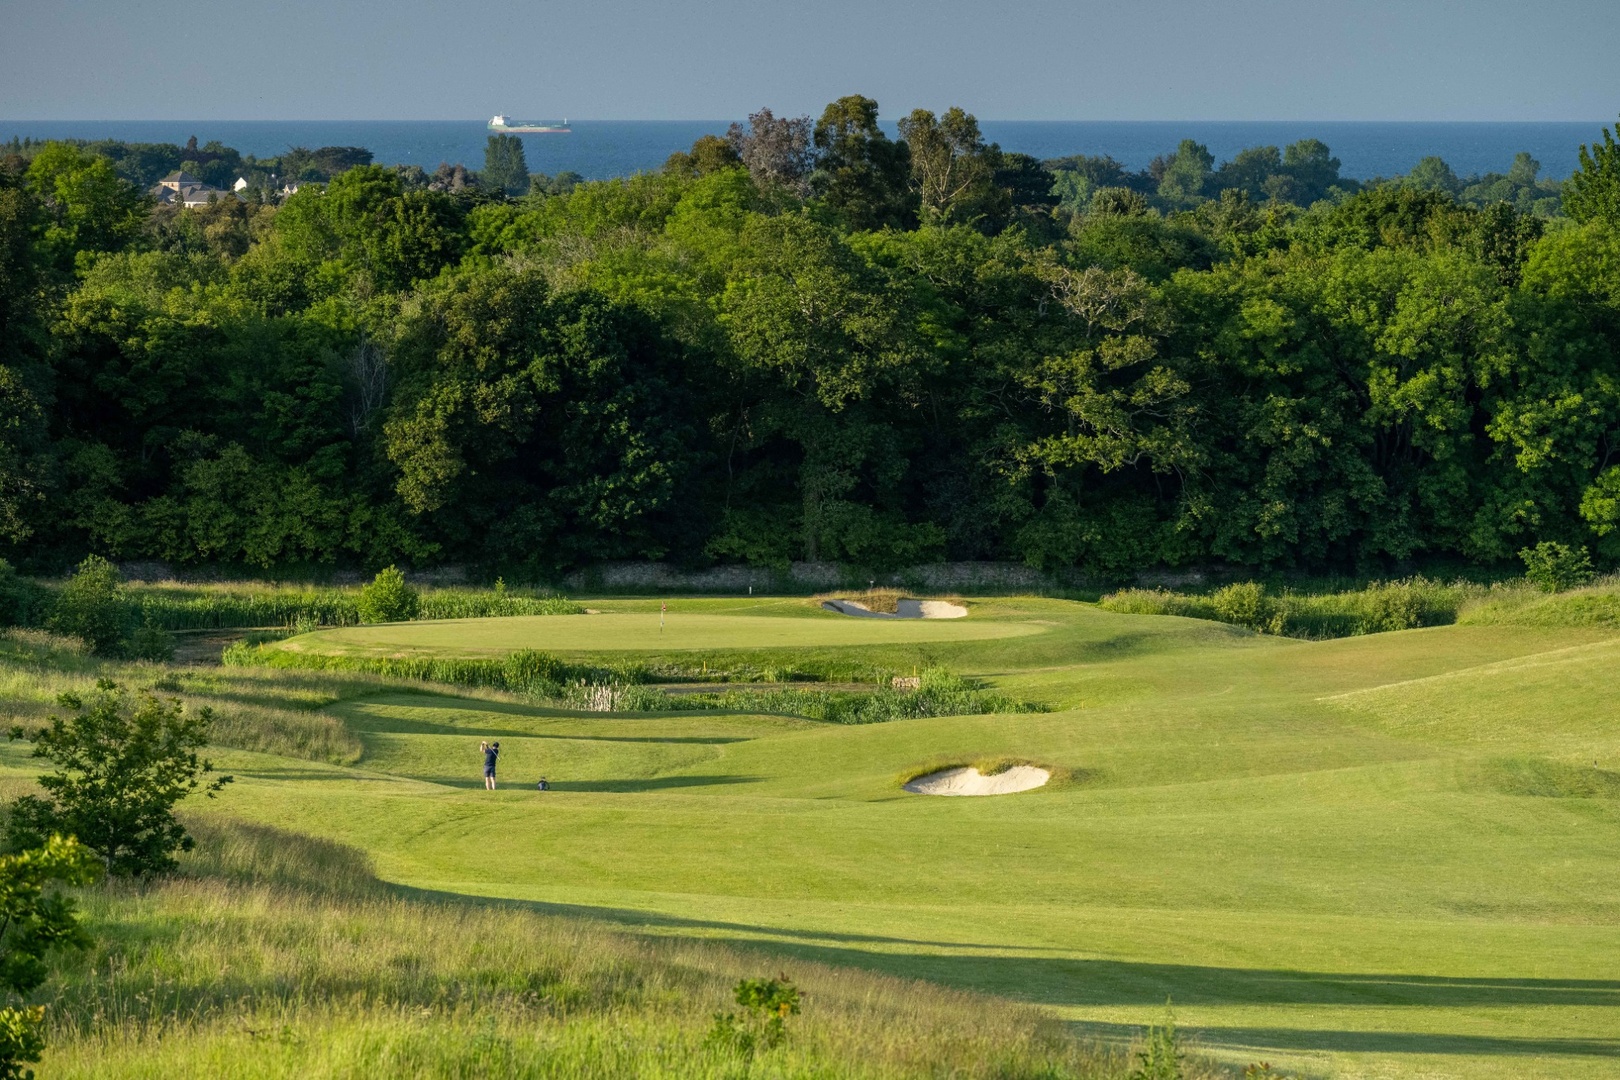
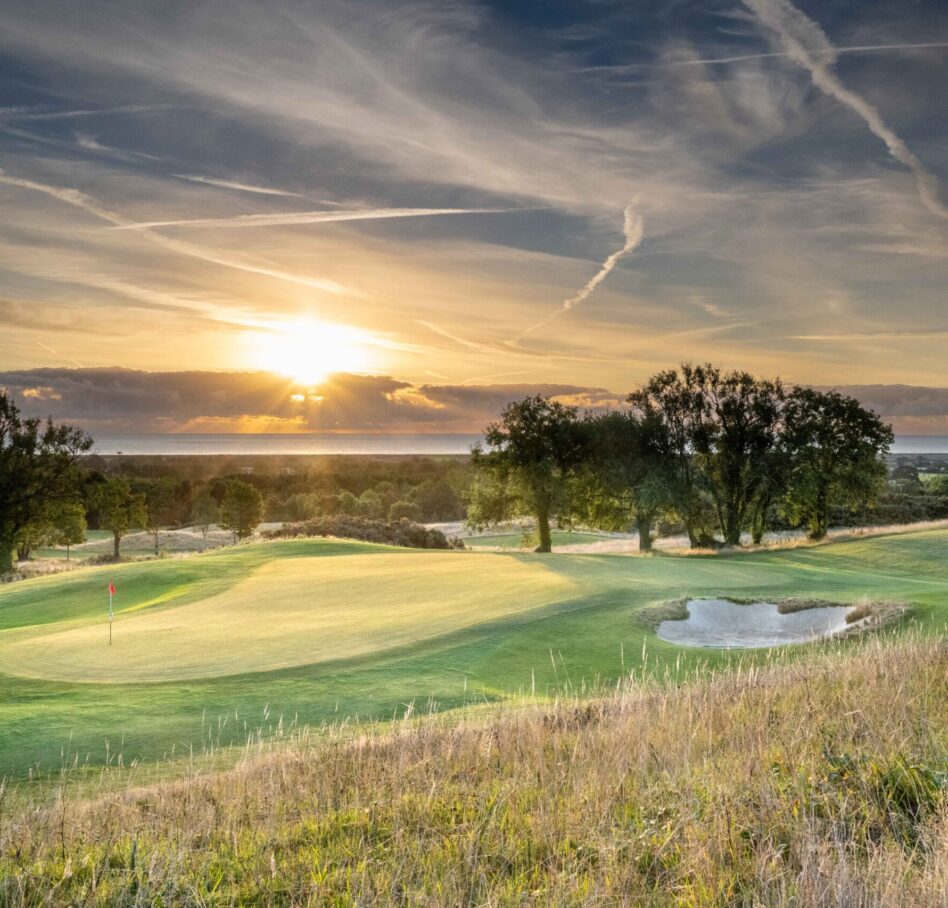
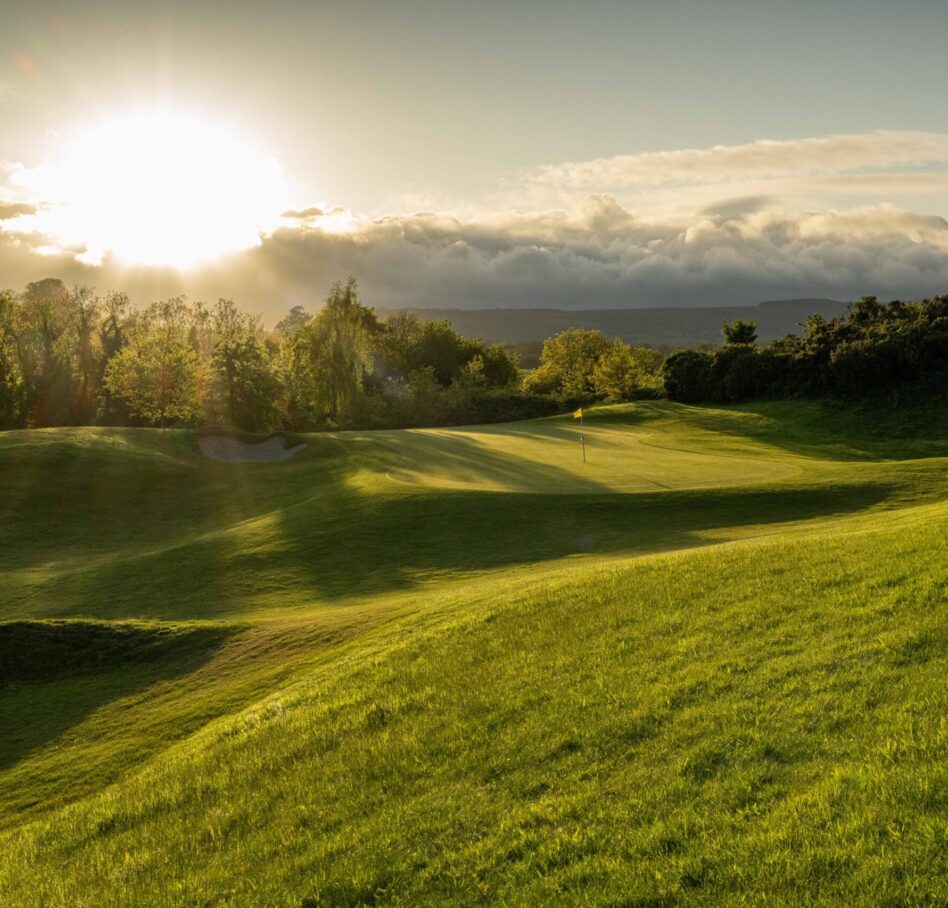
There are few places in the world that encapsulate the true spirit of the game of golf like Druids Heath, the mountains, sea and rolling Irish countryside provide stunning vistas throughout your round. The sea breeze calls for shot-making skills and imagination from the golfer.
In the words of Pat Ruddy “Druids Heath affords the player the opportunity to stride-out in a place which is invigorating to both body and soul with the ever present sea breezes adding greatly to a sporting challenge, which is quite difficult to concentrate on as the eye wanders eagerly fifty miles out to sea, twenty miles southwards over an unspoiled, rolling pastoral scene to Wicklow Head and inland to the Wicklow Mountains. Dull would he be of soul who would allow a few stray shots spoil a day in such a blessed spot”.
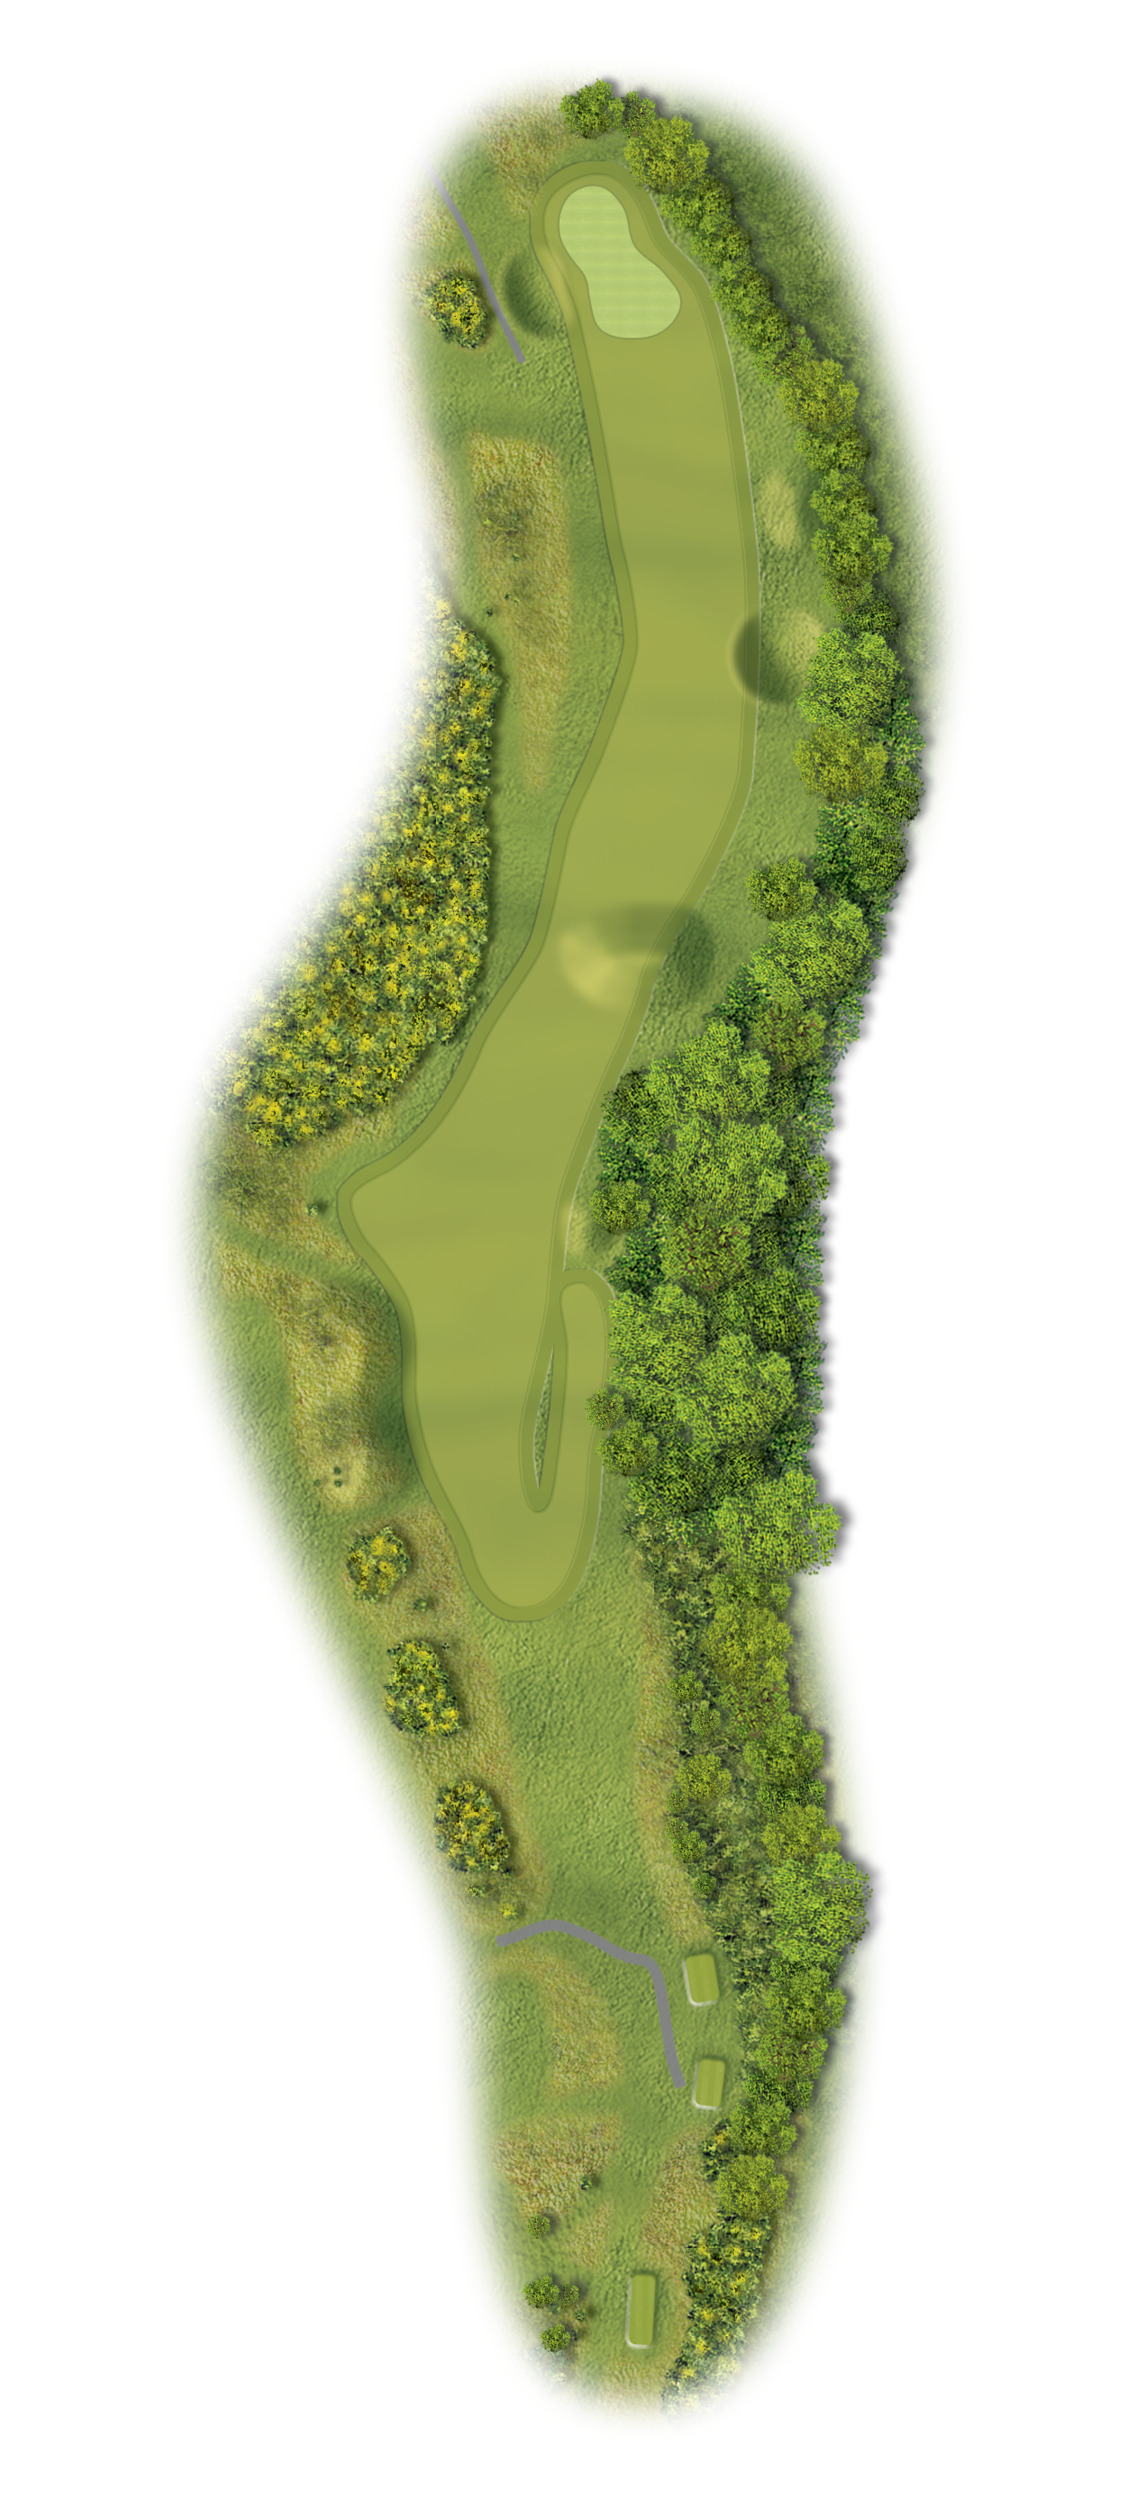
Course Map
Druids Heath
Hole By Hole
Hole 1
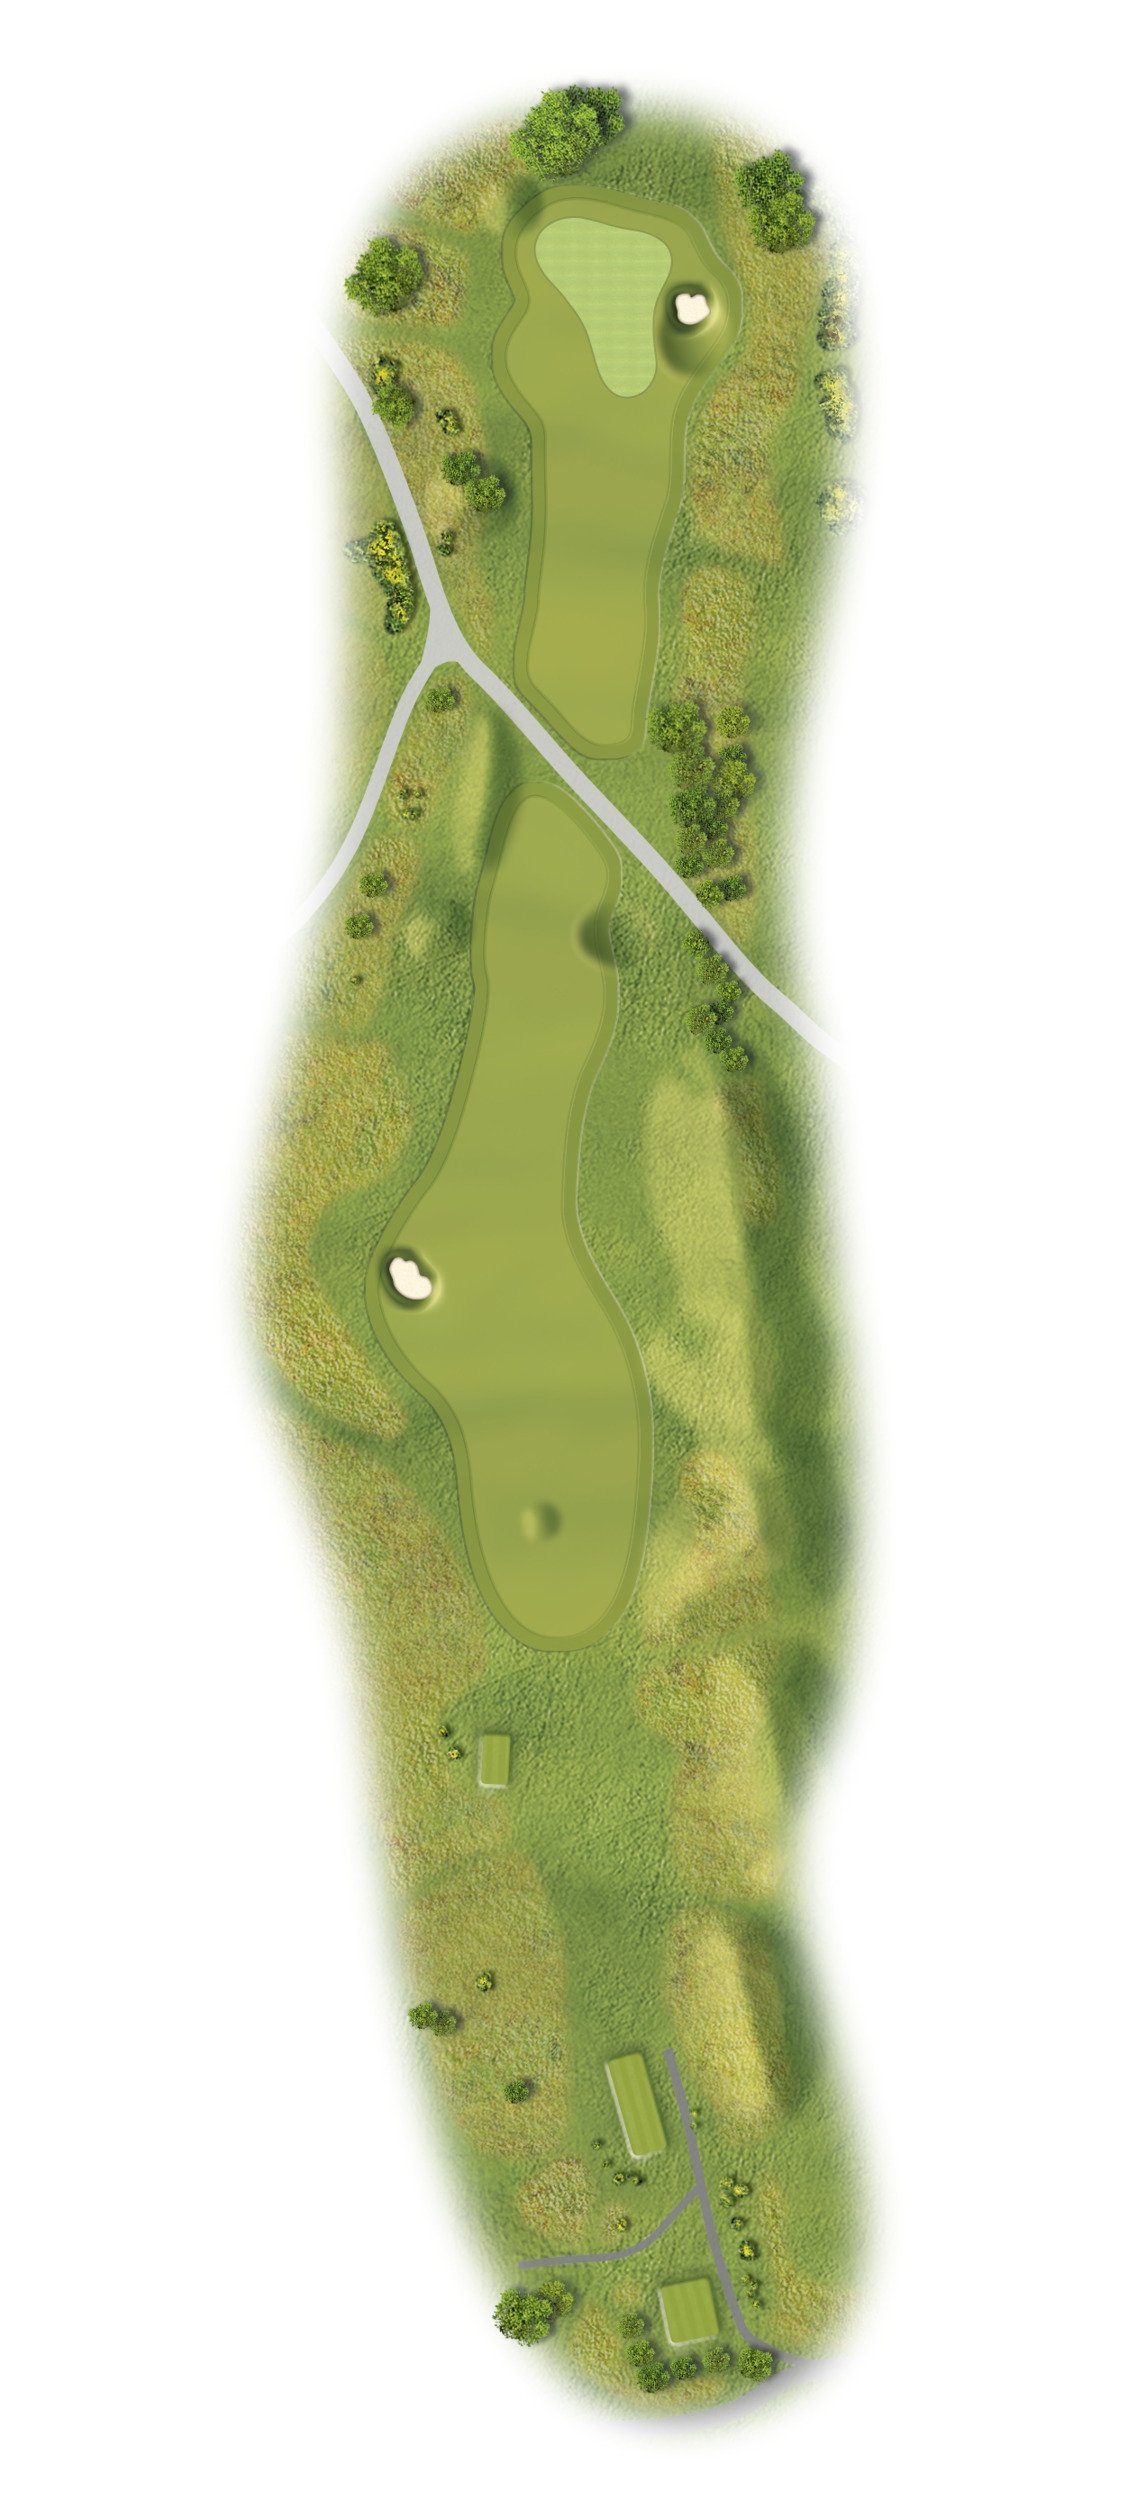
A dog-leg from left to right, the key to hole 1 is keeping your tee shot tight to the right side of the fairway. is will leave you a second shot to a raised undulating green protected by bunkers left and right. The green slopes from right to left as you approach.
-

White: 420yds
-

Green: 406yds
-

Gold: 334yds
-

Red: 334yds
Hole 2
A classic risk reward par 5. You can open your shoulders with your driver as this fairway is wide. Favour the left side of the fairway. If your decision is to lay up to a favourable yardage as this green protected by water, there is a pot bunker protecting the fairway on lay up shots.
-
White: 540yds
-
Green: 528yds
-
Gold: 425yds
-
Red: 425yds
Hole 3
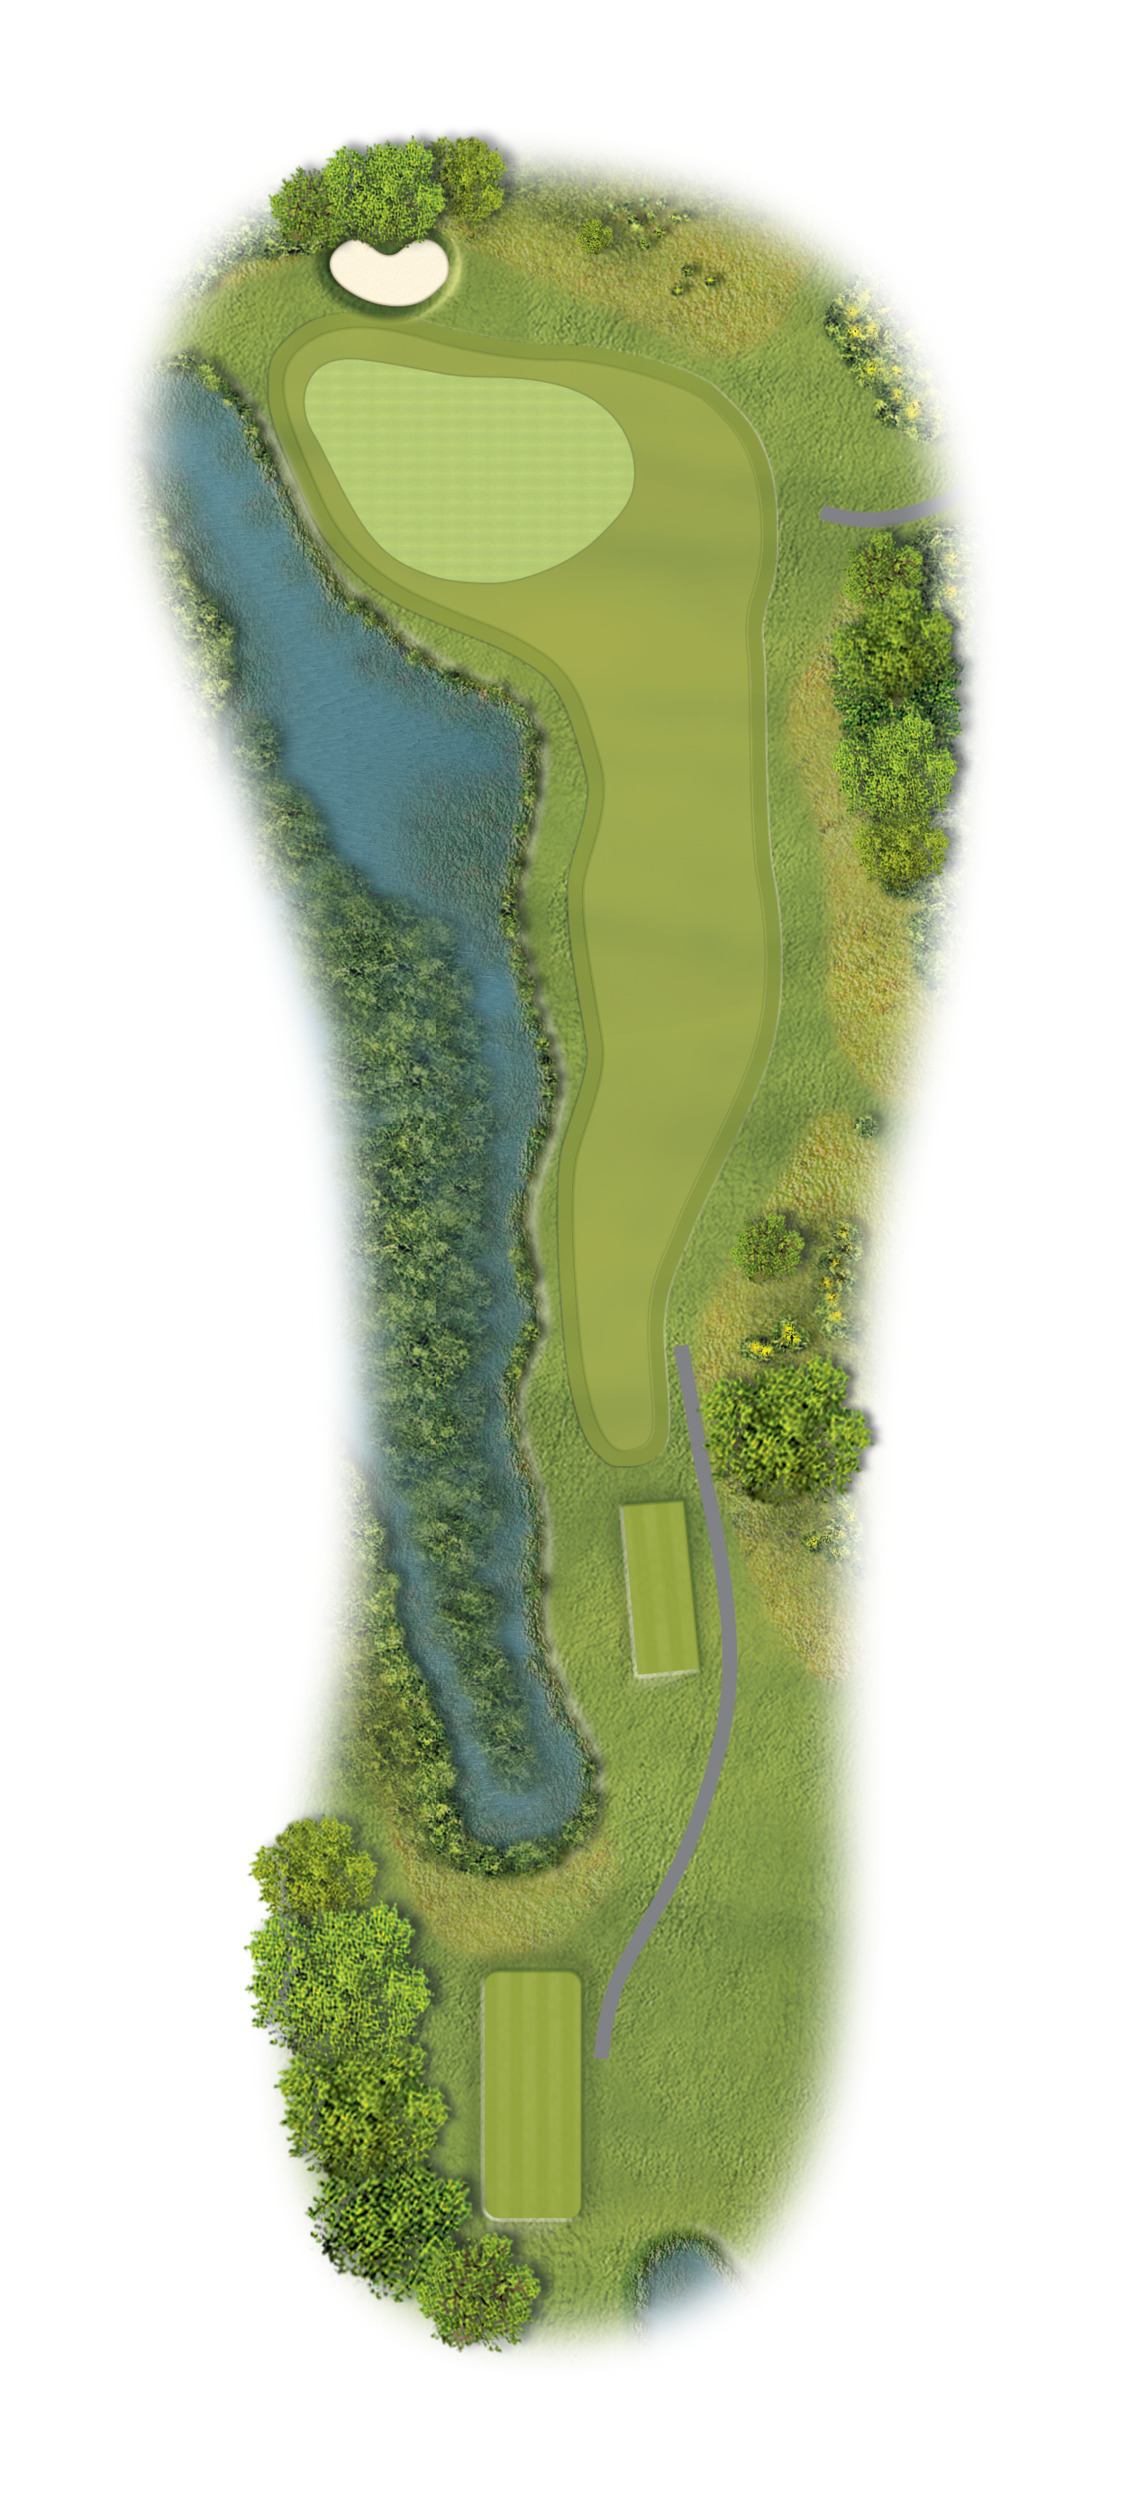
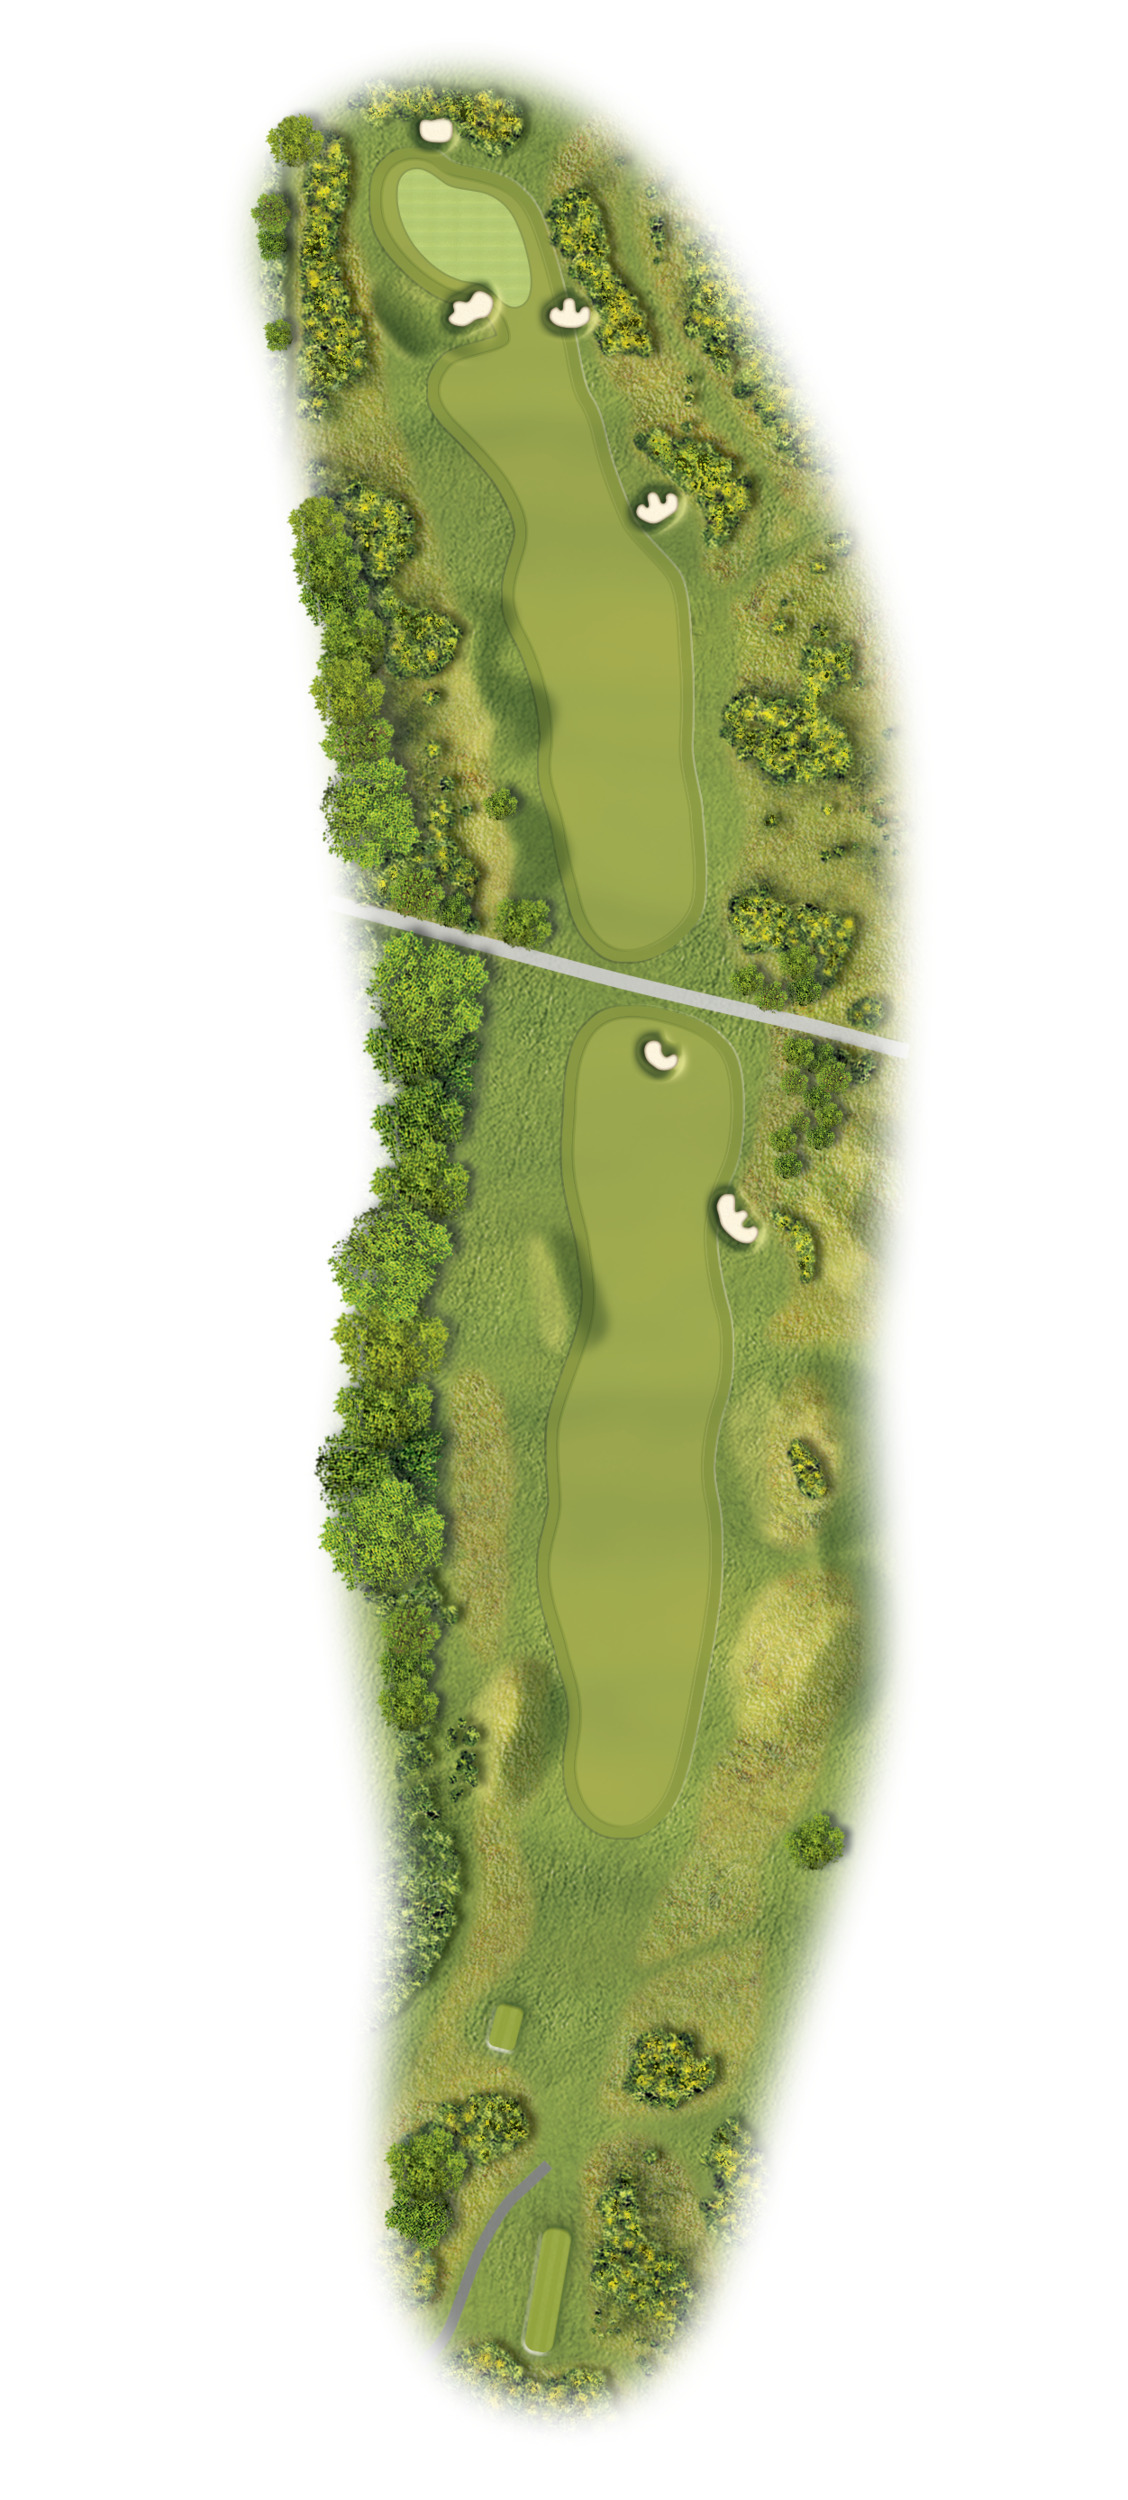
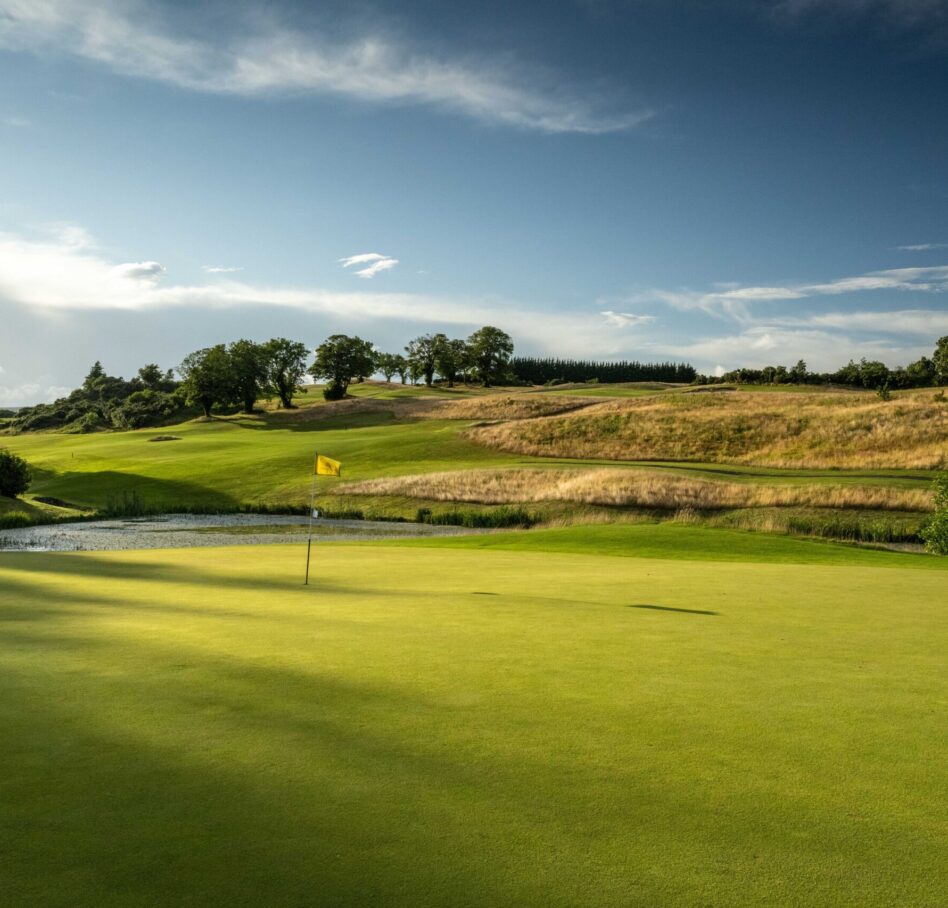
A par 3 protected by water. e bunker on the right disguises a slope that will assist your tee shot. If you are not attacking the green/pin, I would suggest you select a club that will carry the bunker on the right. You might just get a favourable bounce onto the green. Everything slopes from right to left.
-
White: 185yds
-
Green: 168yds
-
Gold: 129yds
-
Red: 129yds
Hole 4
This hole looks far more daunting than it is. Keep your tee shot to the right side of the fairway, longer hitters can reach this green in two, playing this hole as a 3 shot hole is always a good idea. Bunkers protect this green left, short right and at the back.
-
White: 503yds
-
Green: 491yds
-
Gold: 435yds
-
Red: 435yds
Hole 5
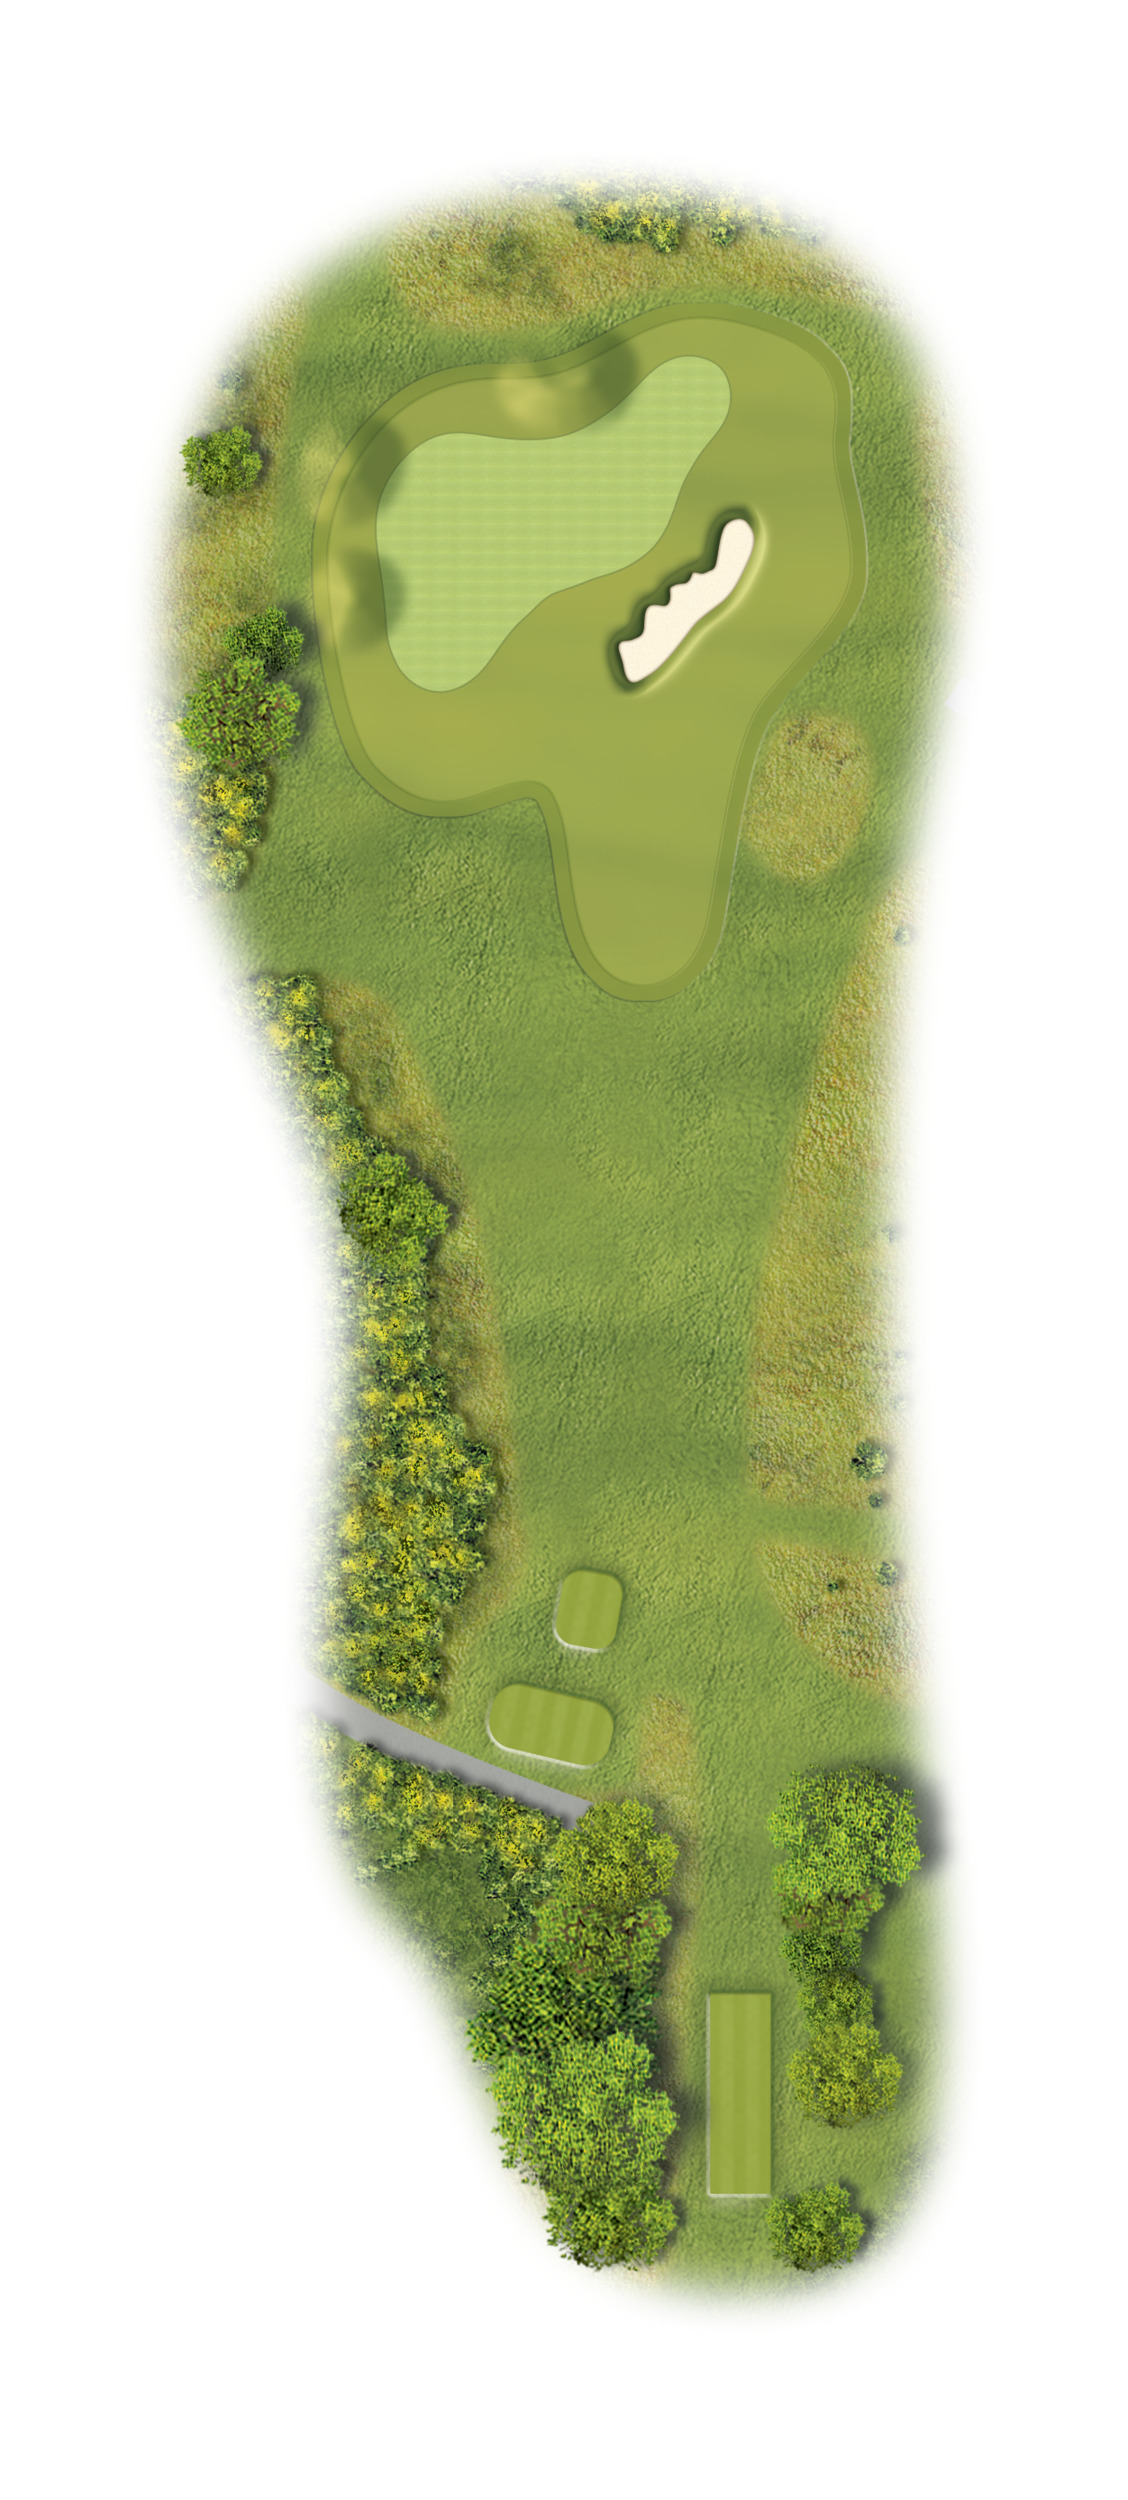
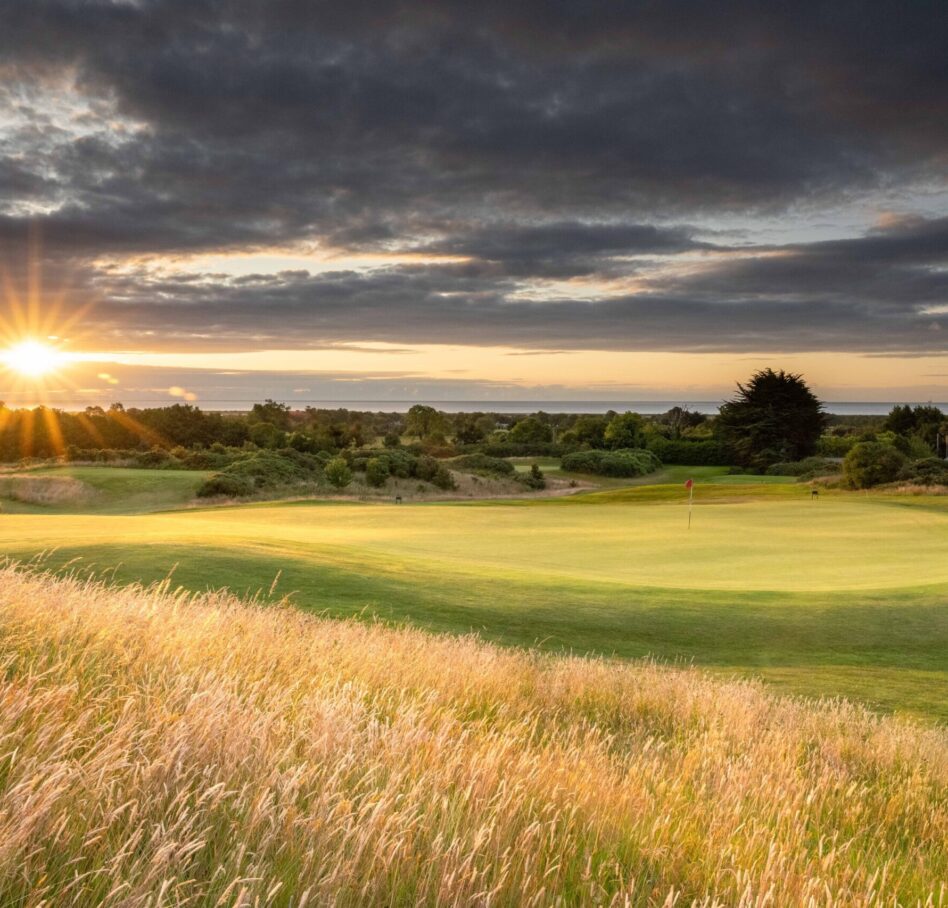
A par 3 uphill. Choose your club, take one more and if the wind is in your face take two more. A bunker protects the green short but through the back will leave a less difficult shot to this undulating green. The green slopes severely from back to front.
-
White: 178yds
-
Green: 148yds
-
Gold: 132yds
-
Red: 132yds
Hole 6
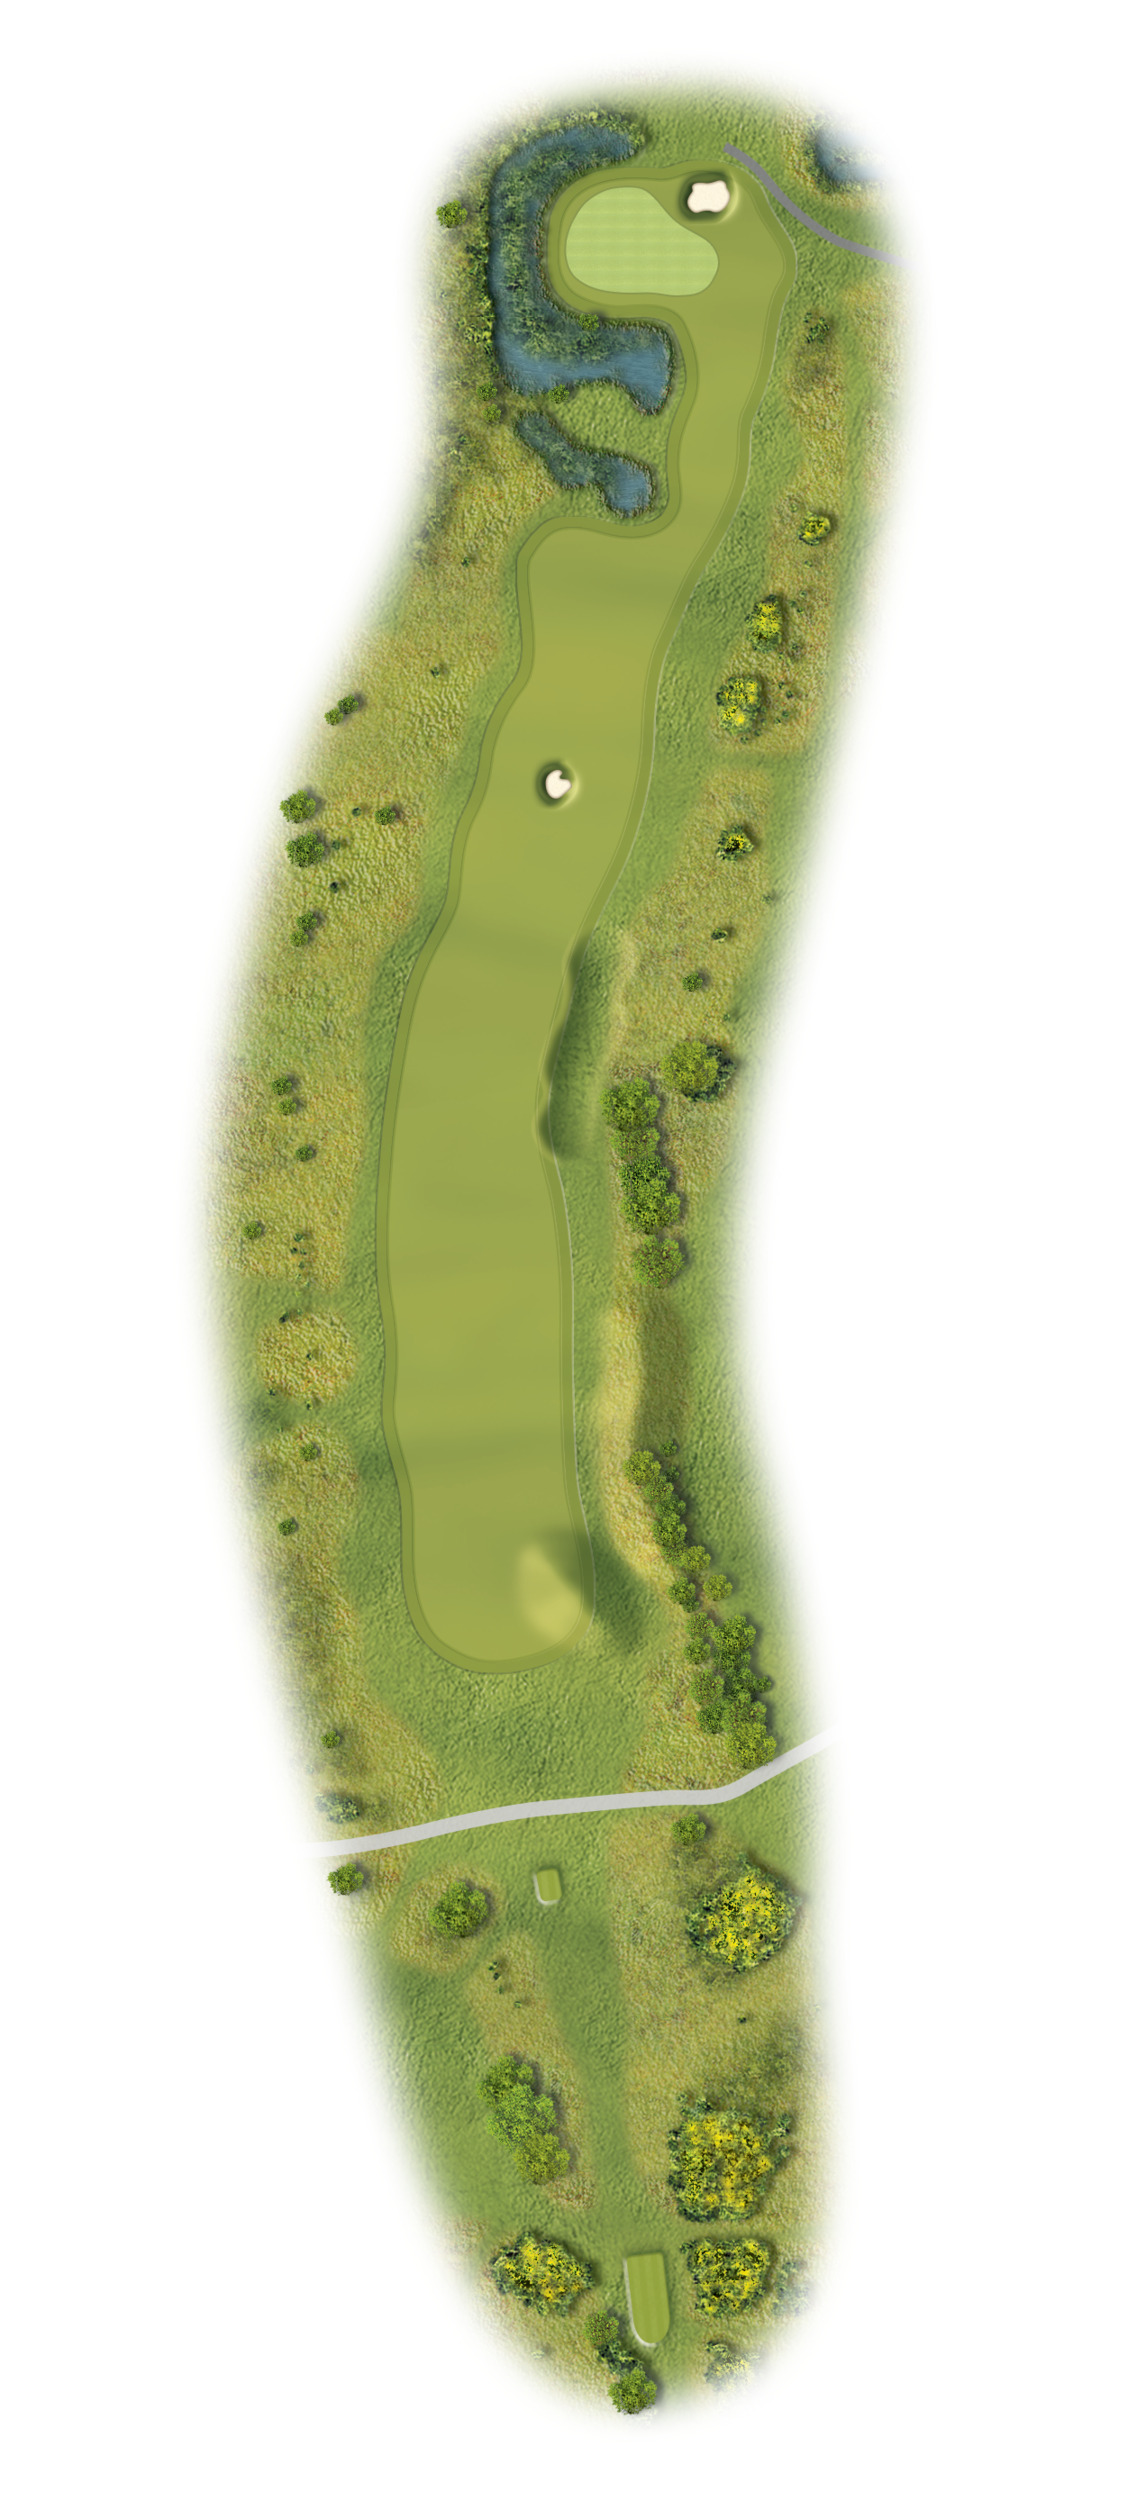
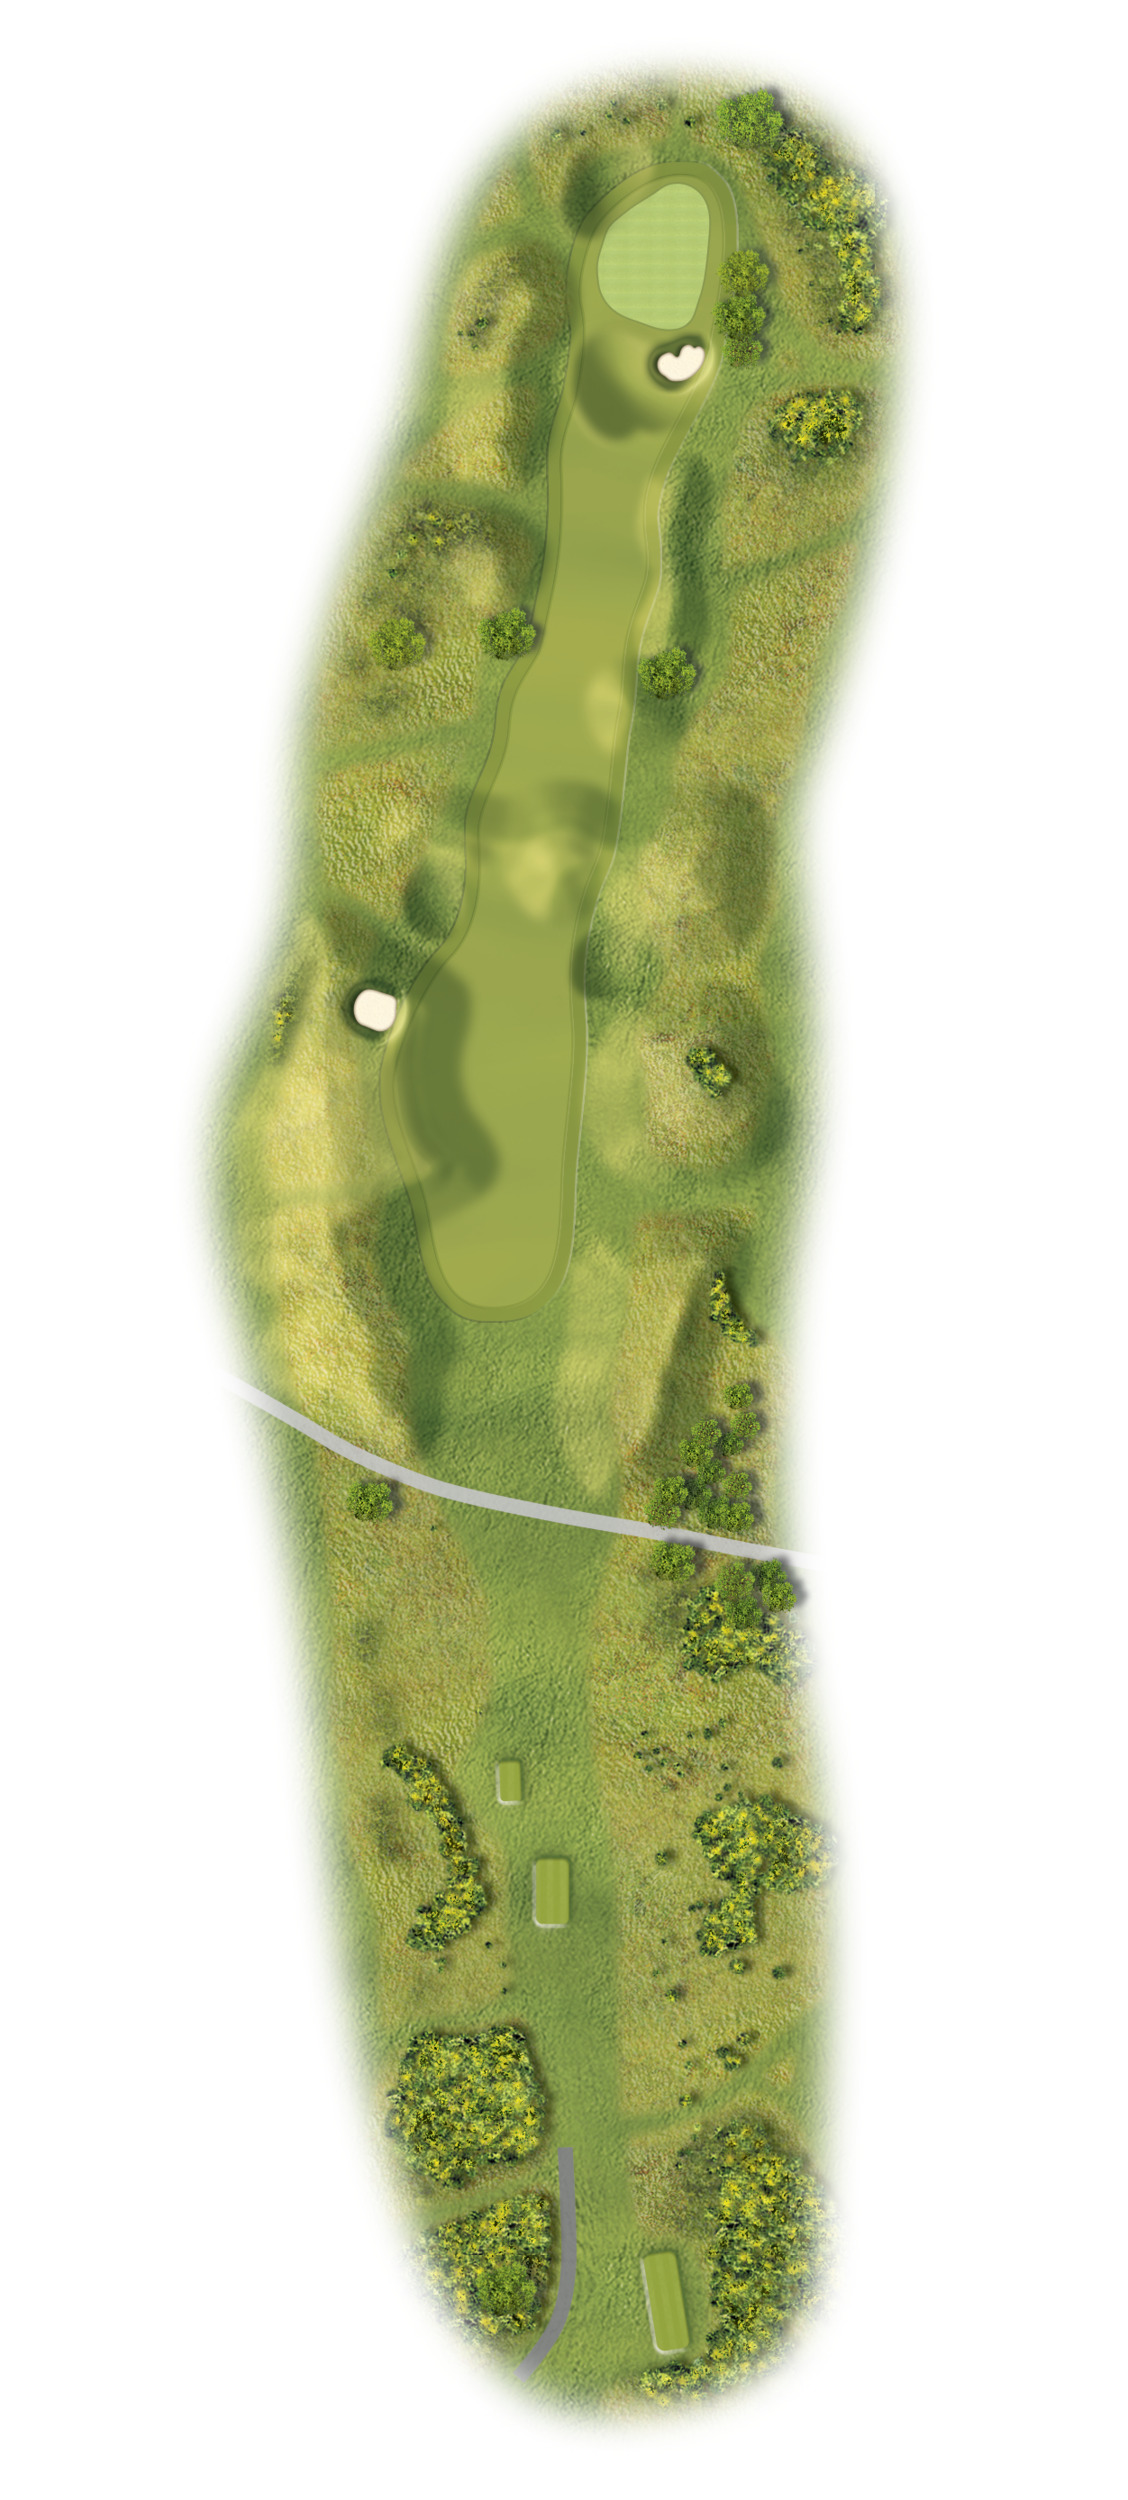
A fantastic par 4 with a fairway that narrows the further you travel down it. Try to avoid the fairway bunkers. Beware the high rising trees protecting this green about 90 yards short and a large bunker protects the front of the green.
-
White: 454yds
-
Green: 370yds
-
Gold: 343yds
-
Red: 343yds
Hole 7
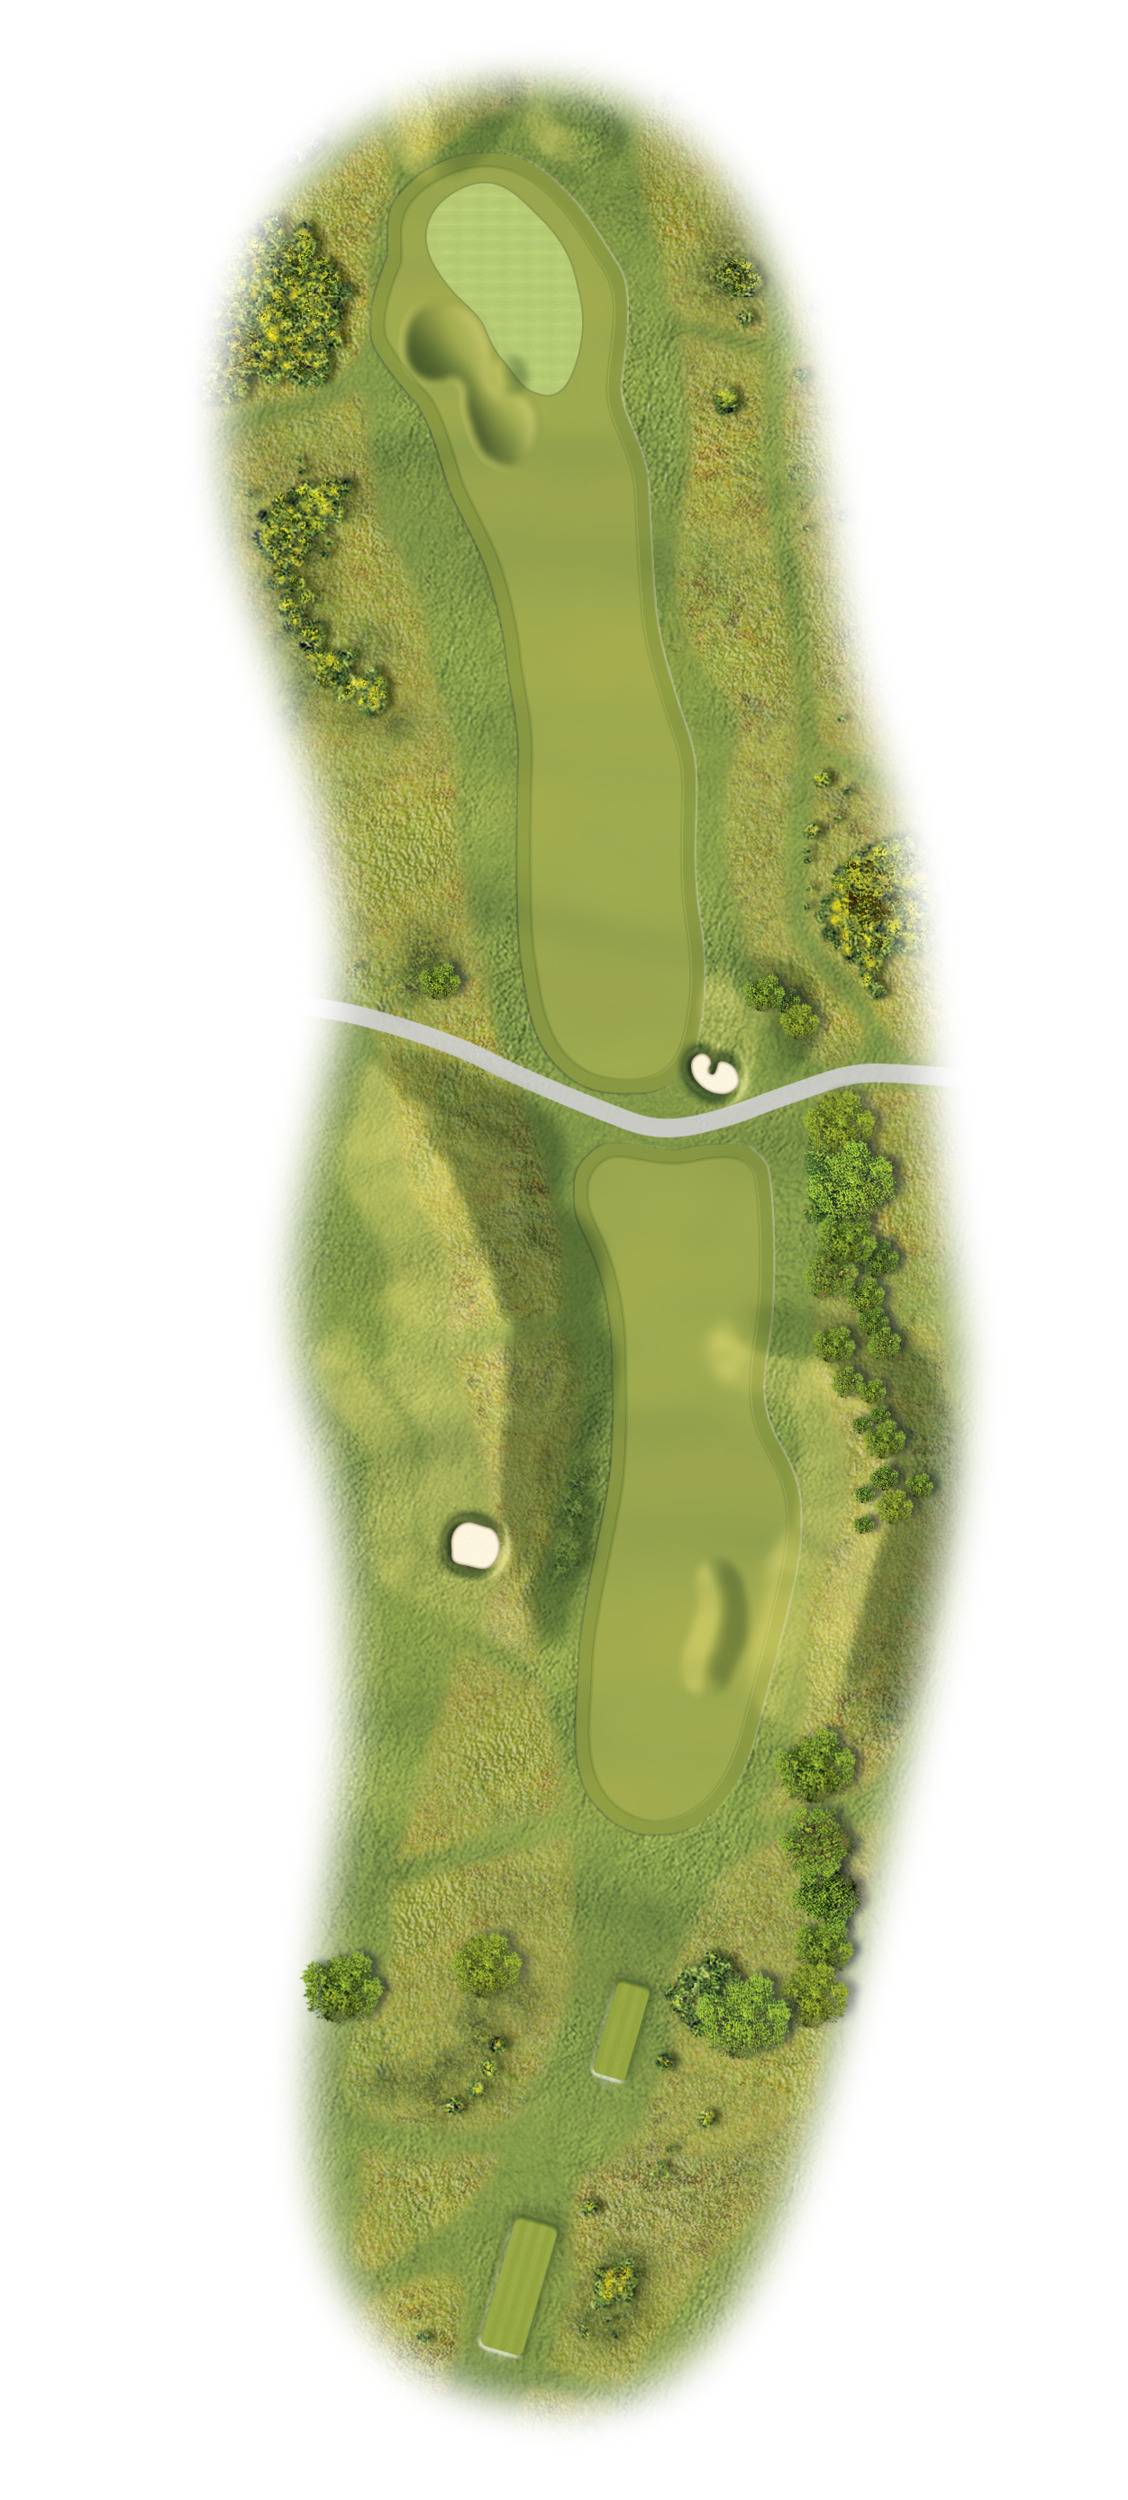
I’m going to let you in on a secret, this blind tee shot sets up to mislead you. The line is on the left. If you get your tee shot right a straight forward second shot awaits you to a raised green with bunkers short left and right. The green slopes hard from right to left.
-
White: 408yds
-
Green: 352yds
-
Gold: 341yds
-
Red: 341yds
Hole 8
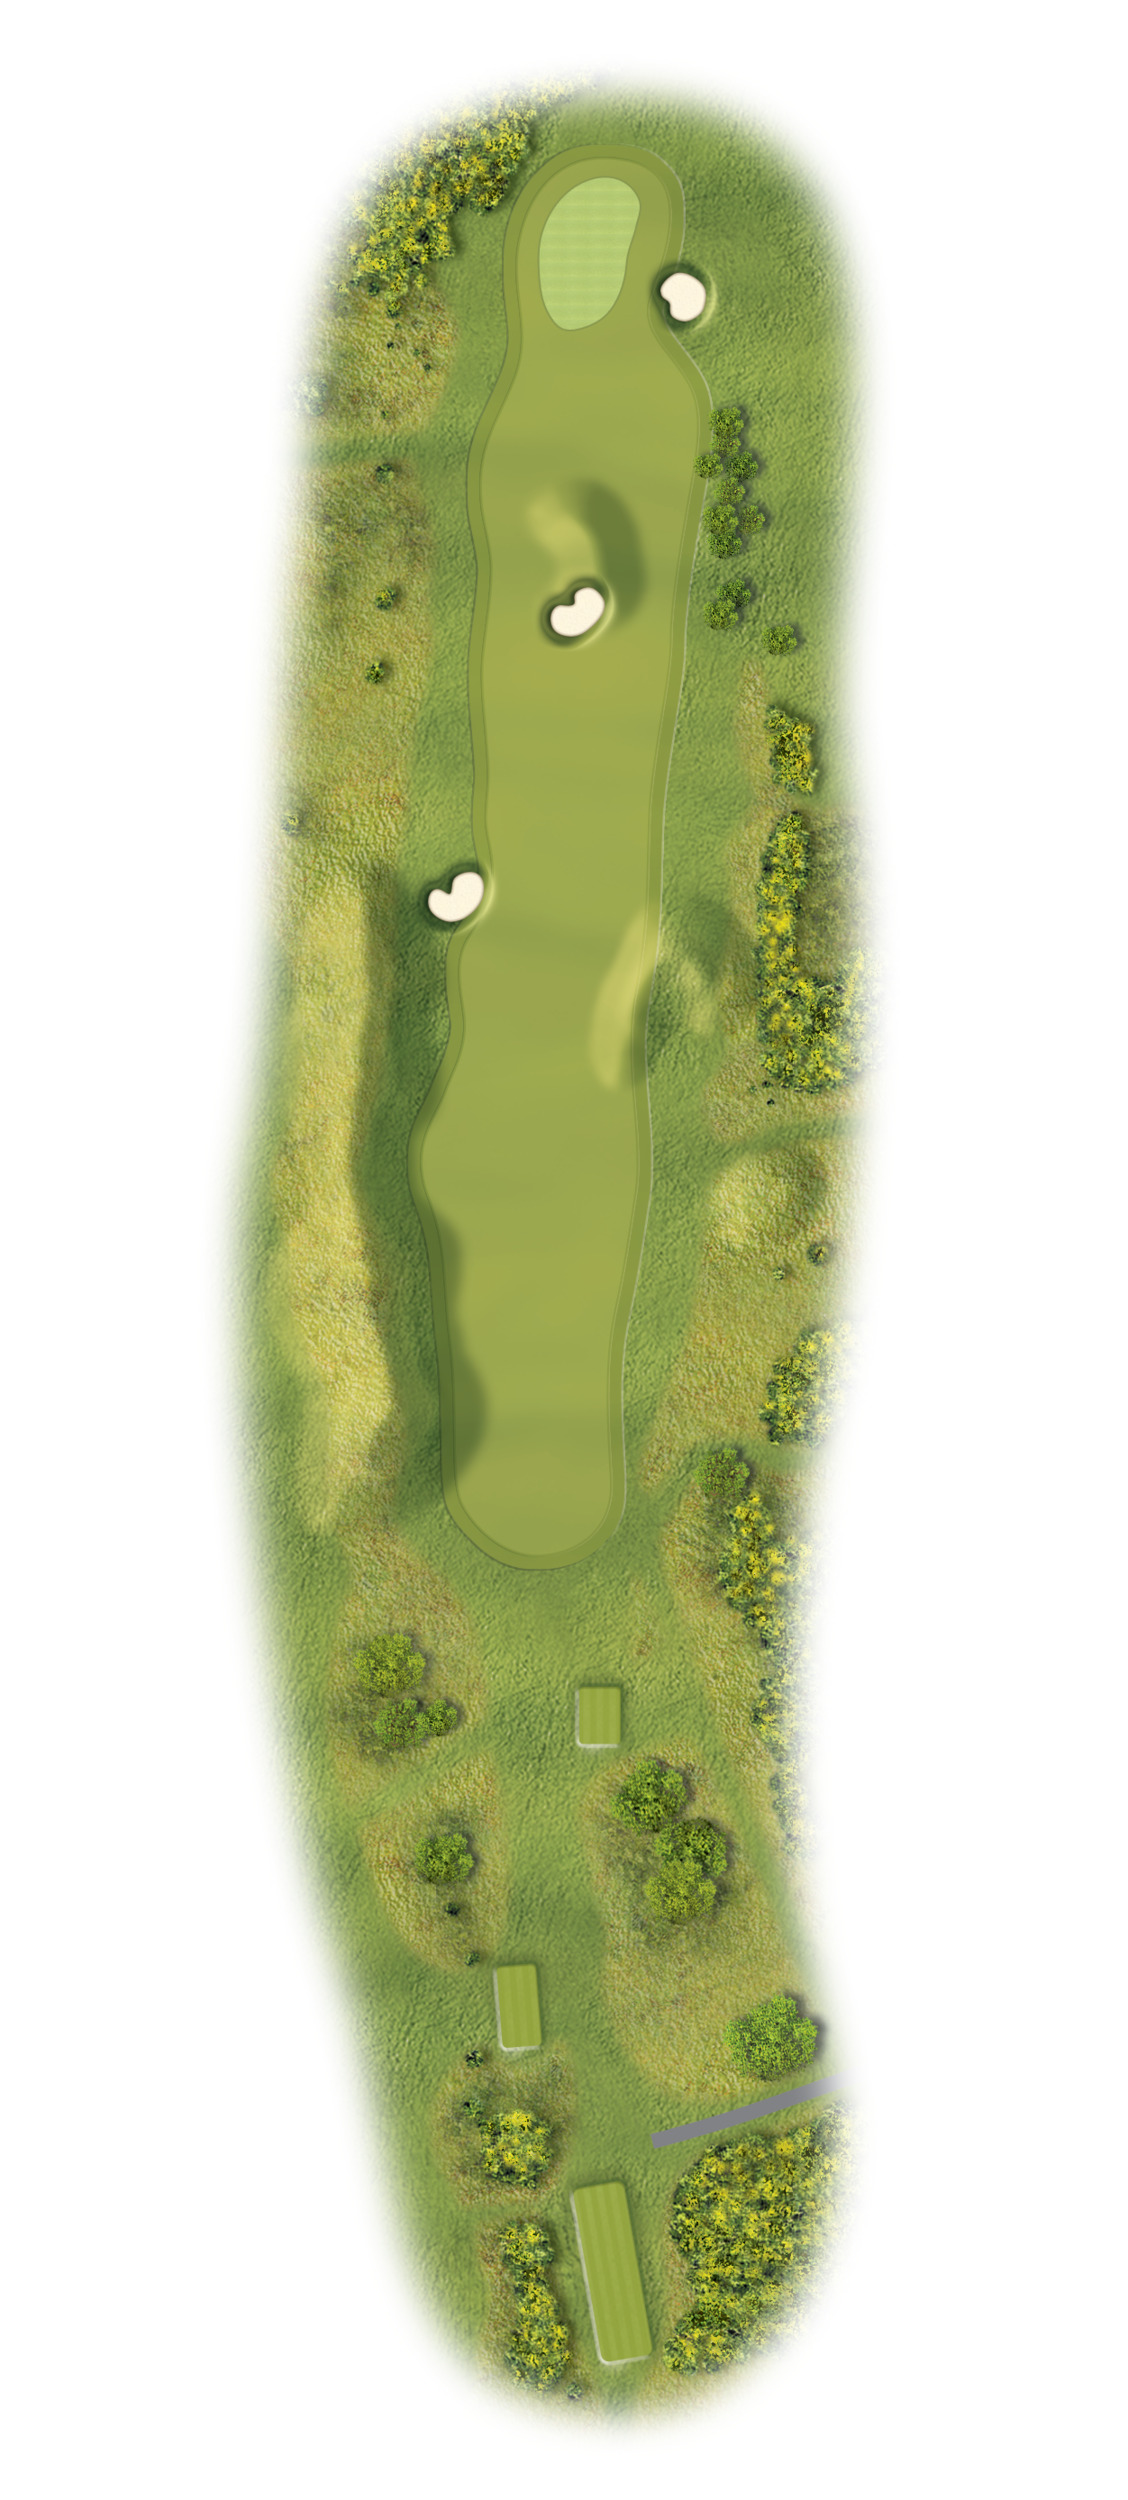
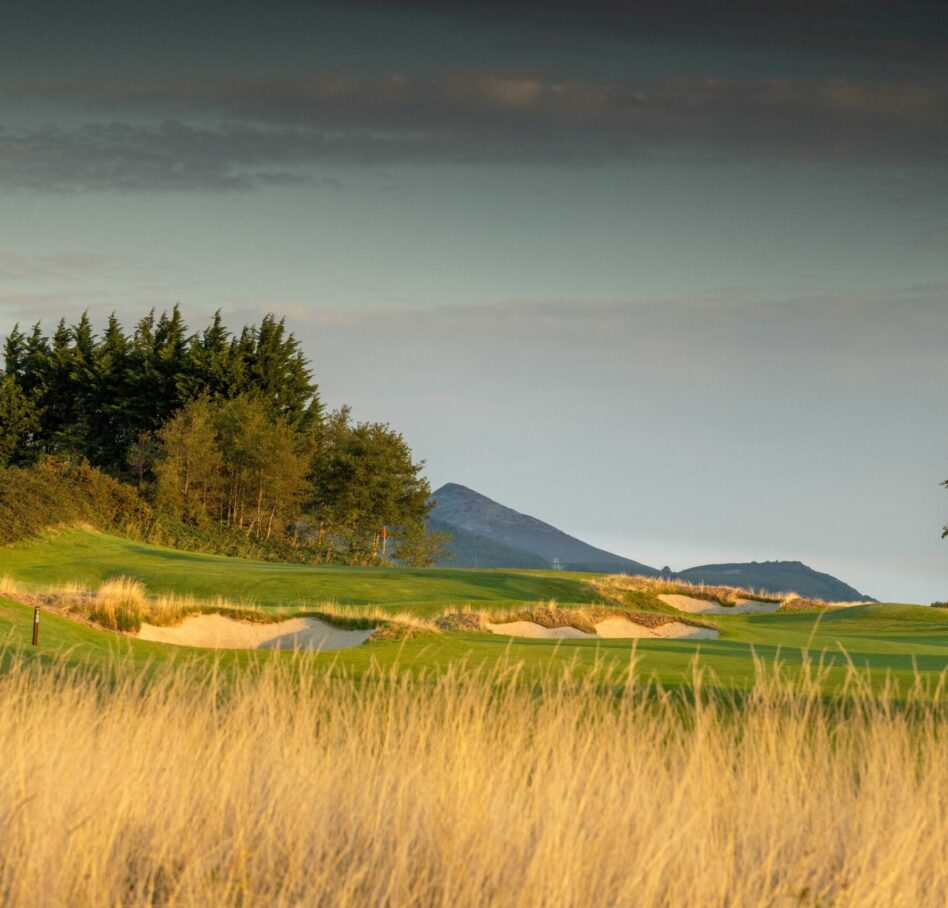
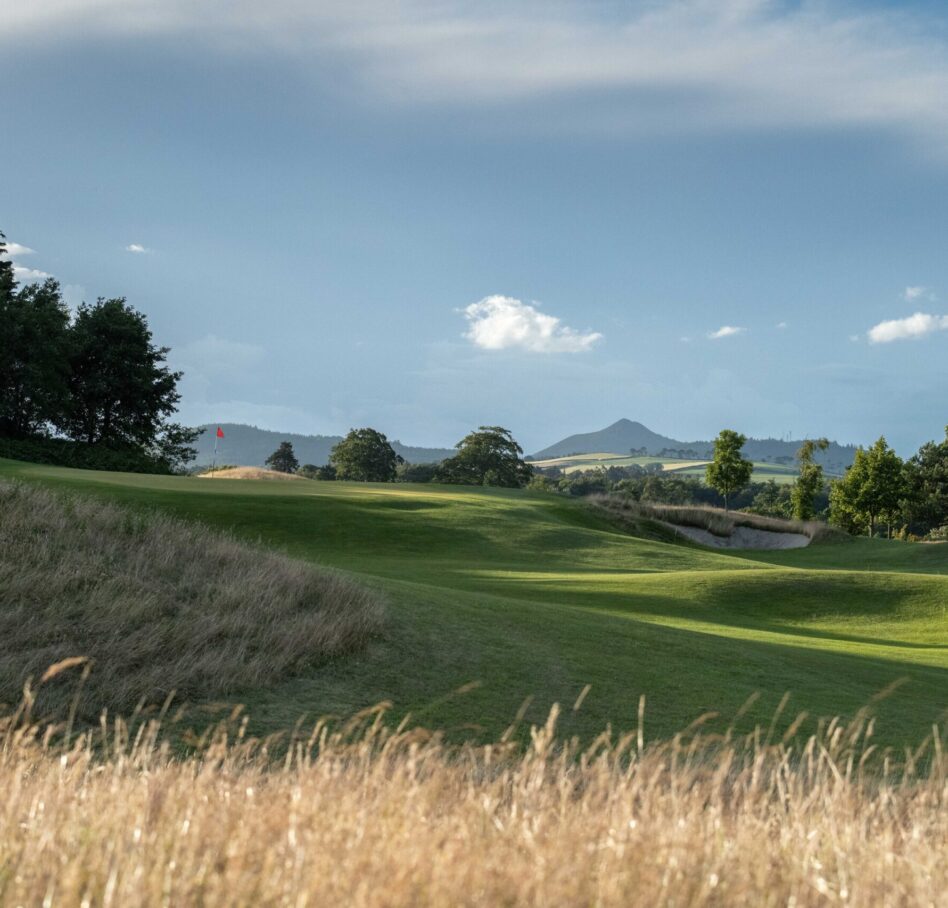
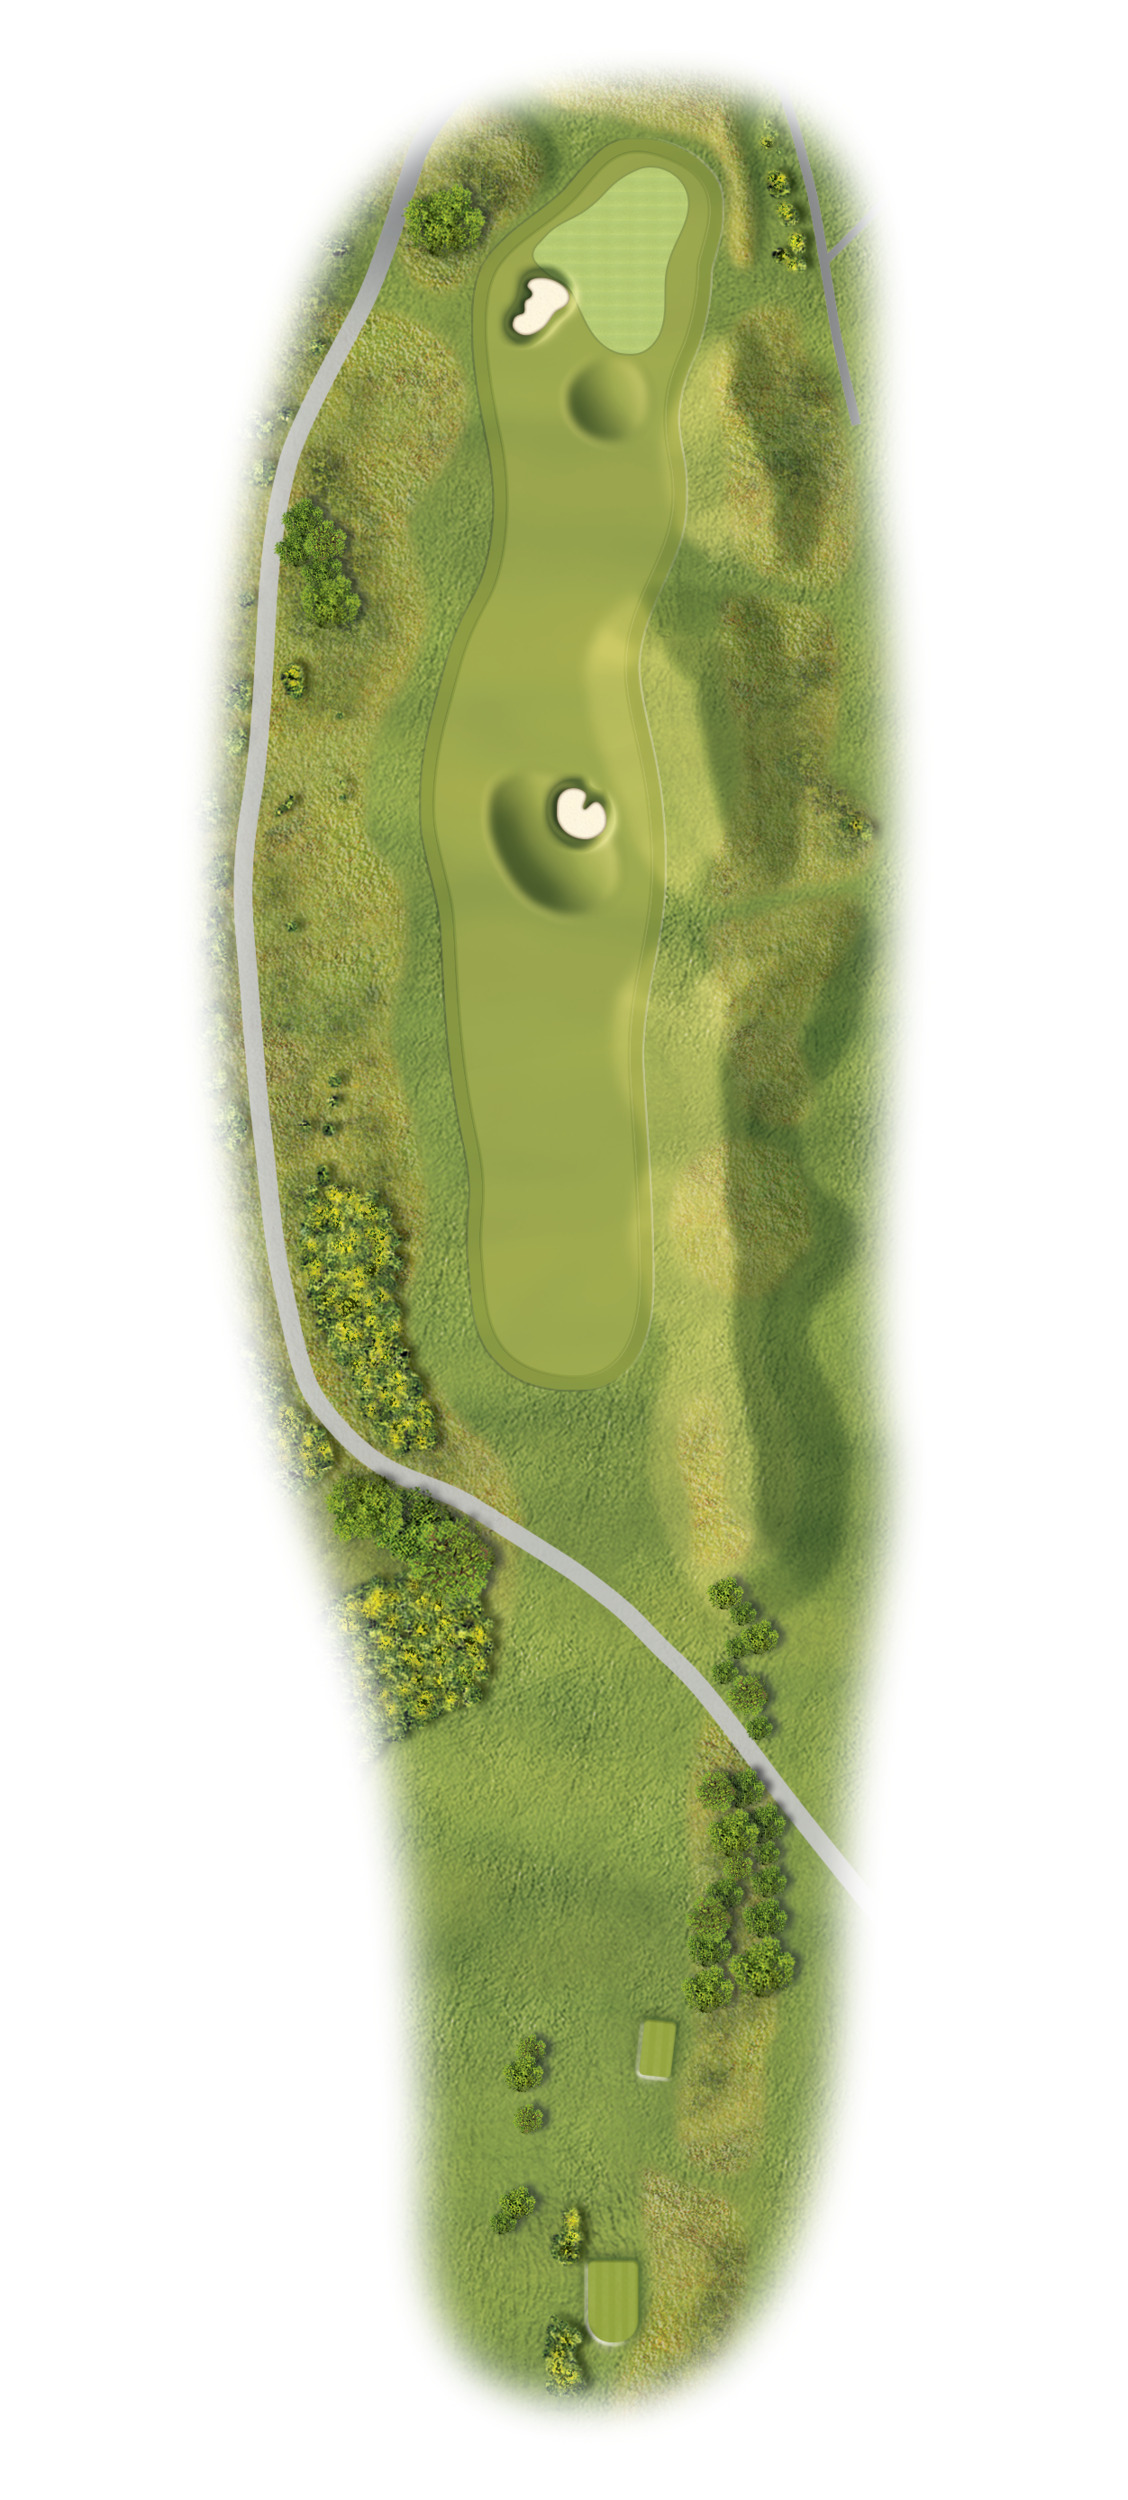
A short par 4 where its best leaving your favourite yardage for your second shot. The green is elevated and slopes dramatically from back to front so make sure you choose enough club for your second shot and please try not to be short.
-
White: 351yds
-
Green: 313yds
-
Gold: 264yds
-
Red: 264yds
Hole 9
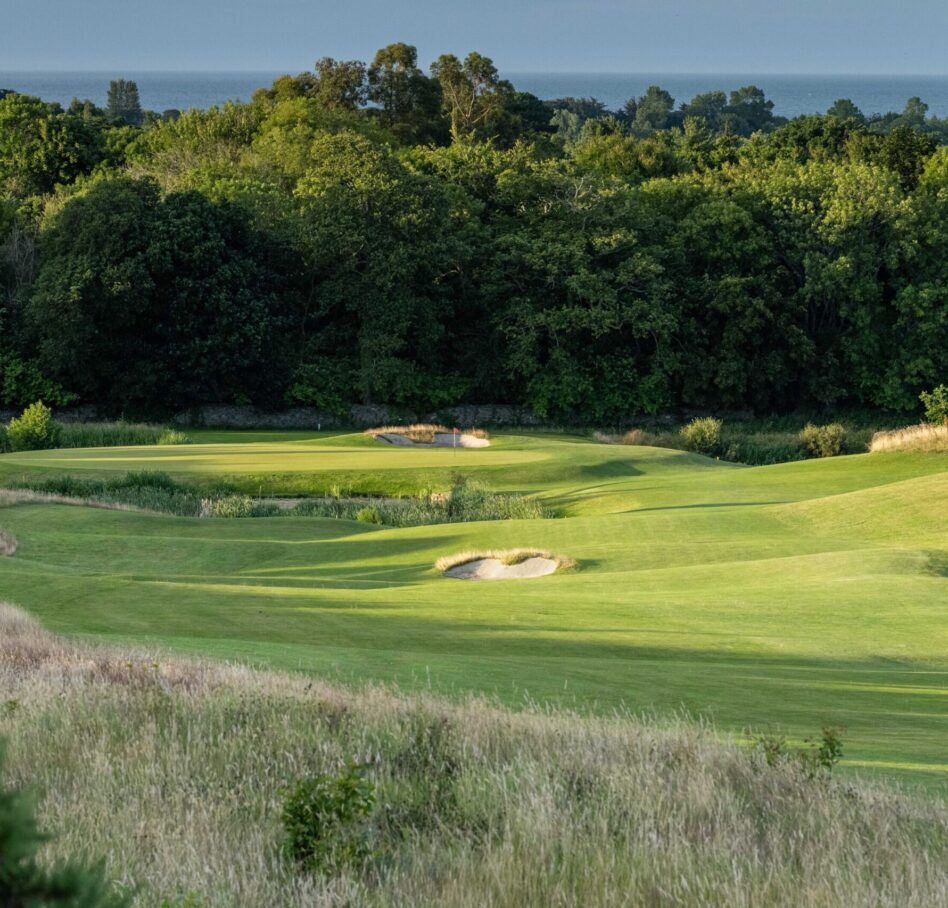
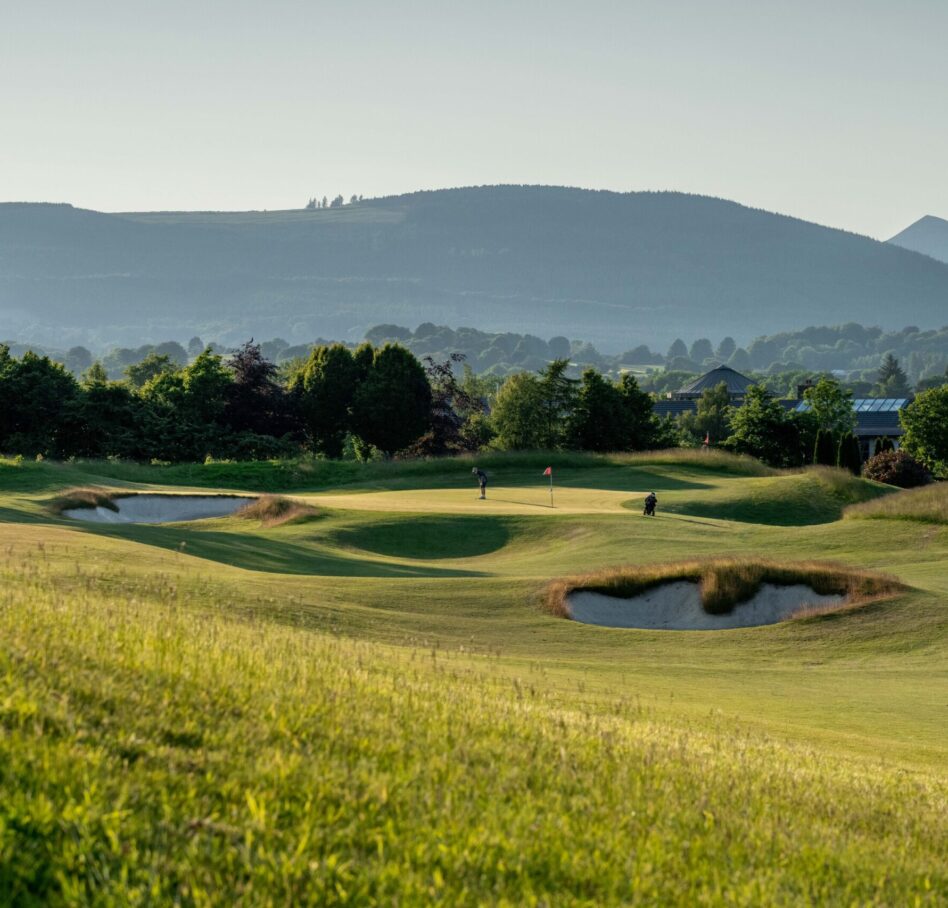
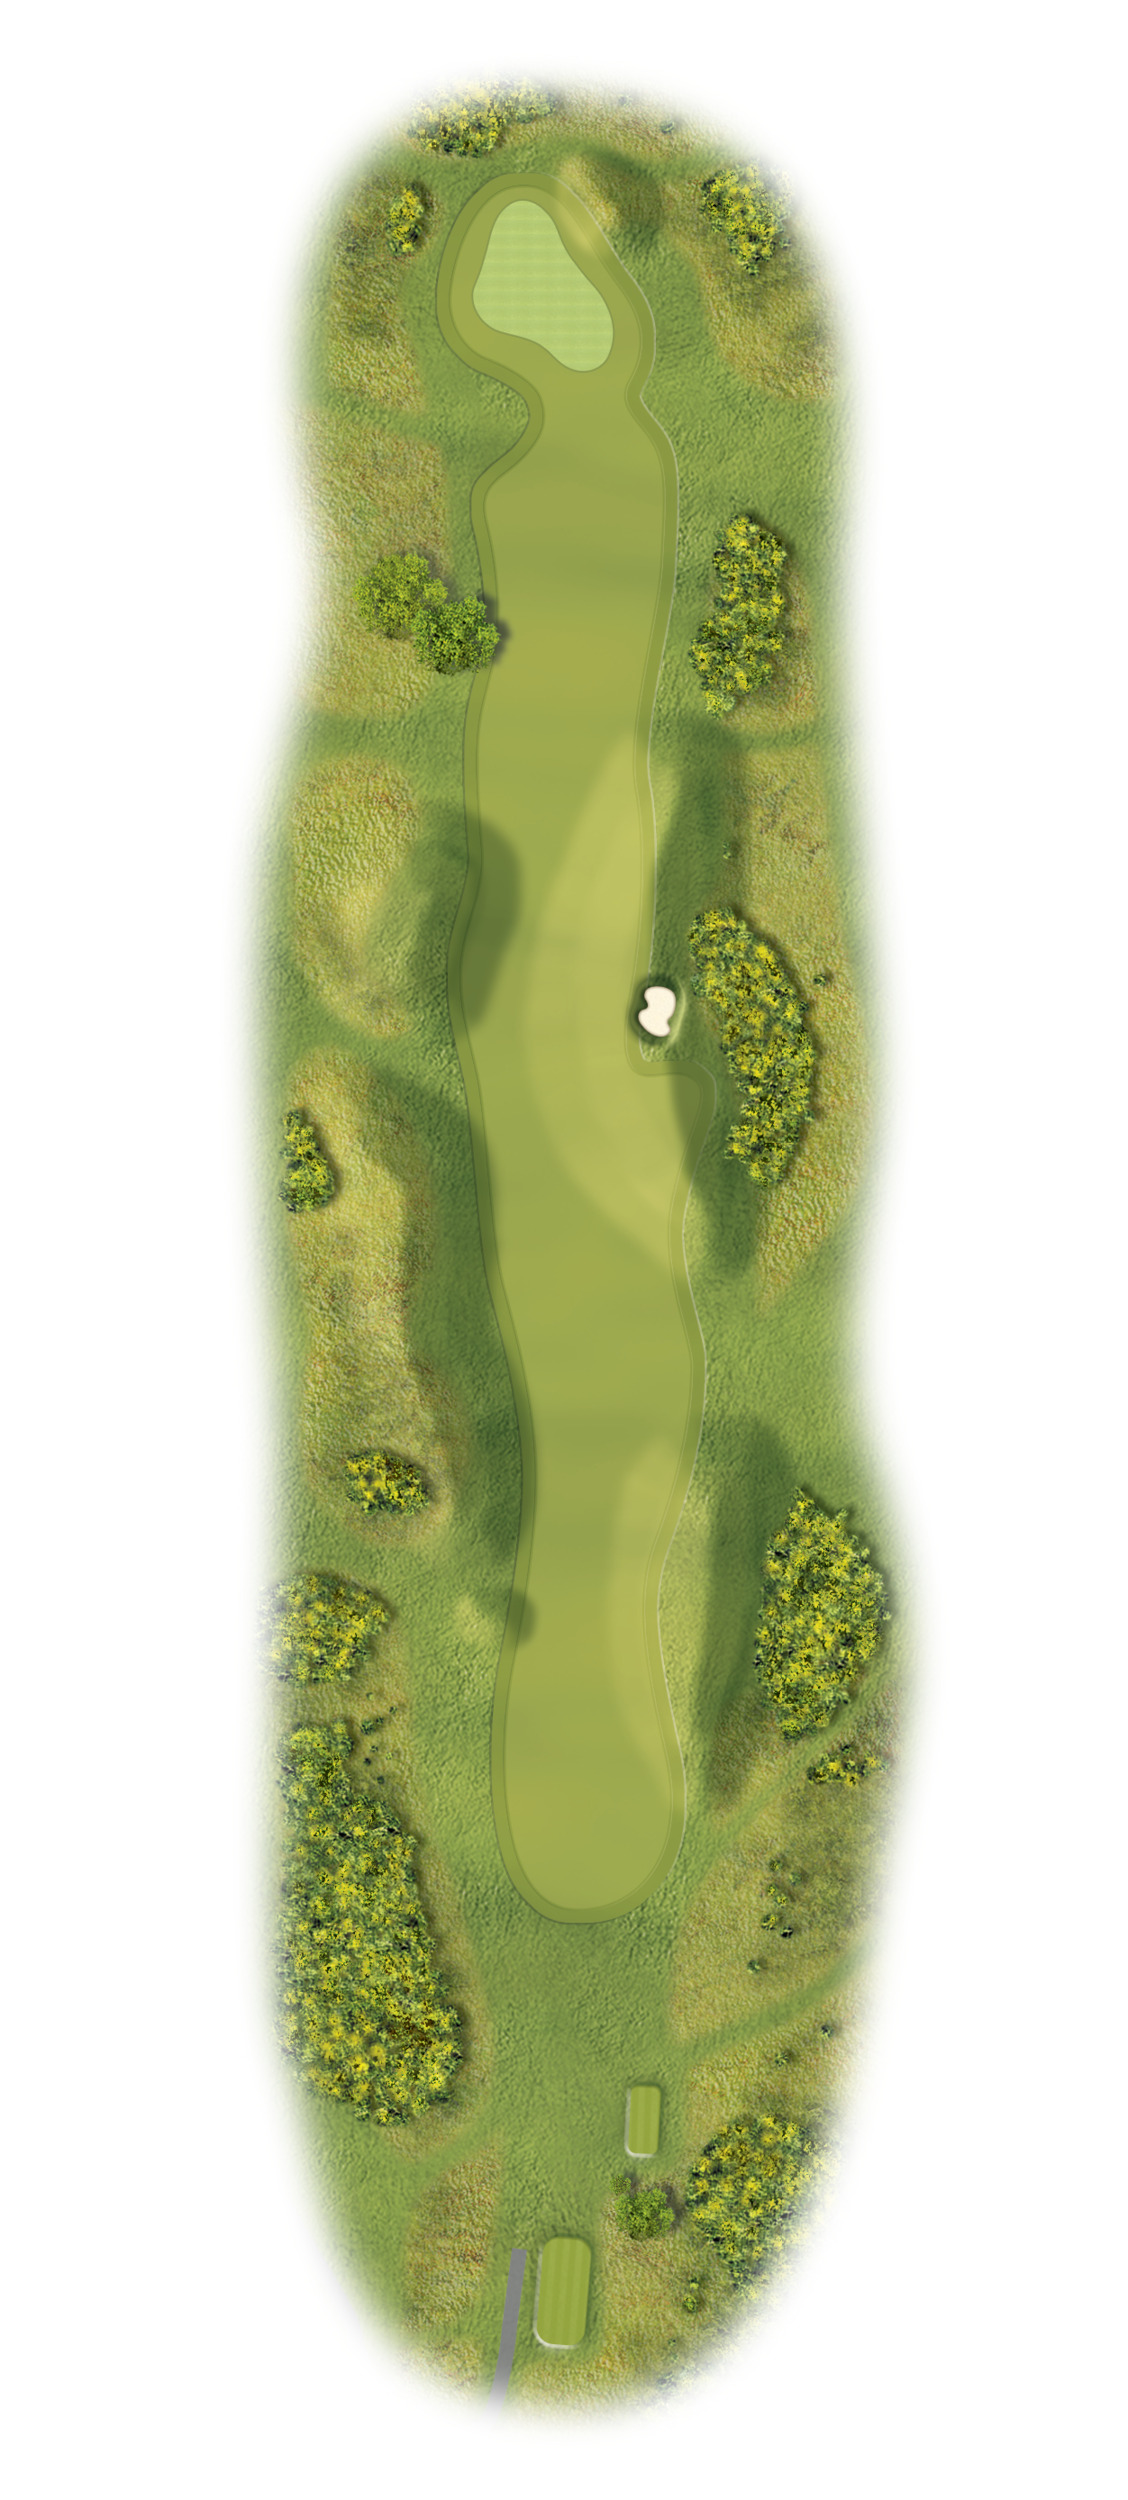
Beware the bunker in the middle of the fairway. Longer hitters will easily carry this bunker whereas a lay-up will leave you about 125 – 150 yards to a raised green protected by bunkers short left and right.
-
White: 391yds
-
Green: 347yds
-
Gold: 343yds
-
Red: 343yds
Hole 10
What you see is what you get with this long par 4. Avoid missing the fairway at all costs. Playing to a raised green. Take an extra club to an undulating green protected by steep slopes.
-
White: 385yds
-
Green: 373yds
-
Gold: 352yds
-
Red: 352yds
Hole 11
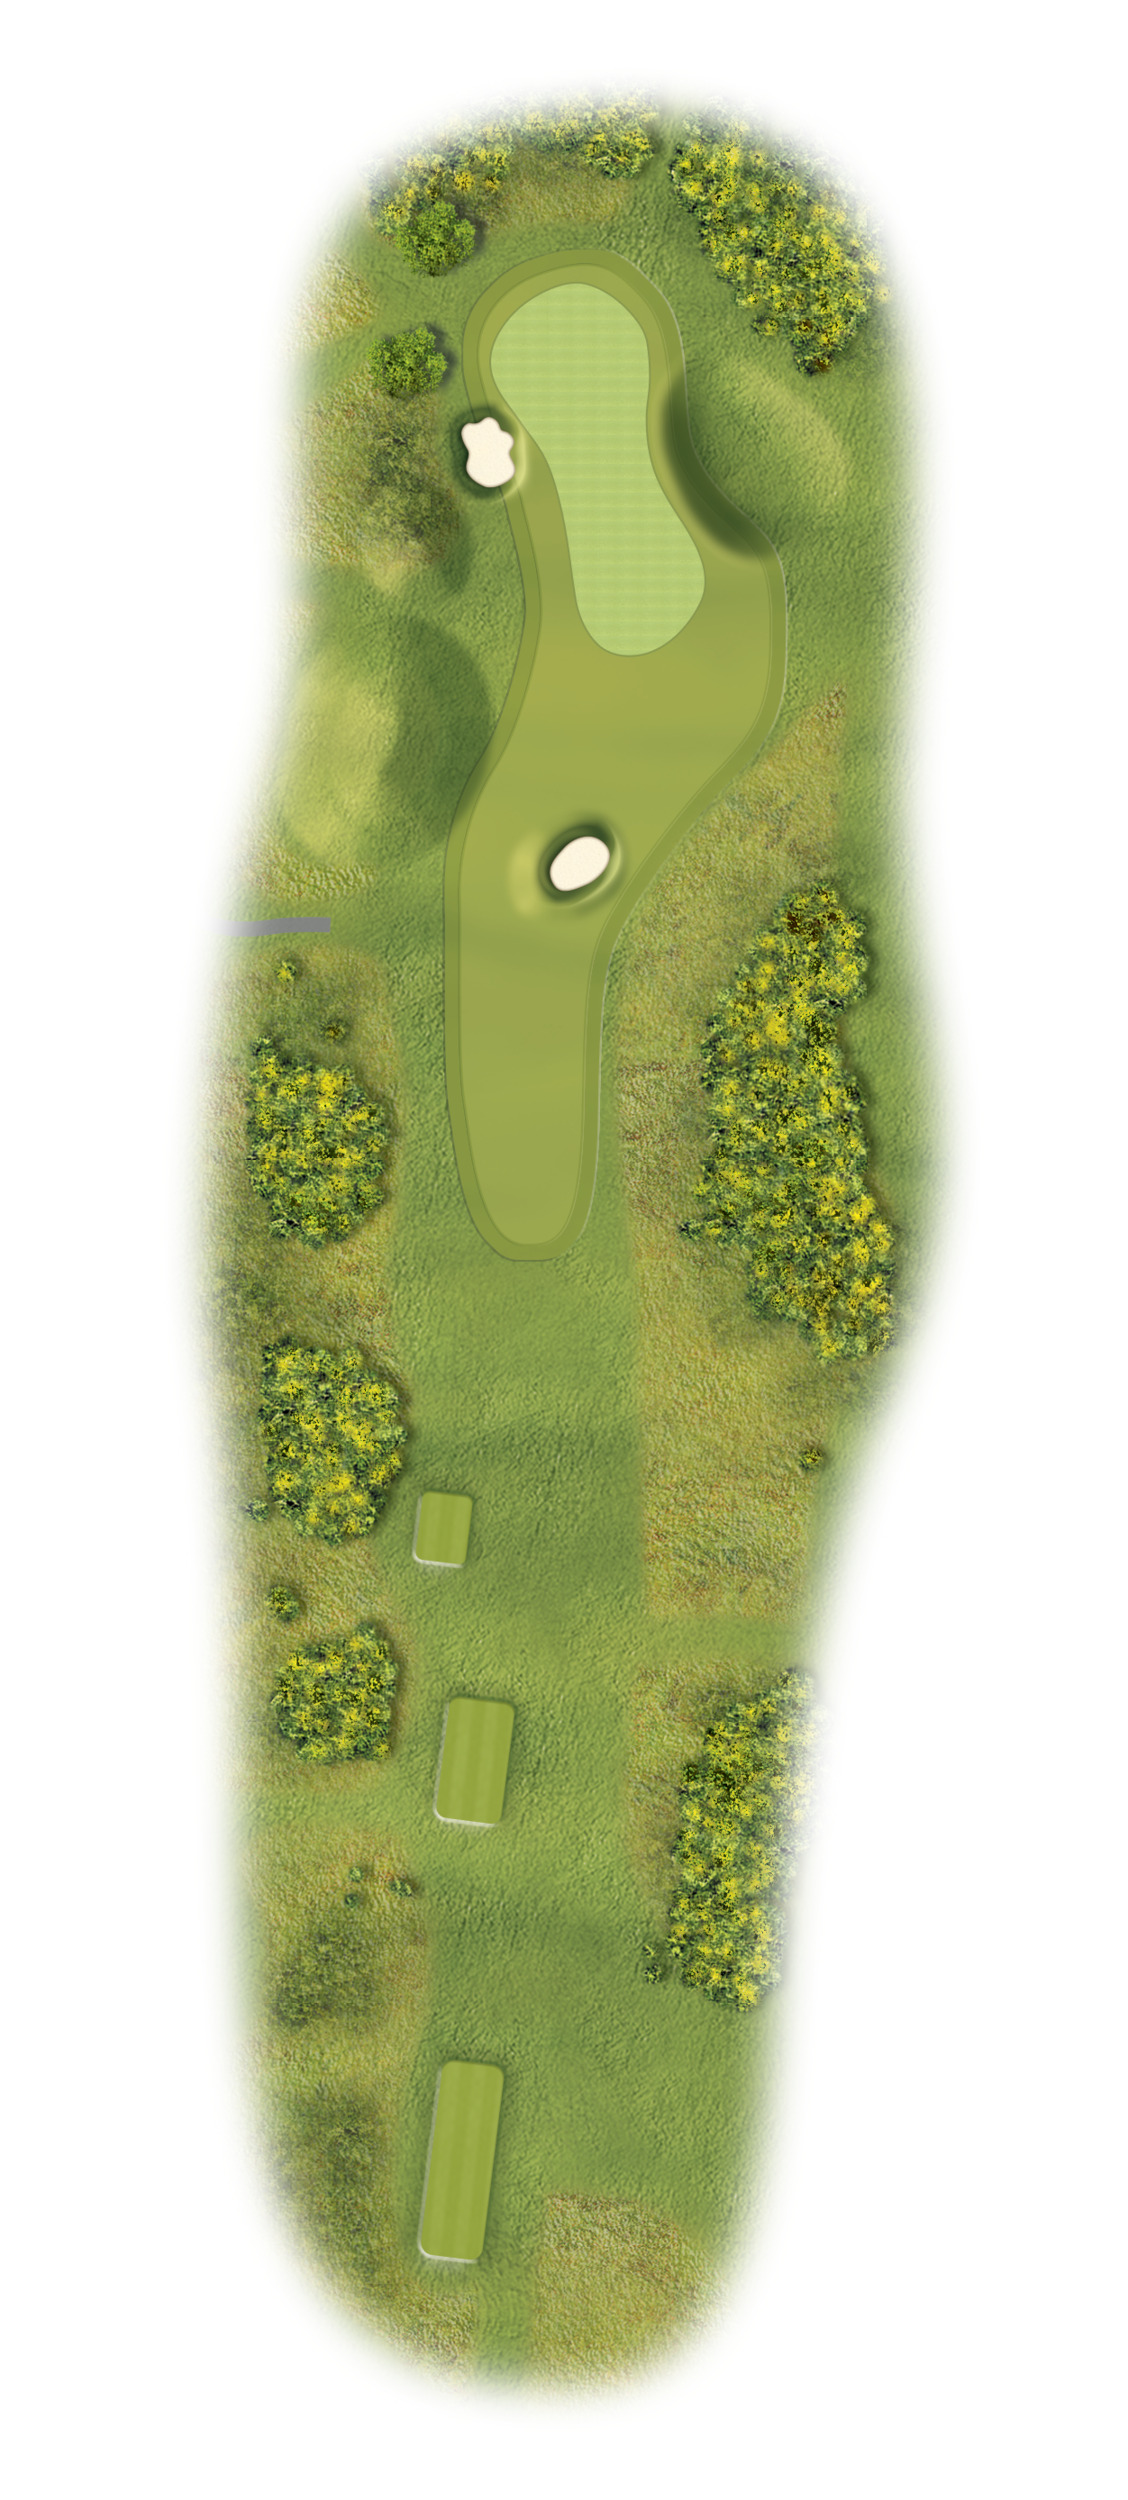
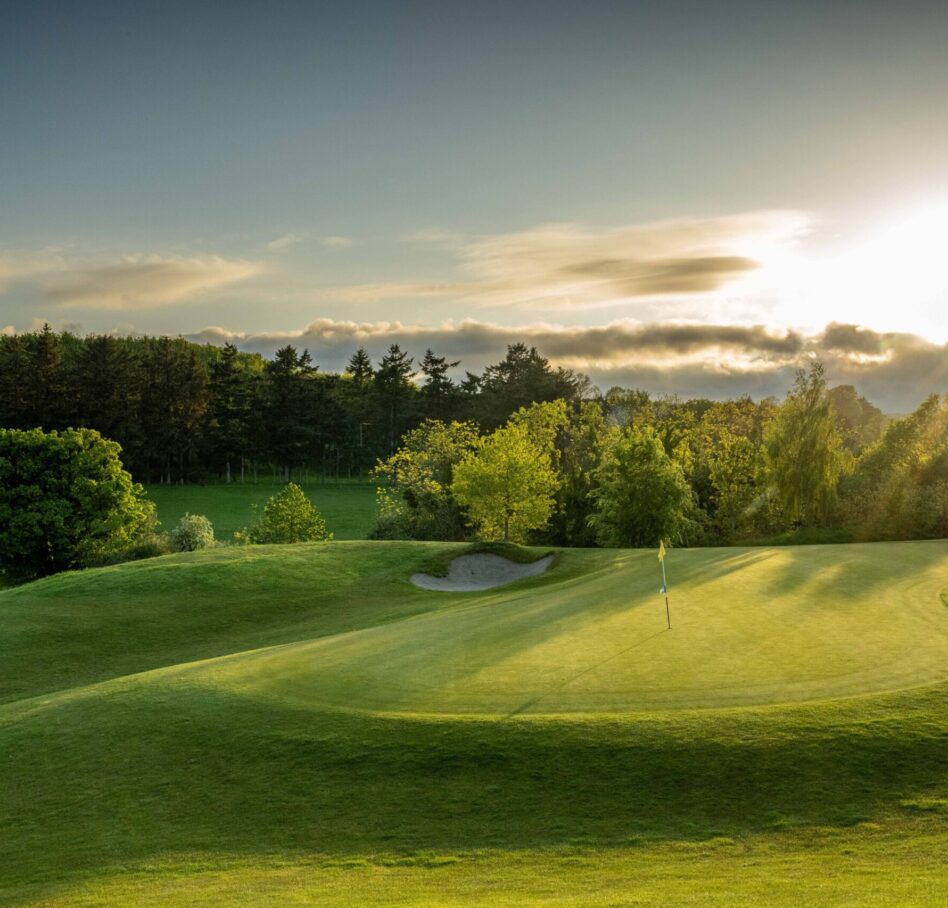
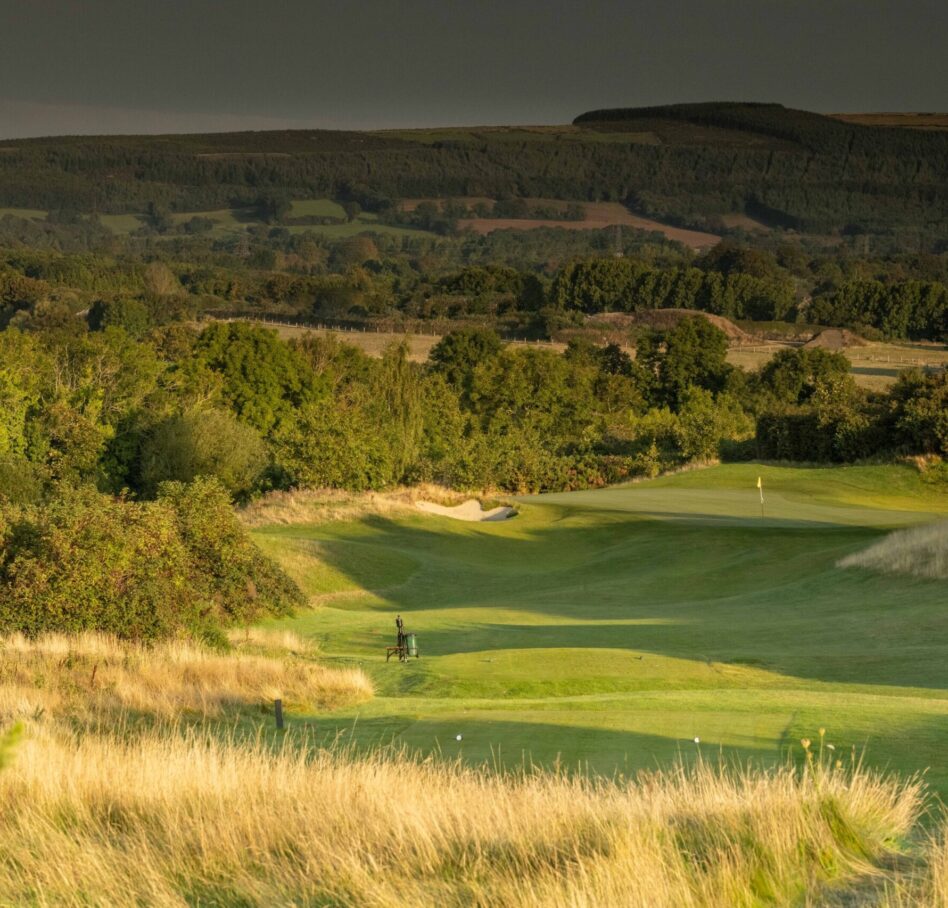
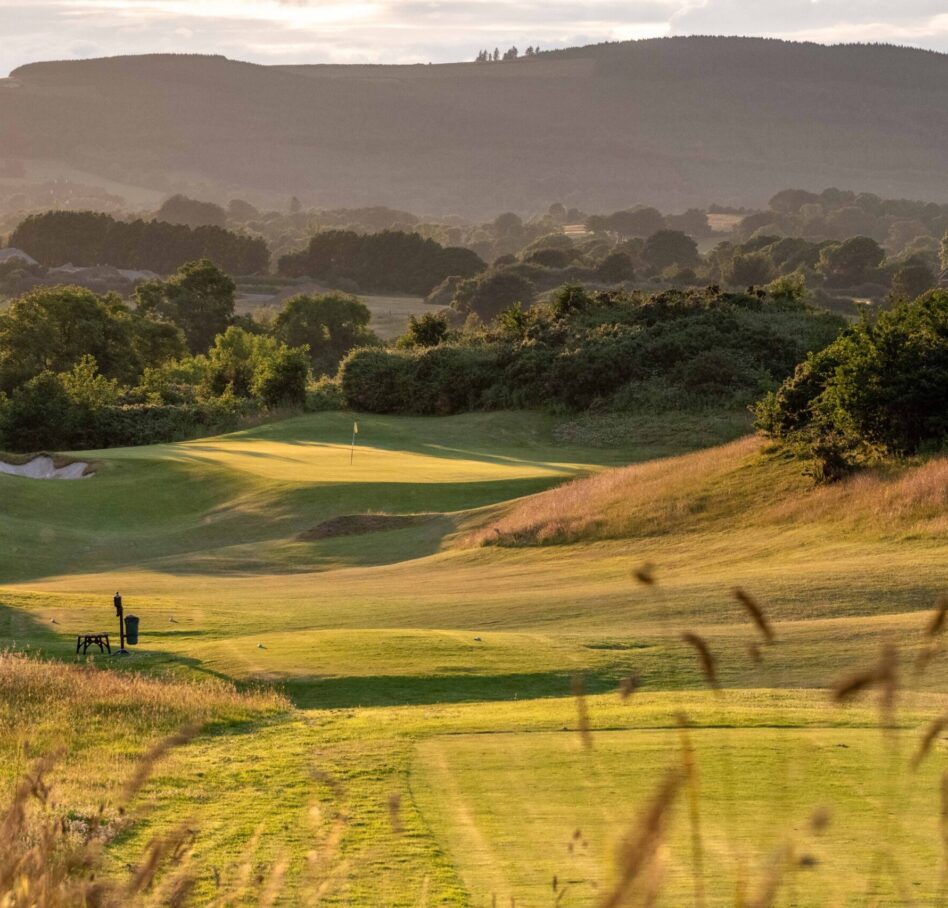
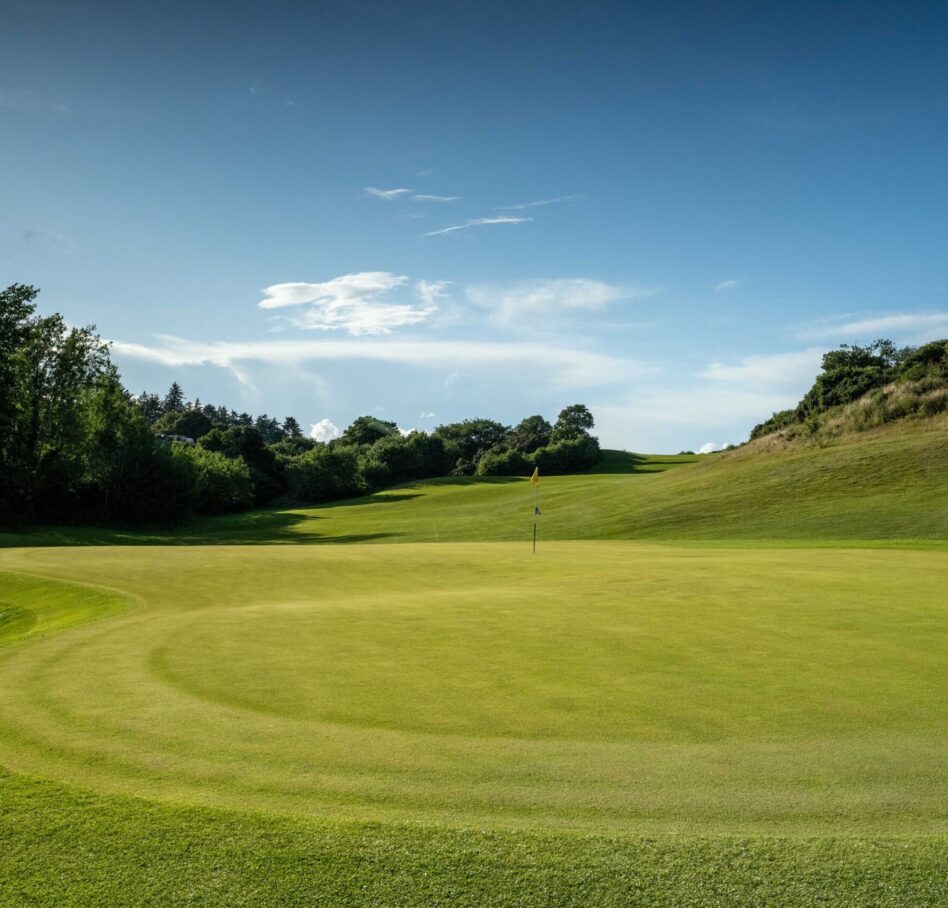
A picturesque, postage stamp par 3 where short shots will be punished. The green slopes from right to left. Wind can play a factor as deep bunkers protect this hole.
-
White: 185yds
-
Green: 147yds
-
Gold: 120yds
-
Red: 120yds
Hole 12
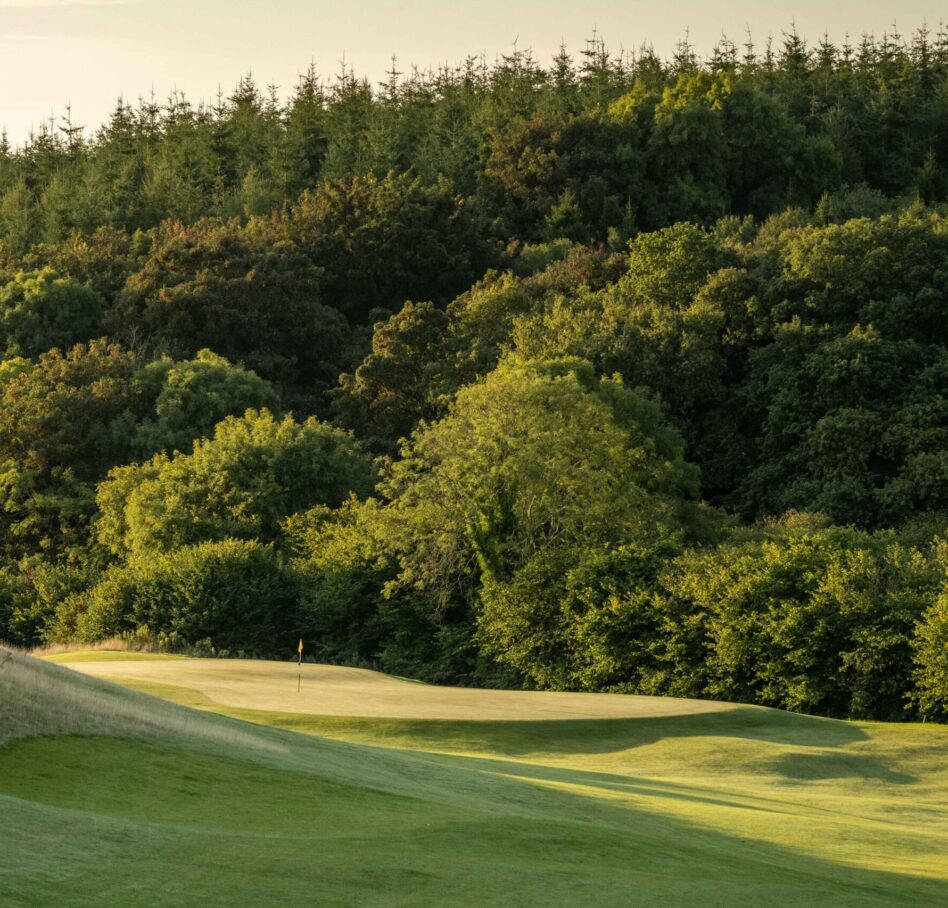
Index 1 and one of the great par 4’s in Irish golf, Pat Ruddy’s imagination and talent is on full display here. Proceed with caution. The top tier of fairway on the left is a good line for the clear majority, leaving a decision on whether to lay up or have a go. The fairway slopes dramatically downhill from left to right. The green is protected by a bunker with a green that has a fall to the right. The front of the green is never a bad idea.
-
White: 457yds
-
Green: 413yds
-
Gold: 392yds
-
Red: 392yds
Hole 13
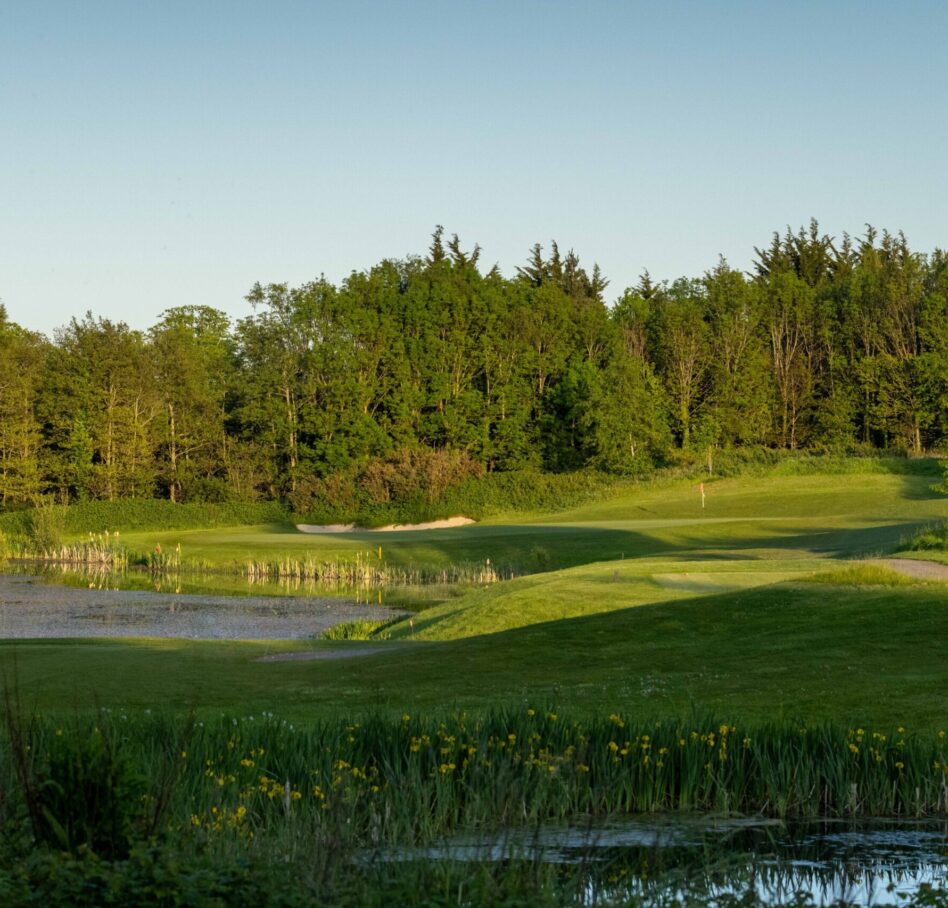
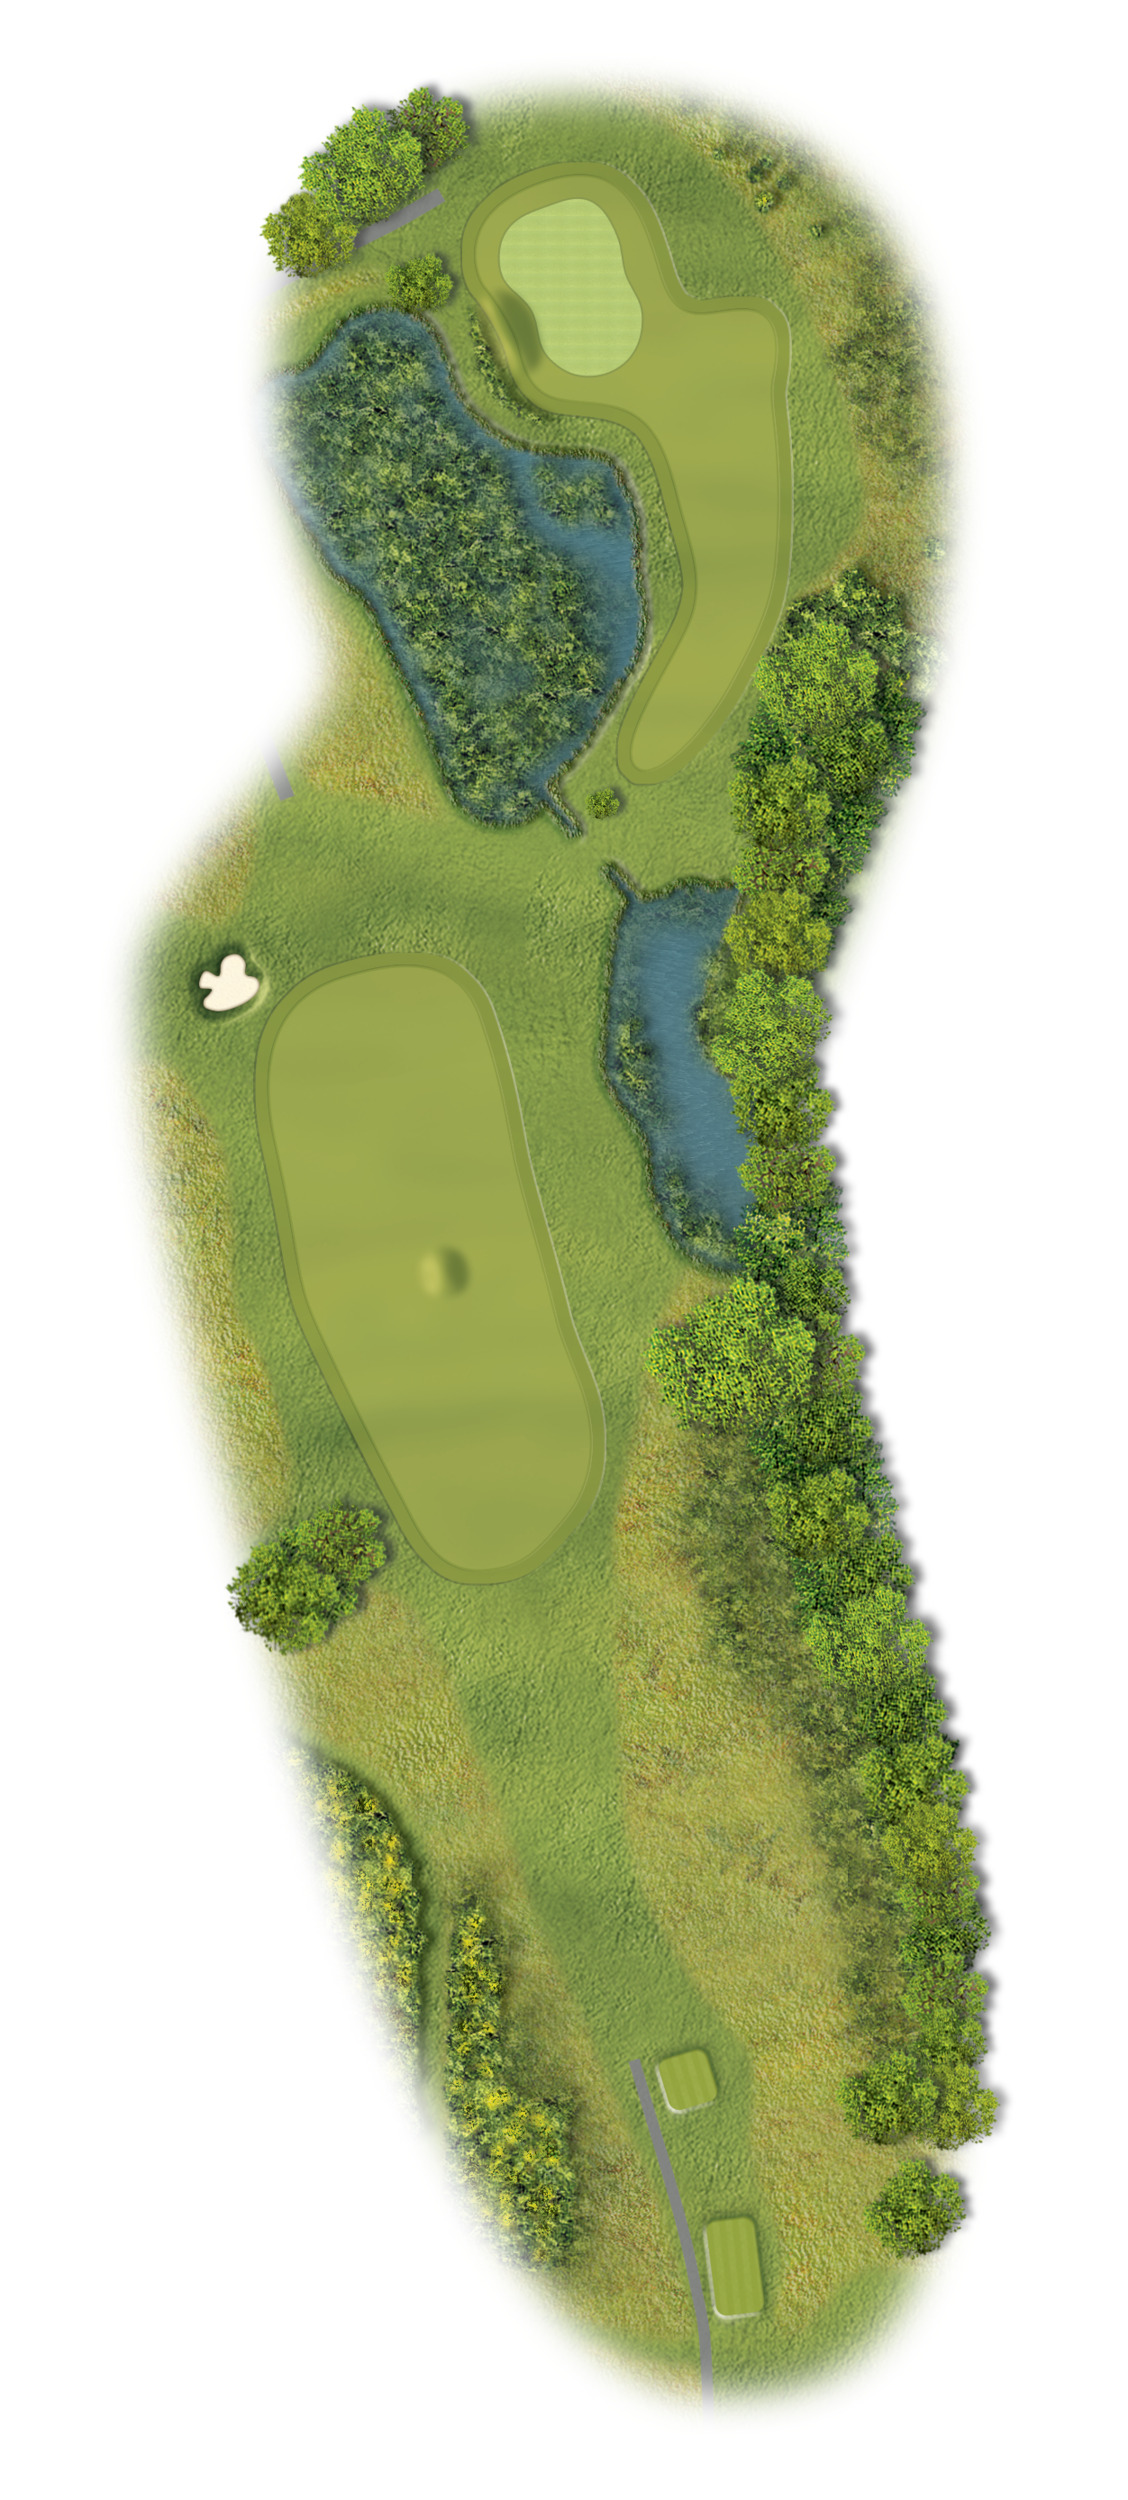
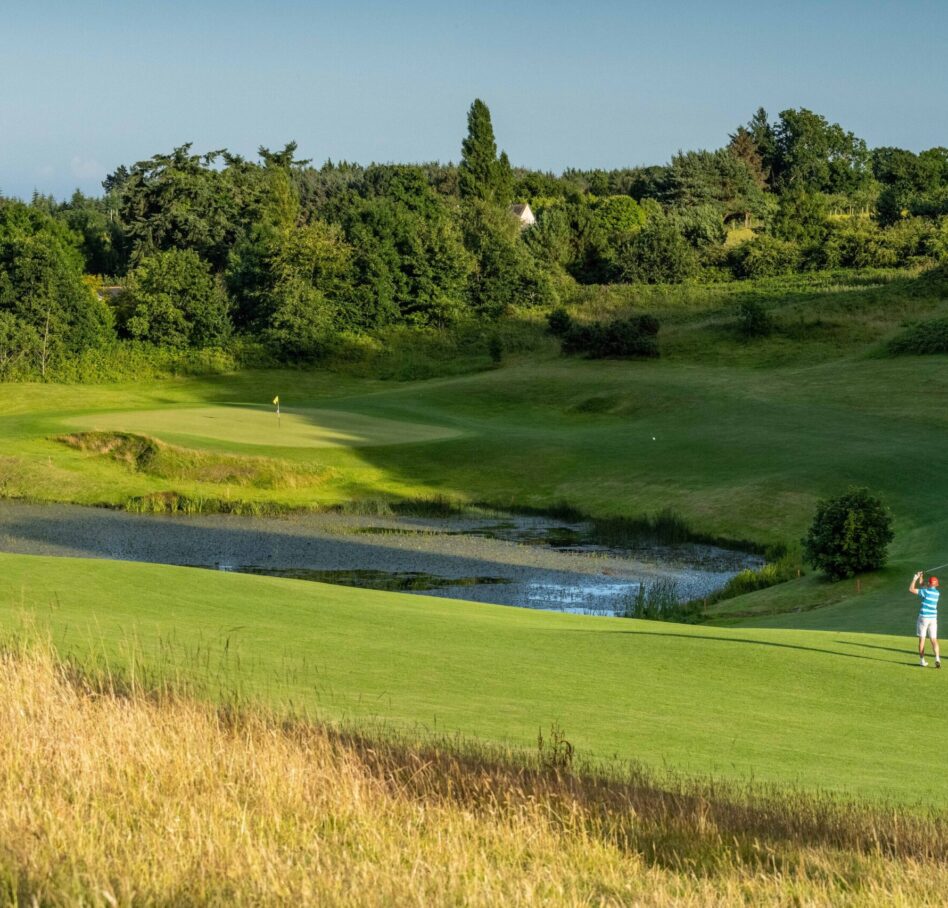
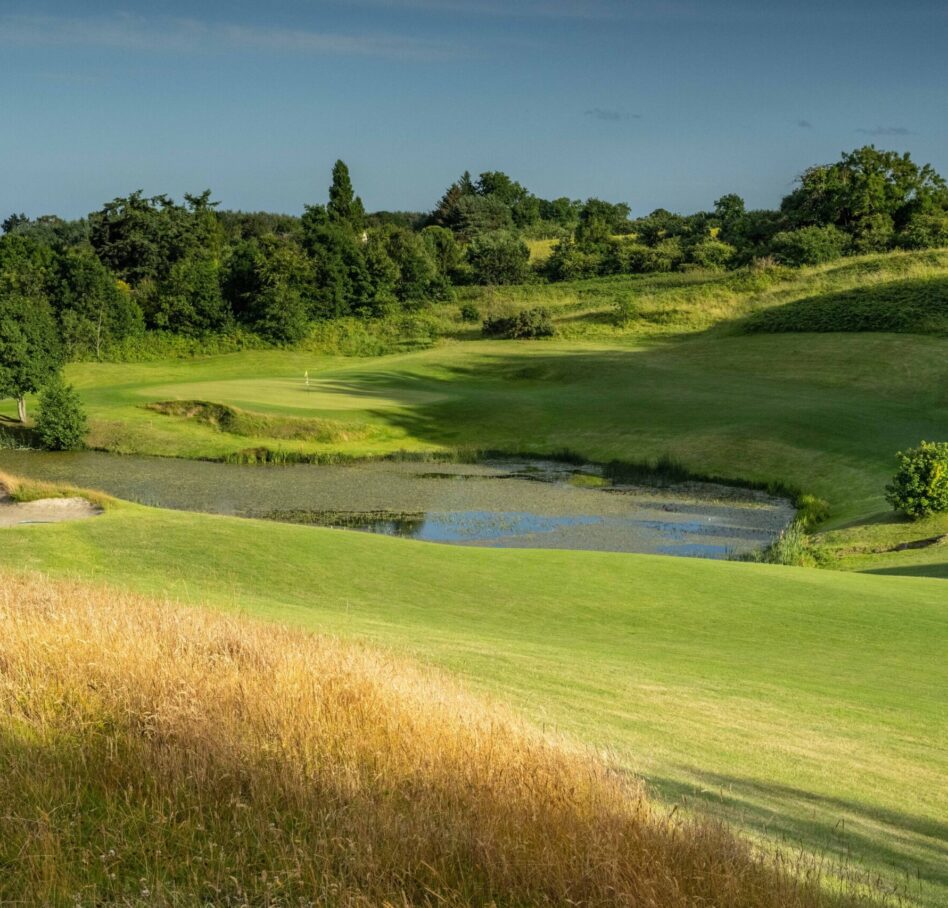
An incredibly picturesque par 4. Keep your tee shot tight to the left side of the fairway. The ideal tee shot is at the bunker on the left. This leaves a shot over water to a green that slopes from back to front. Avoid the water and bunker short at all costs.
-
White: 338yds
-
Green: 329yds
-
Gold: 301yds
-
Red: 301yds
Hole 14
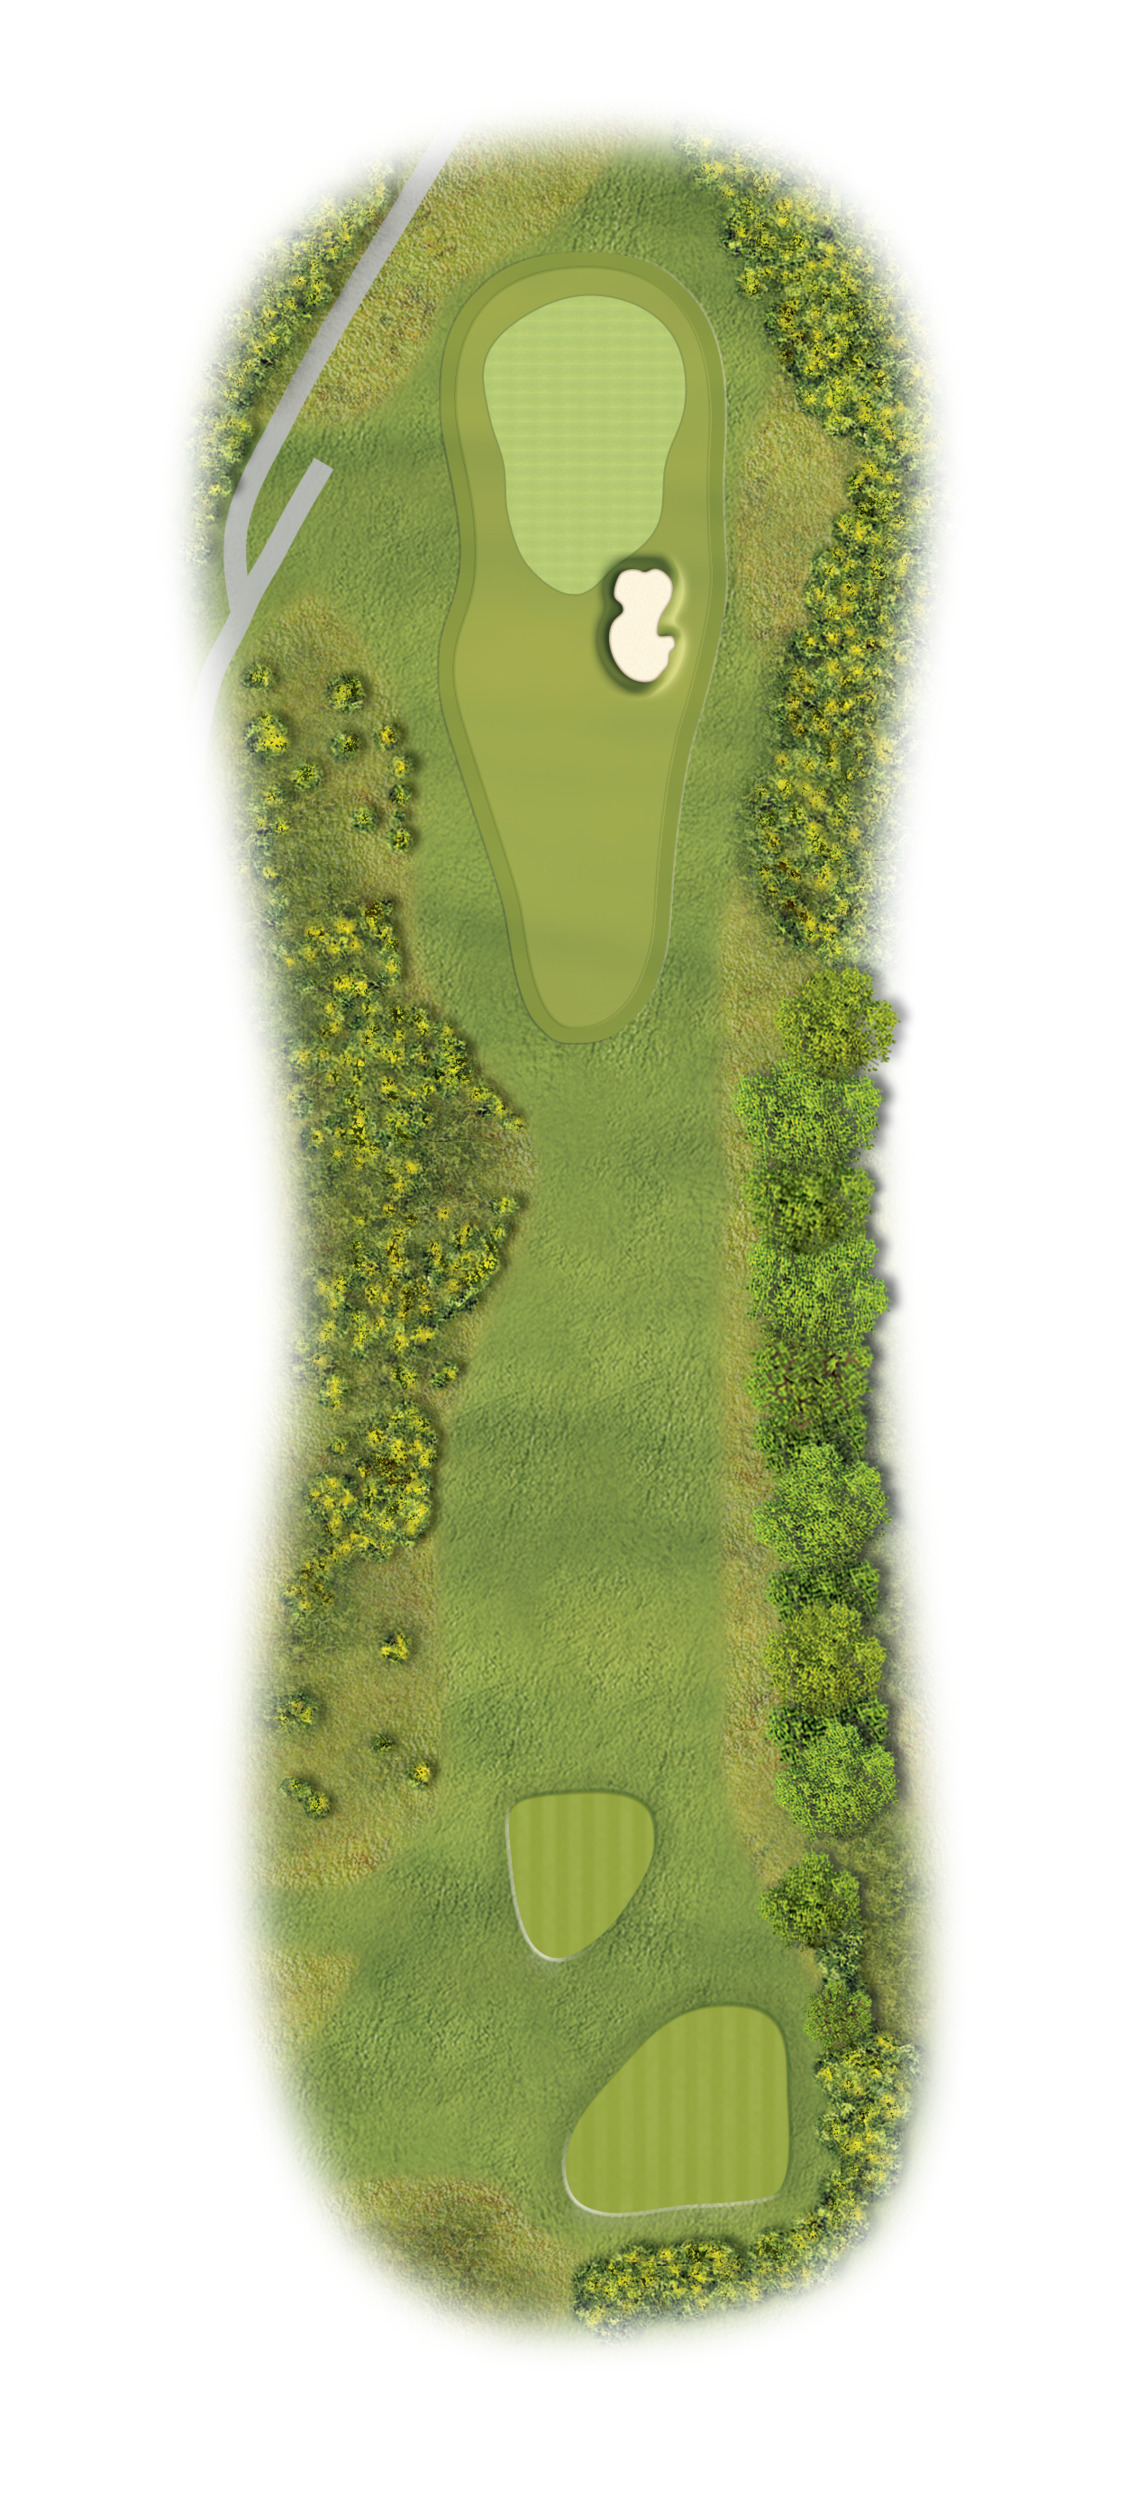
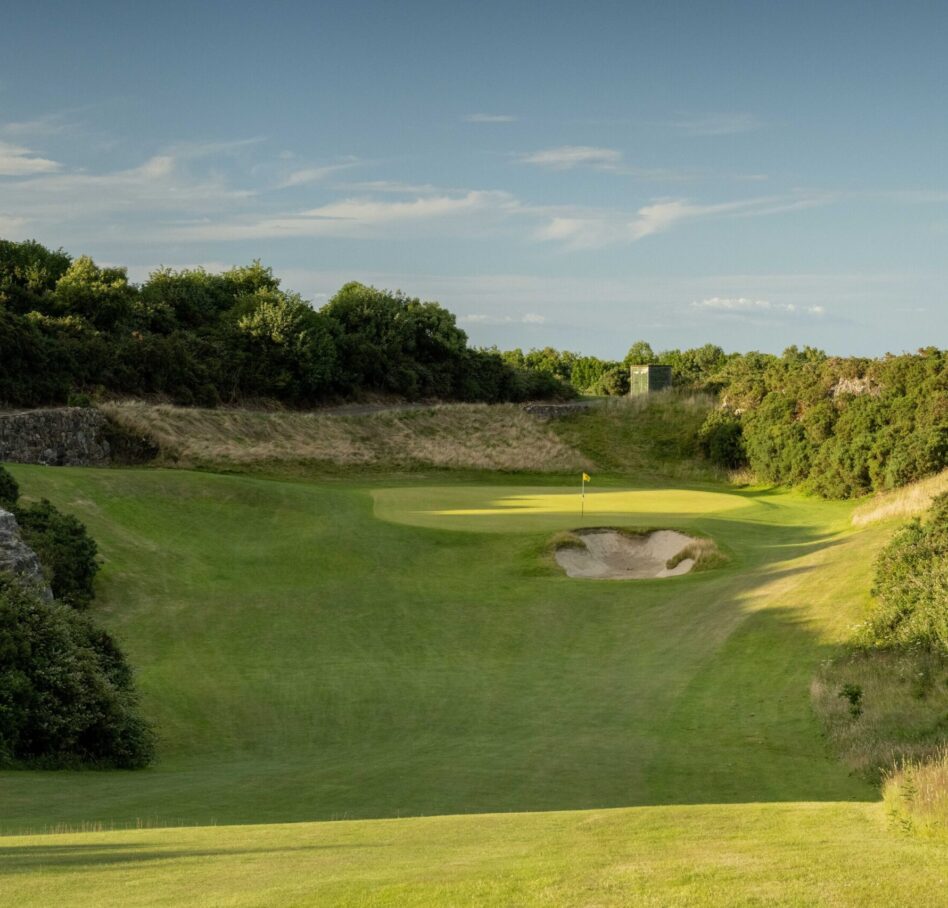
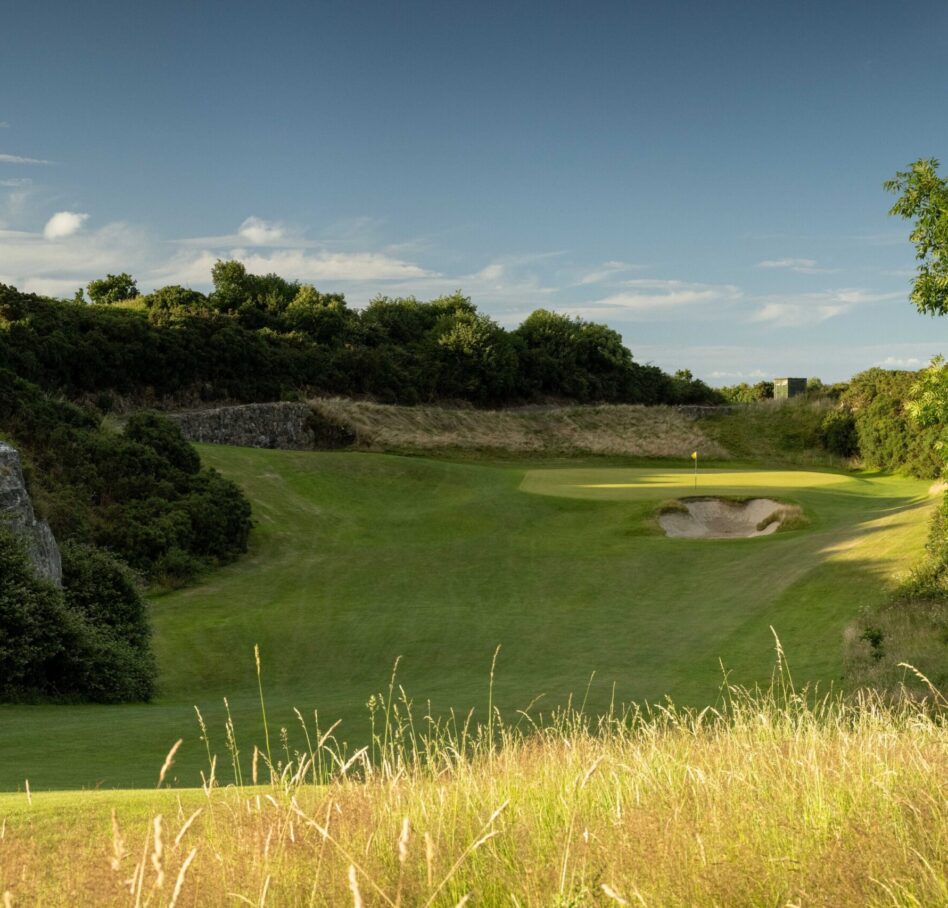
The “quarry hole”. A fantastic par 3 where club selection is vital. Only one piece of advice; don’t be short. All the danger on this hole is short. The green slopes dramatically from back to front.
-
White: 159yds
-
Green: 148yds
-
Gold: 141yds
-
Red: 141yds
Hole 15
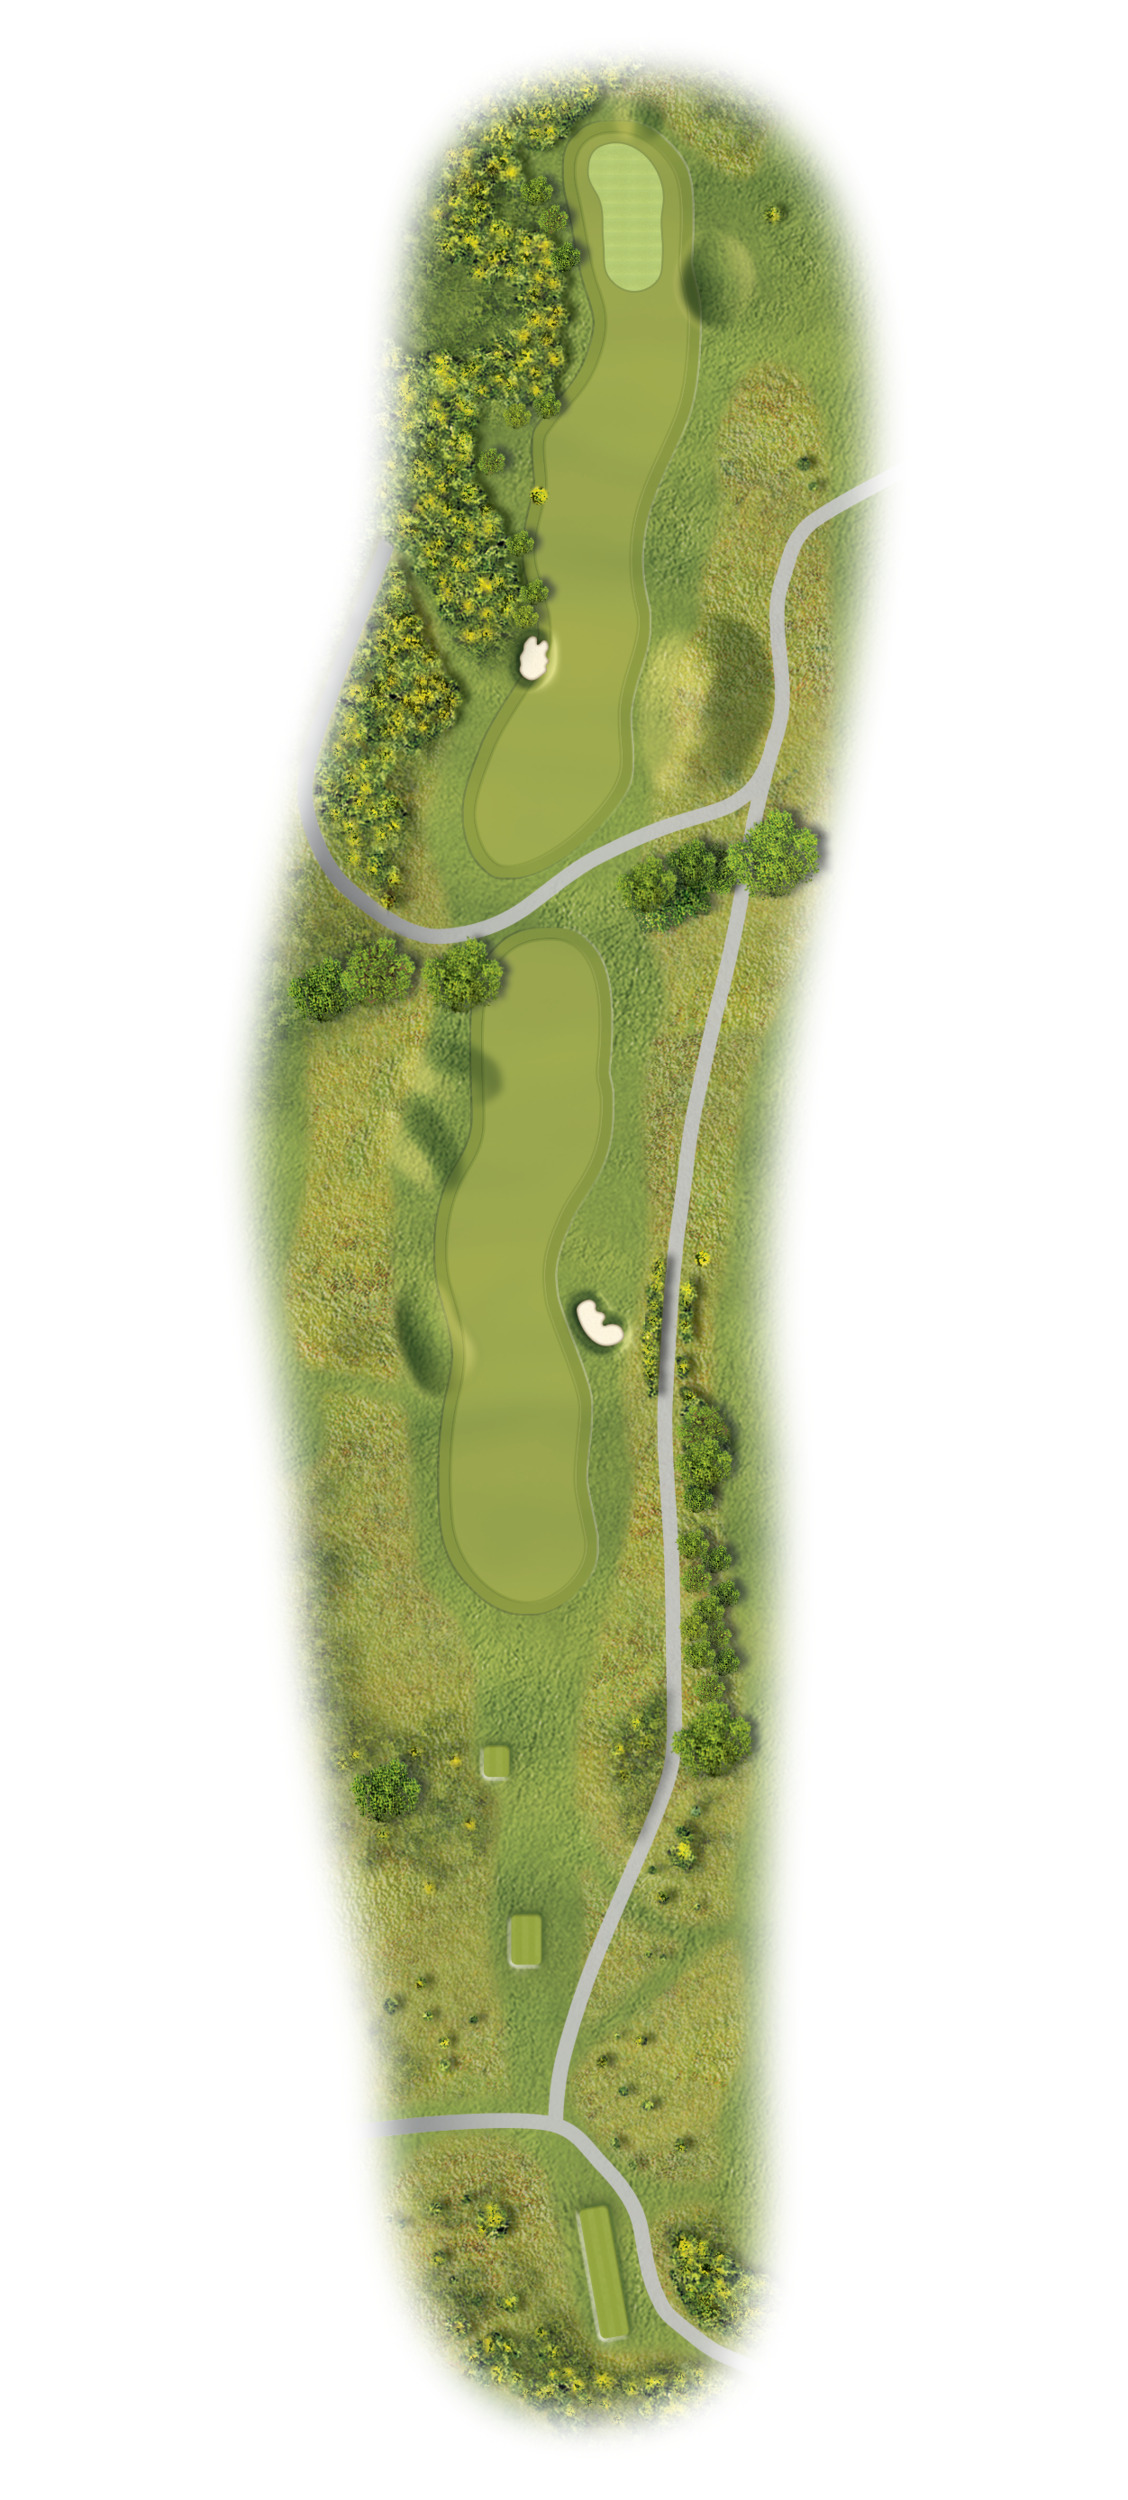
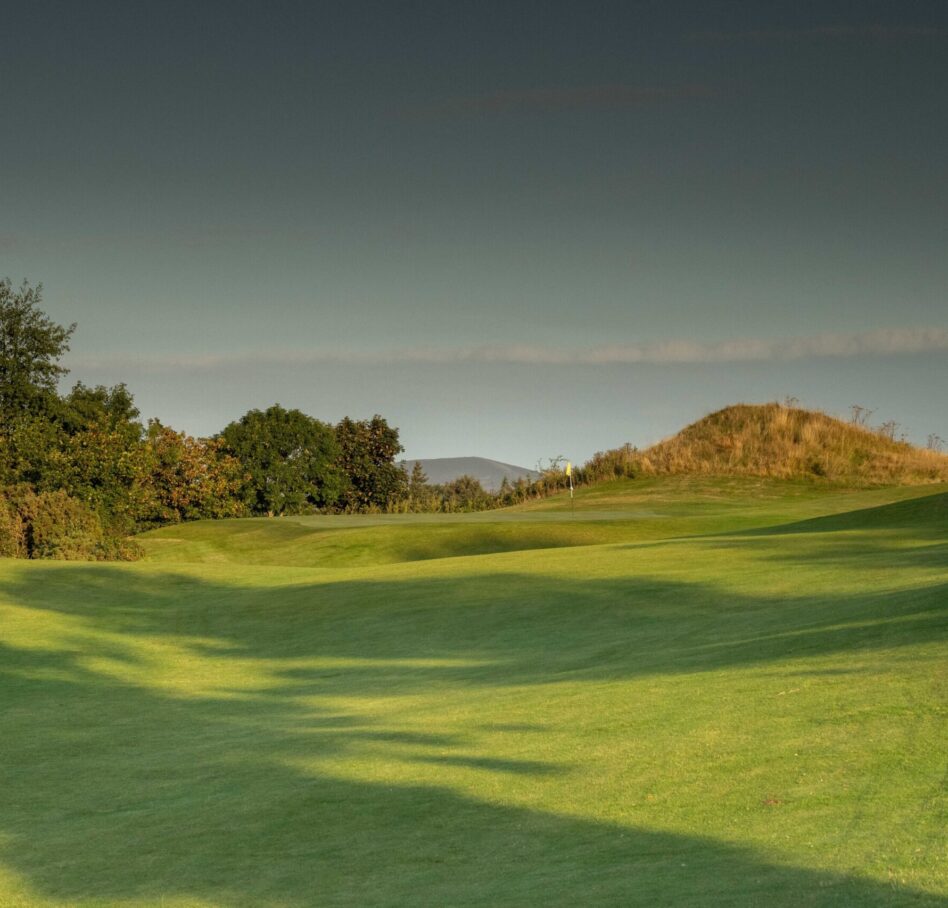
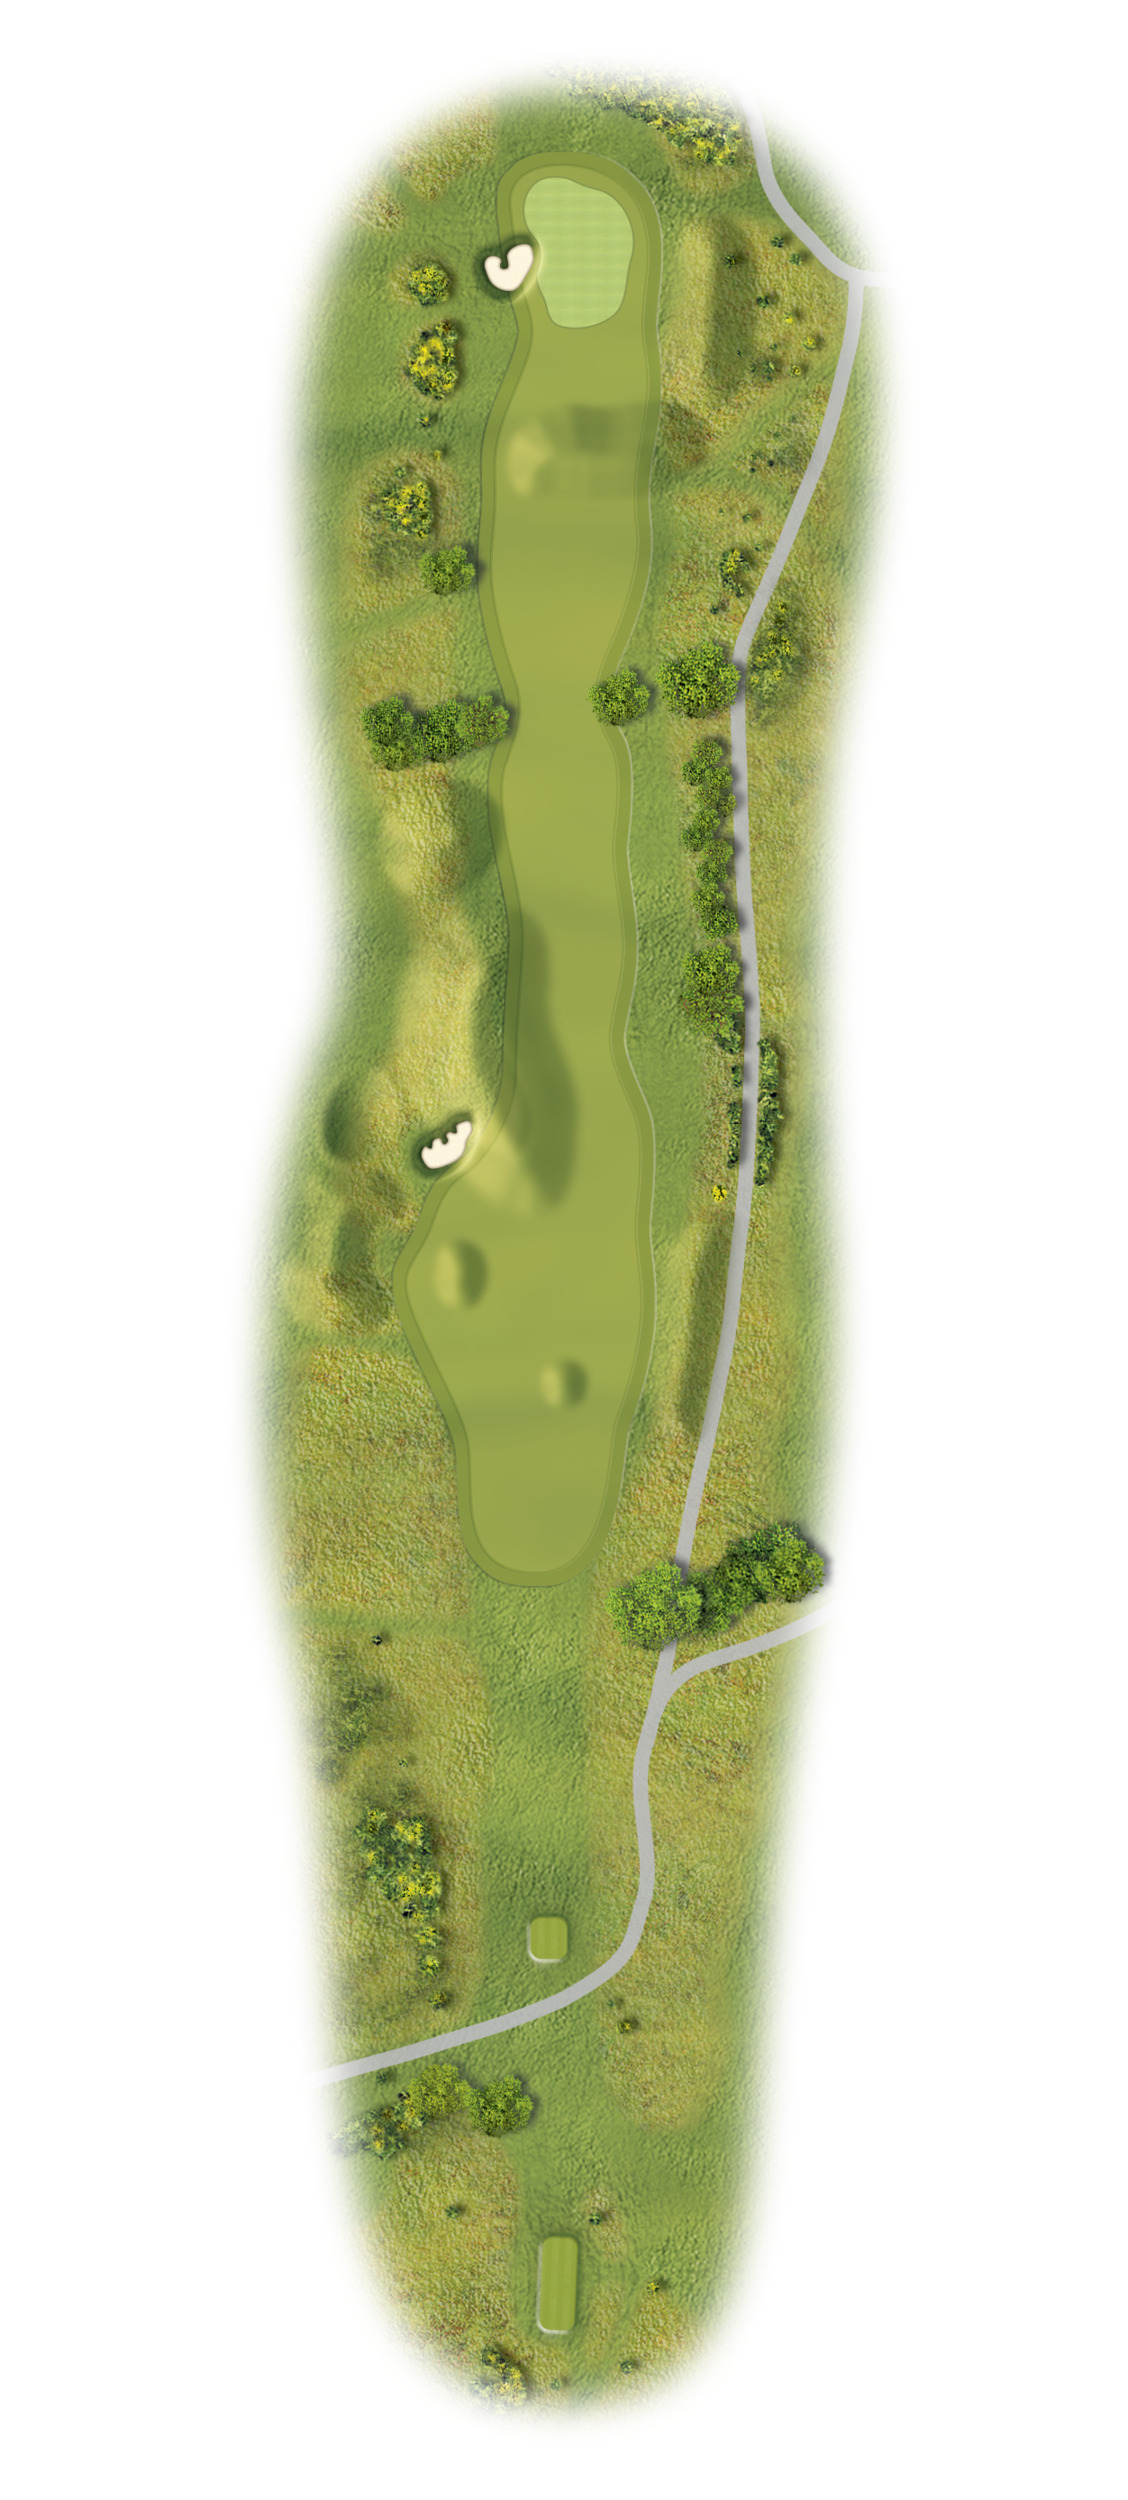
Another risk/reward par 5. Try to keep your tee shot on the left side of the fairway as high trees obstruct from the right. All the danger comes with your second shot as anything left is in trouble. Longer hitters will be tempted to go for the green in two. Again, anything left of the green is in trouble so don’t be afraid to bail out right. Your 3rd shot plays to a green that slopes from back to front.
-
White: 475yds
-
Green: 407yds
-
Gold: 364yds
-
Red: 364yds
Hole 16
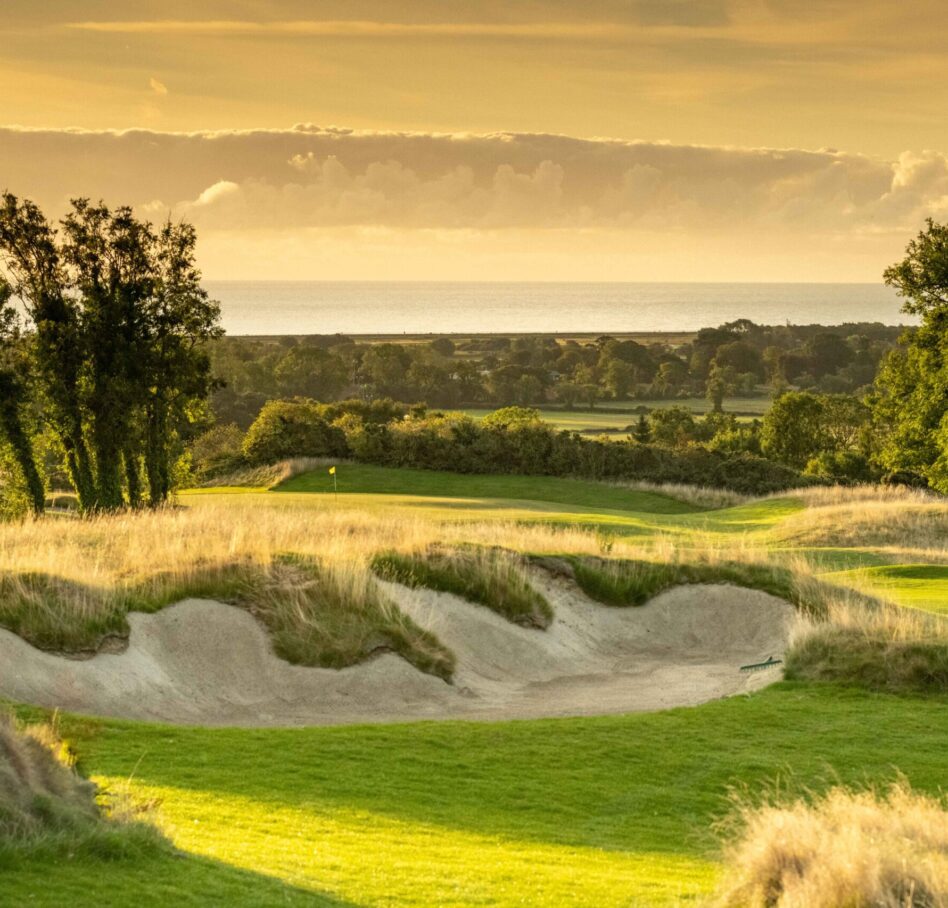
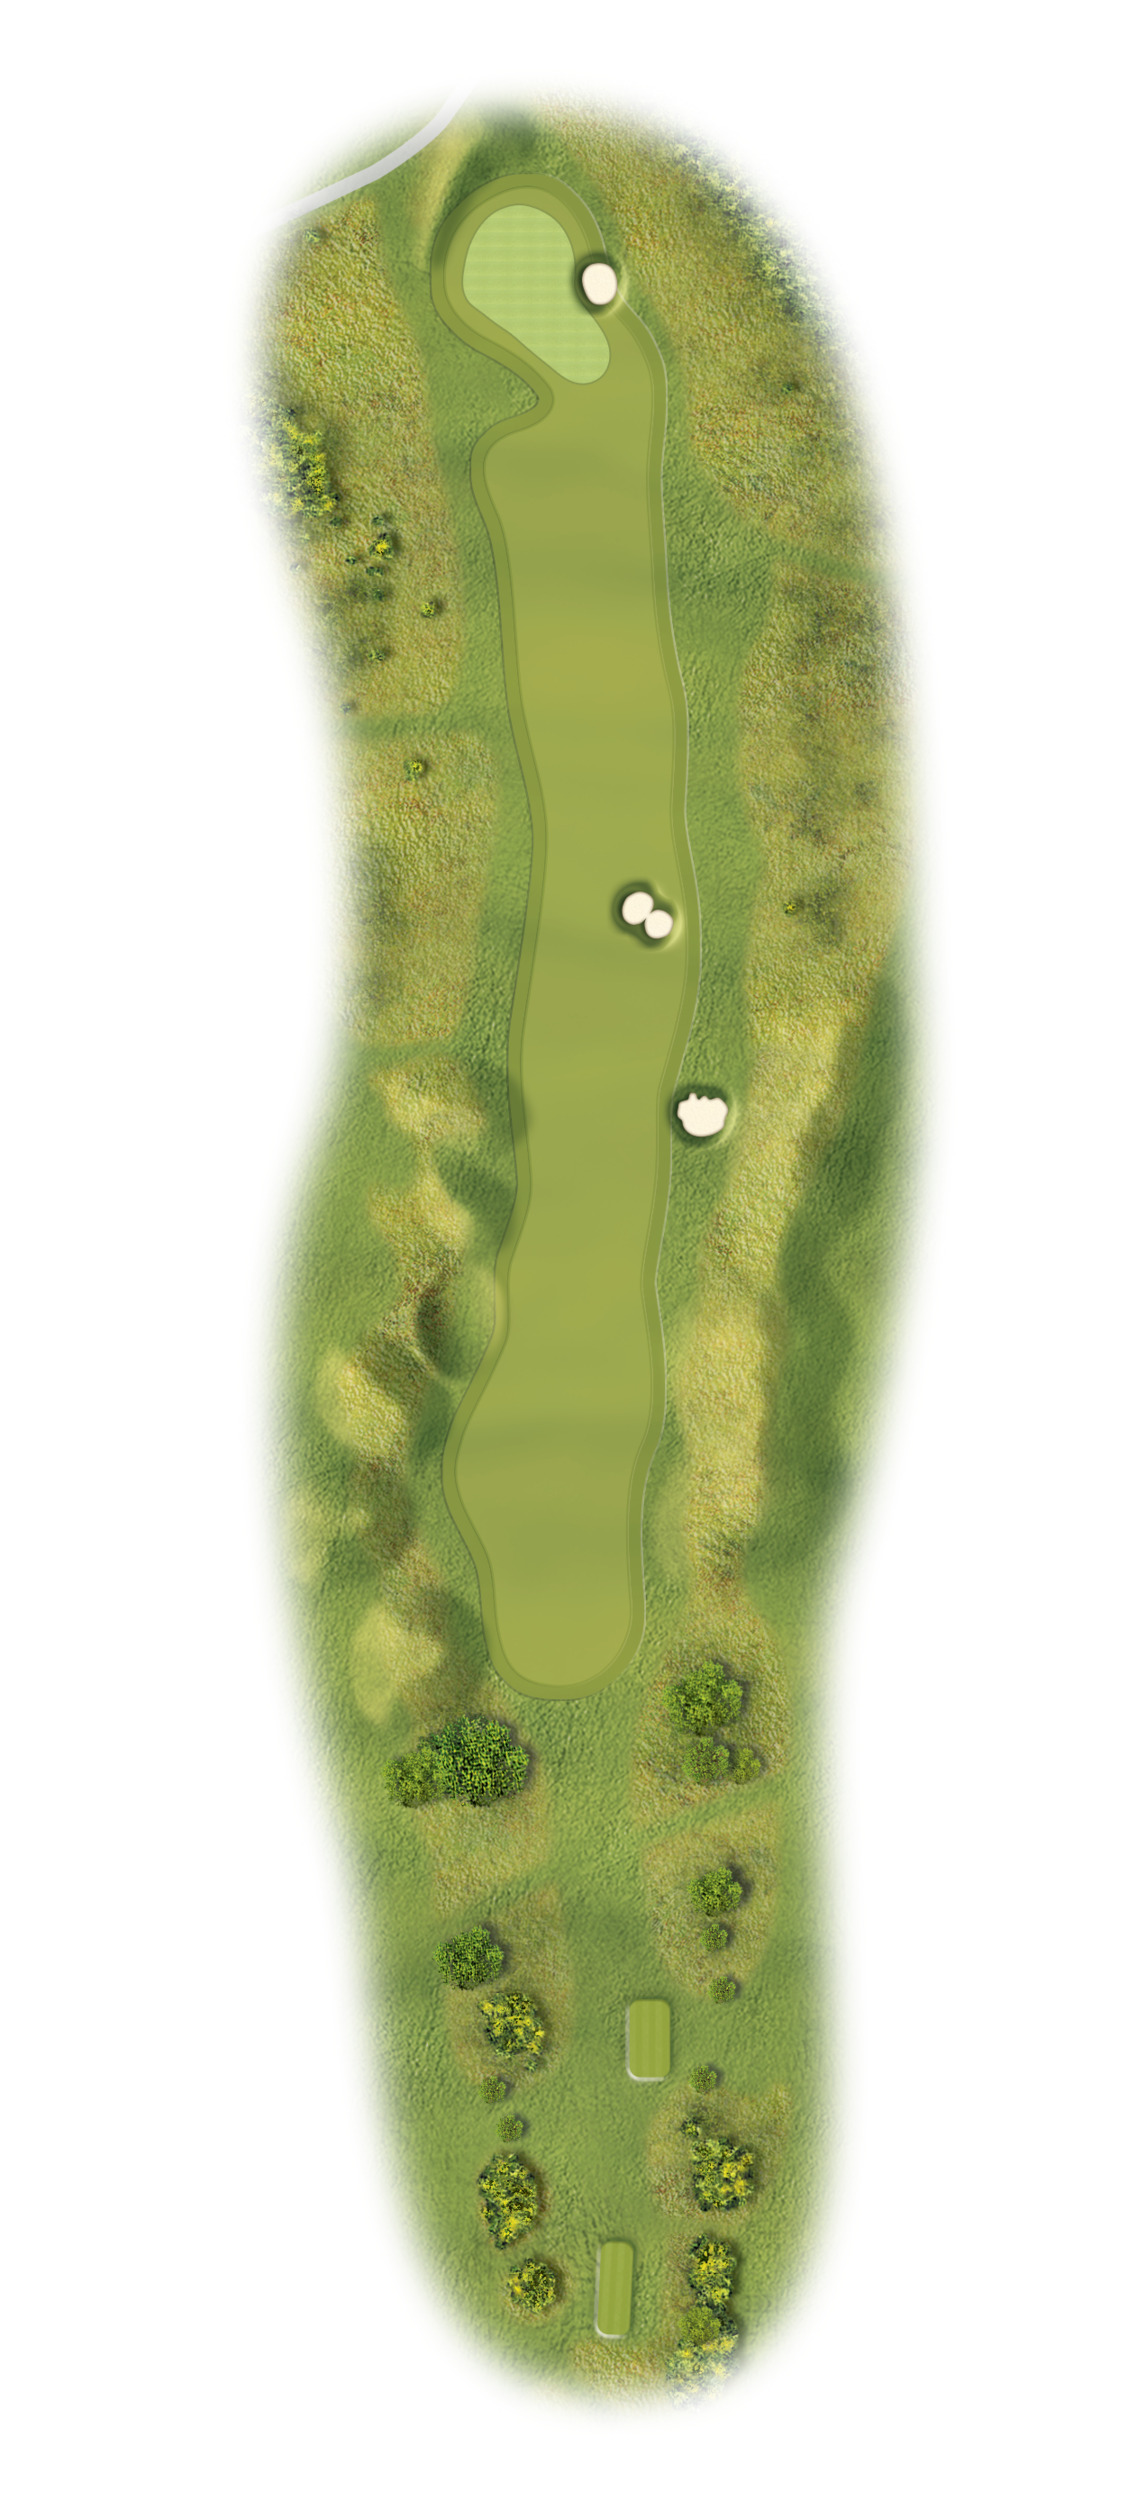
A downhill par 4 with a fairway that narrows the further you travel down it. Avoid the bunkers left of the fairway from the tee and you’ll be left with a second shot to a large green where all the slope is at the front of the green.
-
White: 449yds
-
Green: 415yds
-
Gold: 377yds
-
Red: 377yds
Hole 17
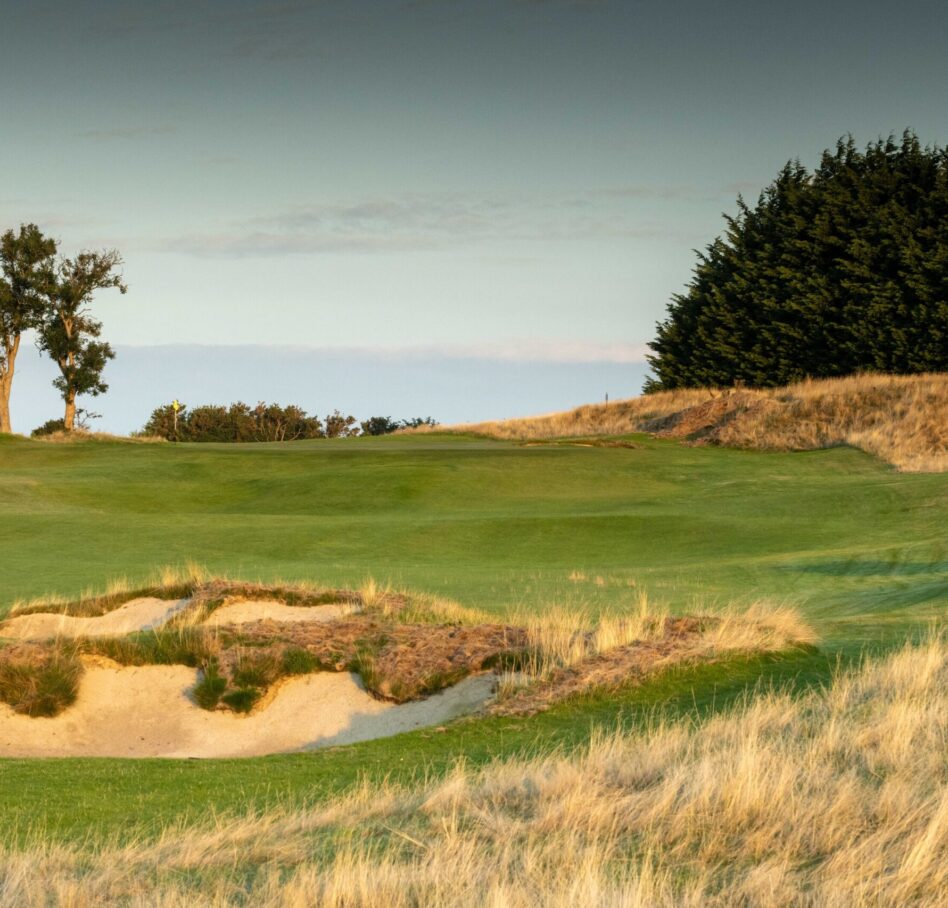
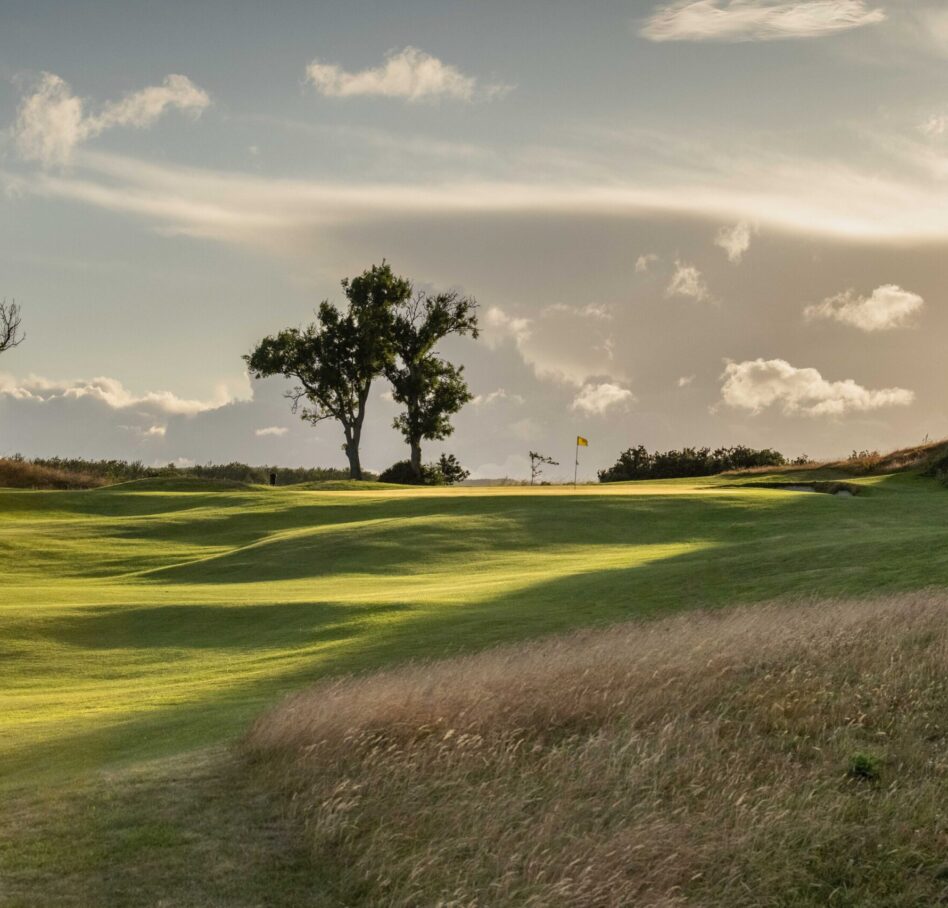
A tester late in your round. Your tee shot needs to avoid the bunkers. This will leave you with an uphill second shot where it is always a good idea to take an extra club. The green slopes dramatically from back to front so be cautious with downhill putts.
-
White: 375yds
-
Green: 335yds
-
Gold: 328yds
-
Red: 328yds
Hole 18
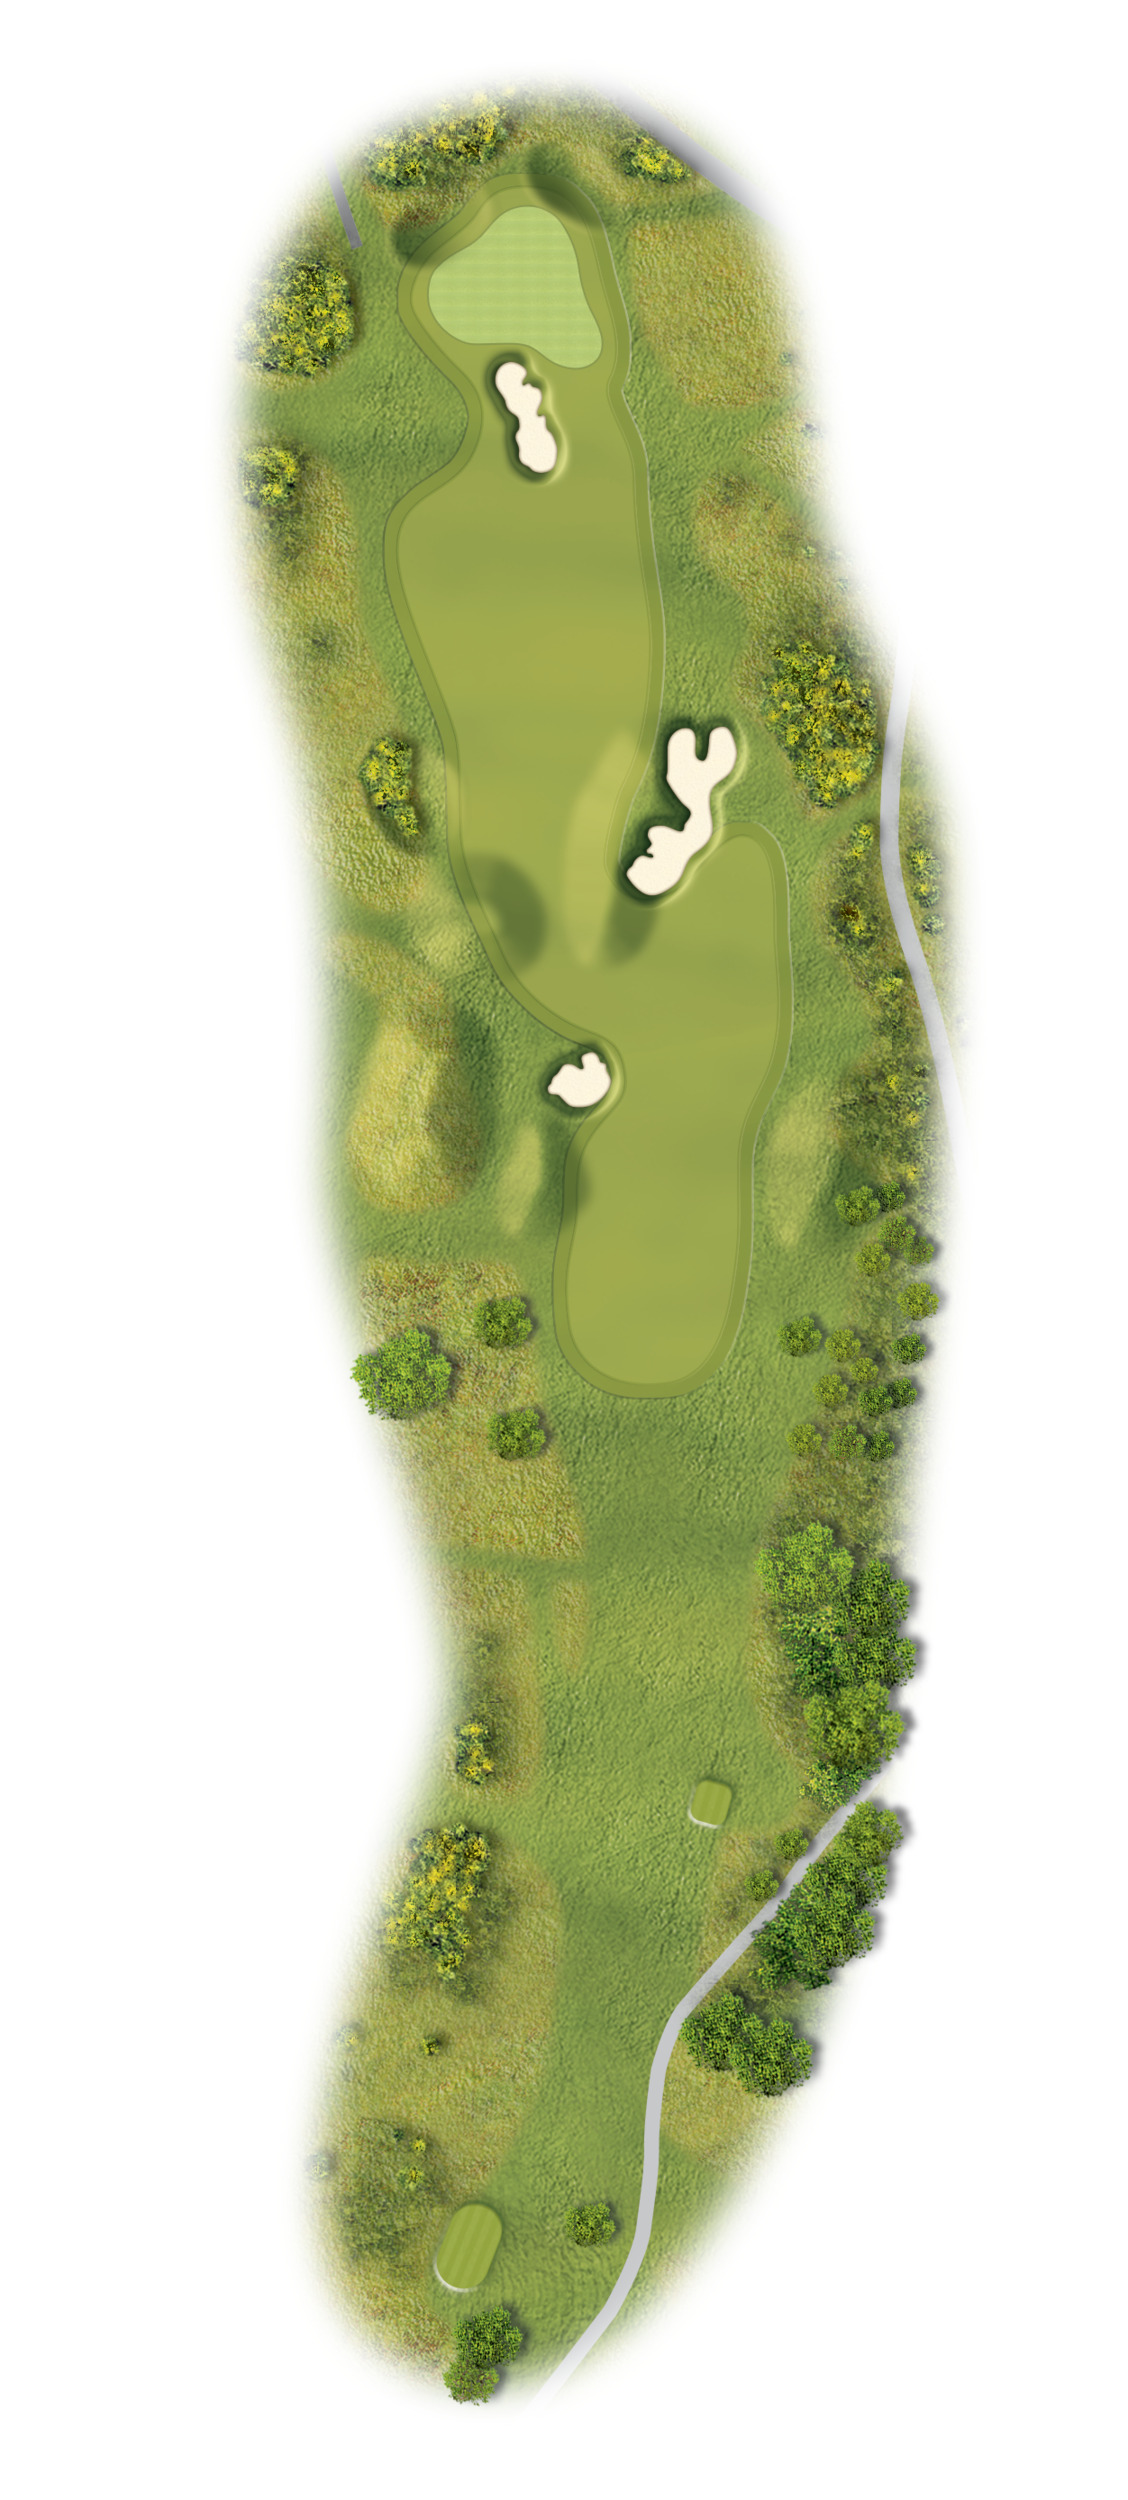
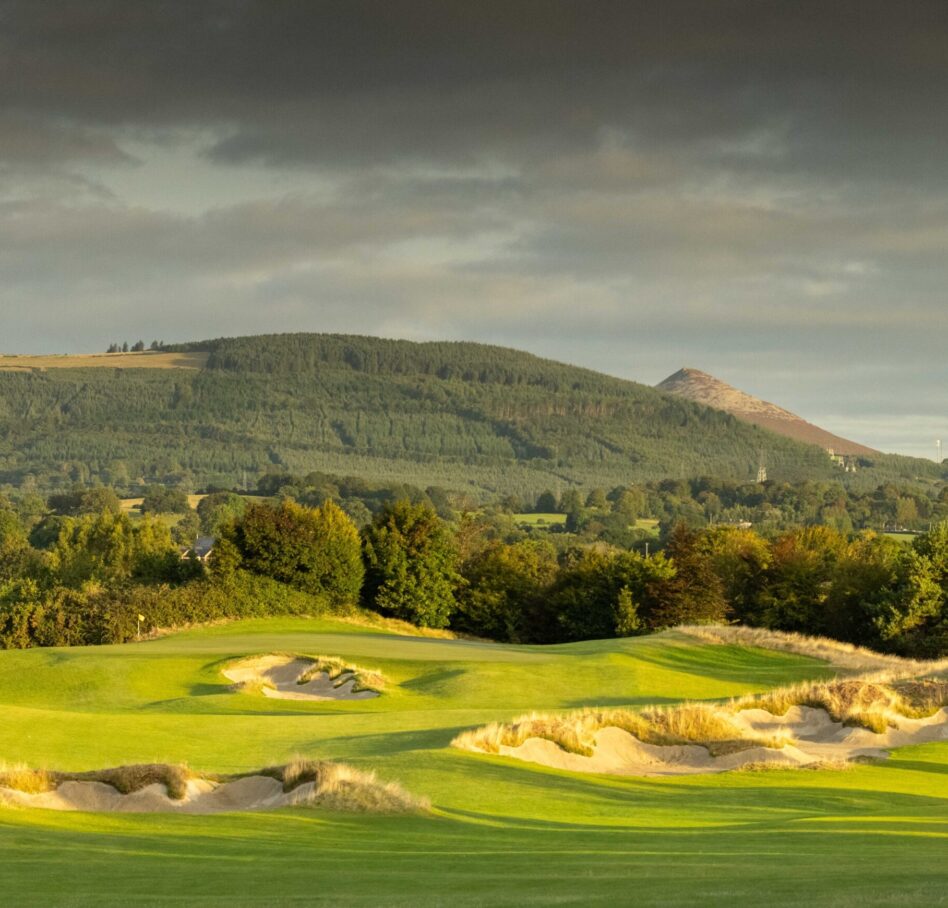
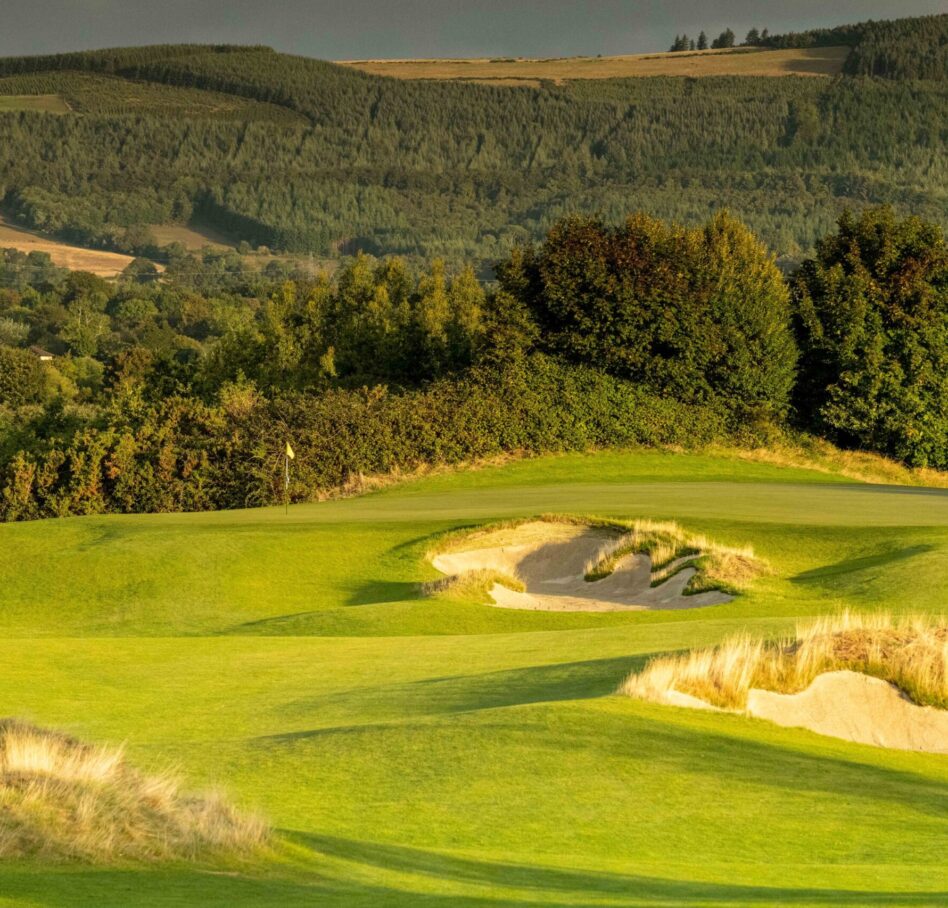
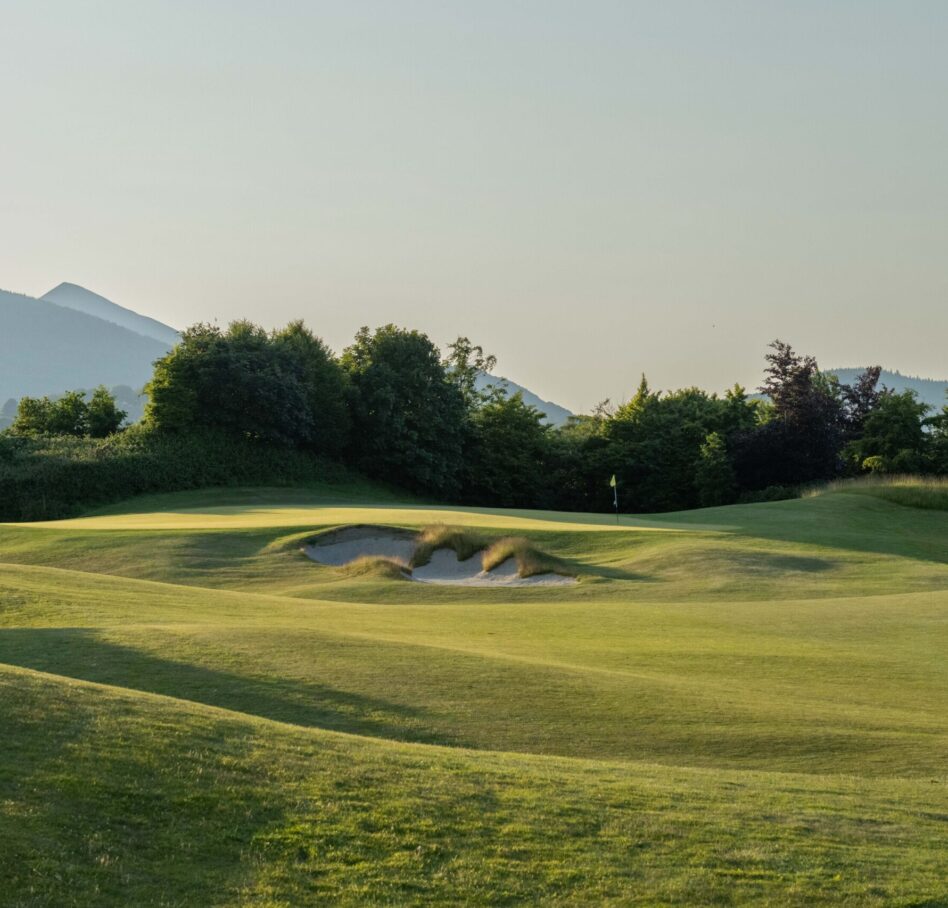
Don’t let the bunkers play tricks on your mind. This hole is far less daunting than it looks. A tee shot that finds the left side of the fairway will leave a second shot to a raised green protected by bunkers. Club selection is essential as the green is surrounded by bunkers. The green slopes from right to left.
-
White: 367yds
-
Green: 359yds
-
Gold: 282yds
-
Red: 282yds
Steeped in Professional Tournament History
Championship Course
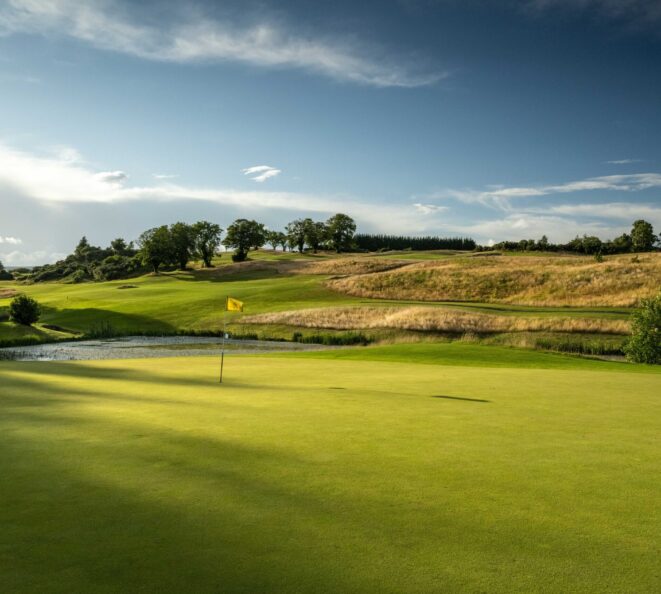
Venue for the 2006 Irish PGA Championship, Druids Heath has played host to many leading tour players including double US Open Champion Retief Goosen, Sergio Garcia, Darren Clarke and Ian Poulter.
The Augusta Of Europe
Druids Glen